ClickUp remote MCP connector
The ClickUp remote Model Context Protocol (MCP) connector in Mark (Optimizely Agent Platform) lets Mark interact directly with your ClickUp workspace. Mark helps you manage your workspace hierarchy, automate task creation, and track productivity without switching between applications.
Note
The ClickUp remote MCP is managed by ClickUp. For details, see ClickUp's MCP Server in the ClickUp documentation.
First, a Mark administrator must Connect the ClickUp remote MCP to Mark. After connecting the MCP server, individual Mark users and agent builders can log in to ClickUp to access their information from Mark. Administrators only need to connect the ClickUp remote MCP once.
Connect the ClickUp remote MCP to Mark
Note
The first person to connect a third-party service to Mark should be an administrator of that service. Administrator access installs the complete set of tools, so Mark adds every available tool. If a non-administrator connects the service first, Mark installs only the tools that account can access.
Mark administrators connect and grant access to ClickUp from Mark. After granting access, administrators select which tools to enable in Mark and optionally customize their display names.
Add ClickUp connection
As a Mark administrator, complete the following steps:
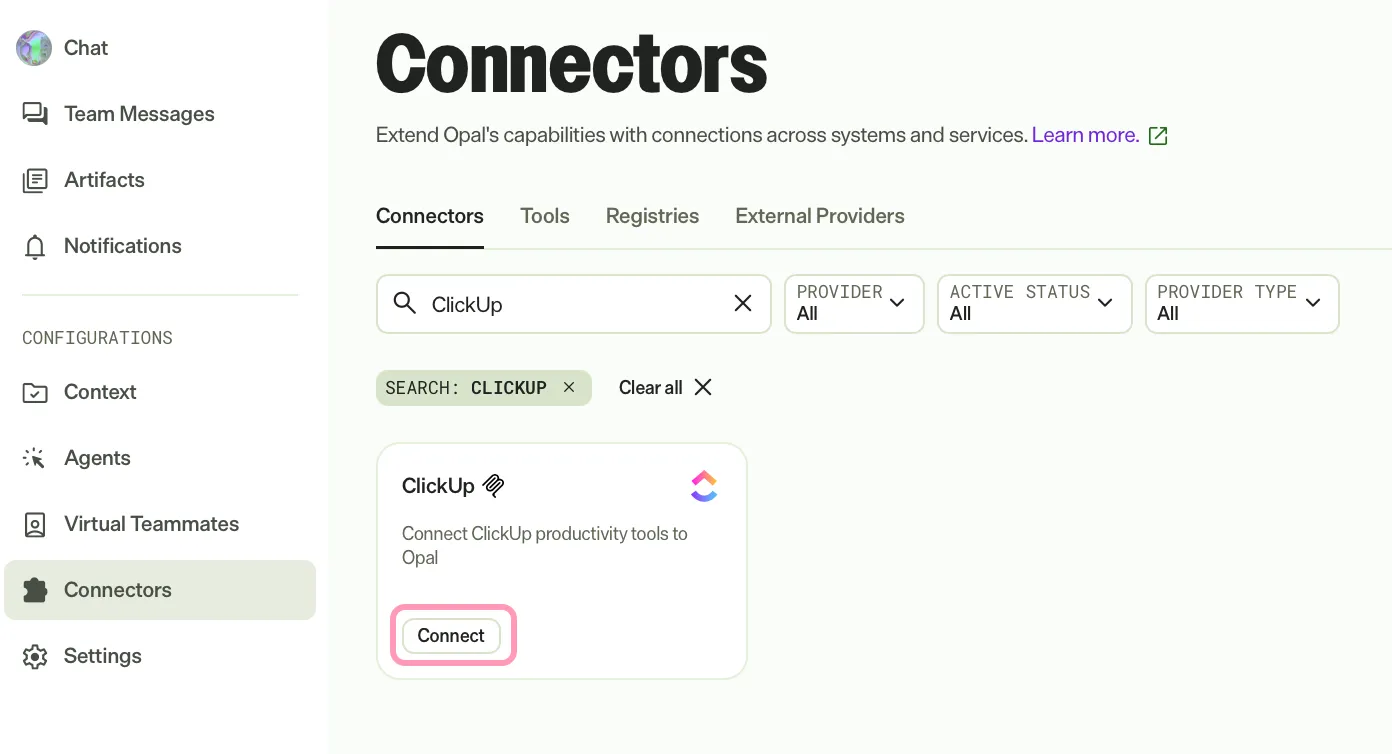
- Go to Connectors in Mark.
- (Optional) Enter ClickUp in the search bar to filter the connectors list.
- Click Connect on the ClickUp tile.
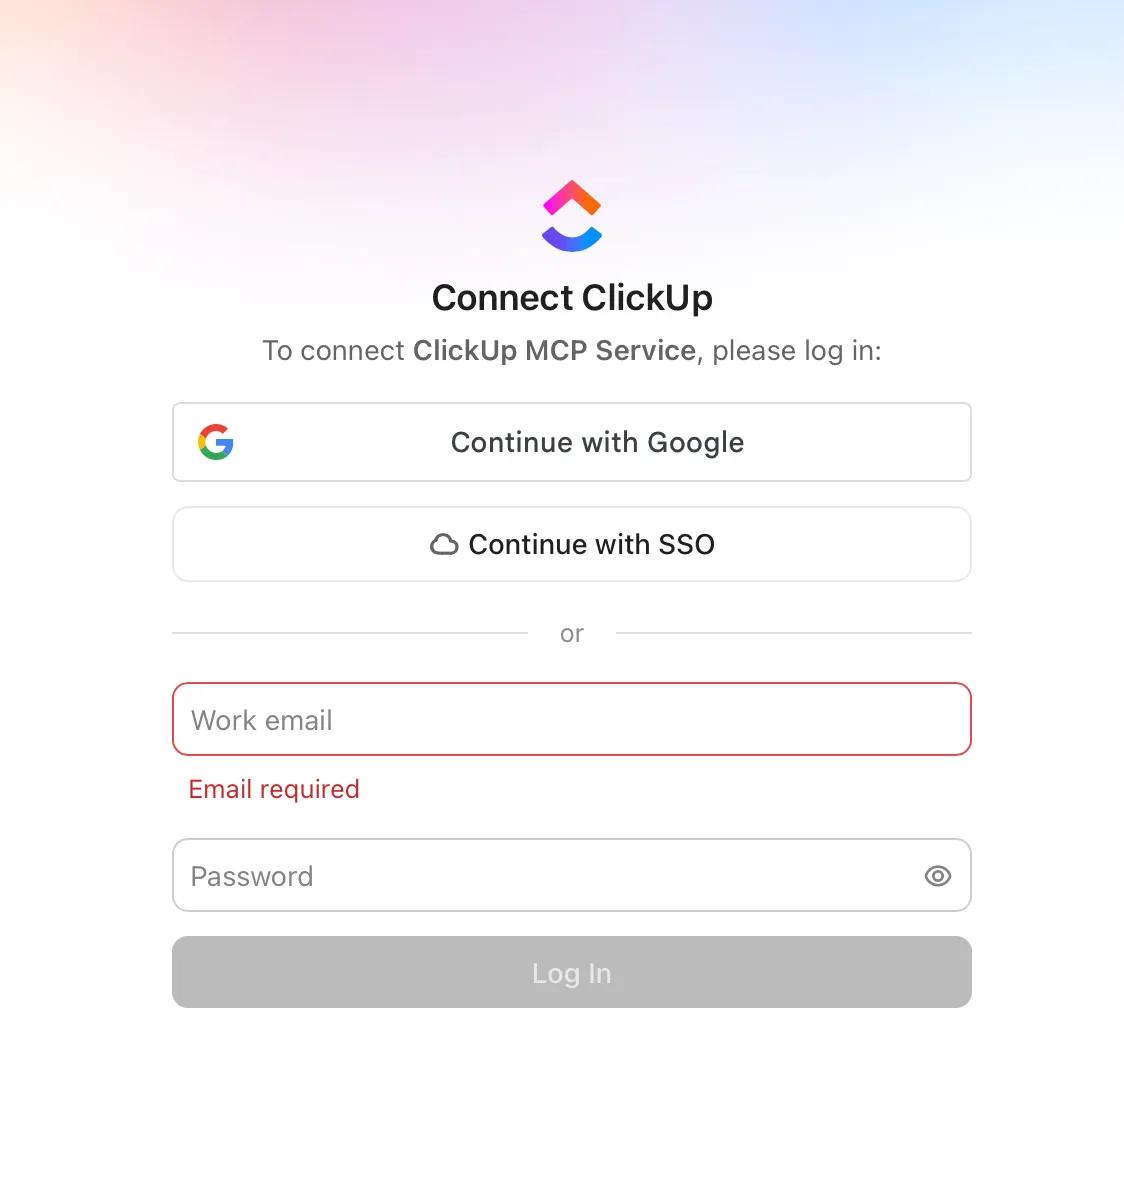
- Log in to your ClickUp account.
- Select the Mark workspace you want to connect.
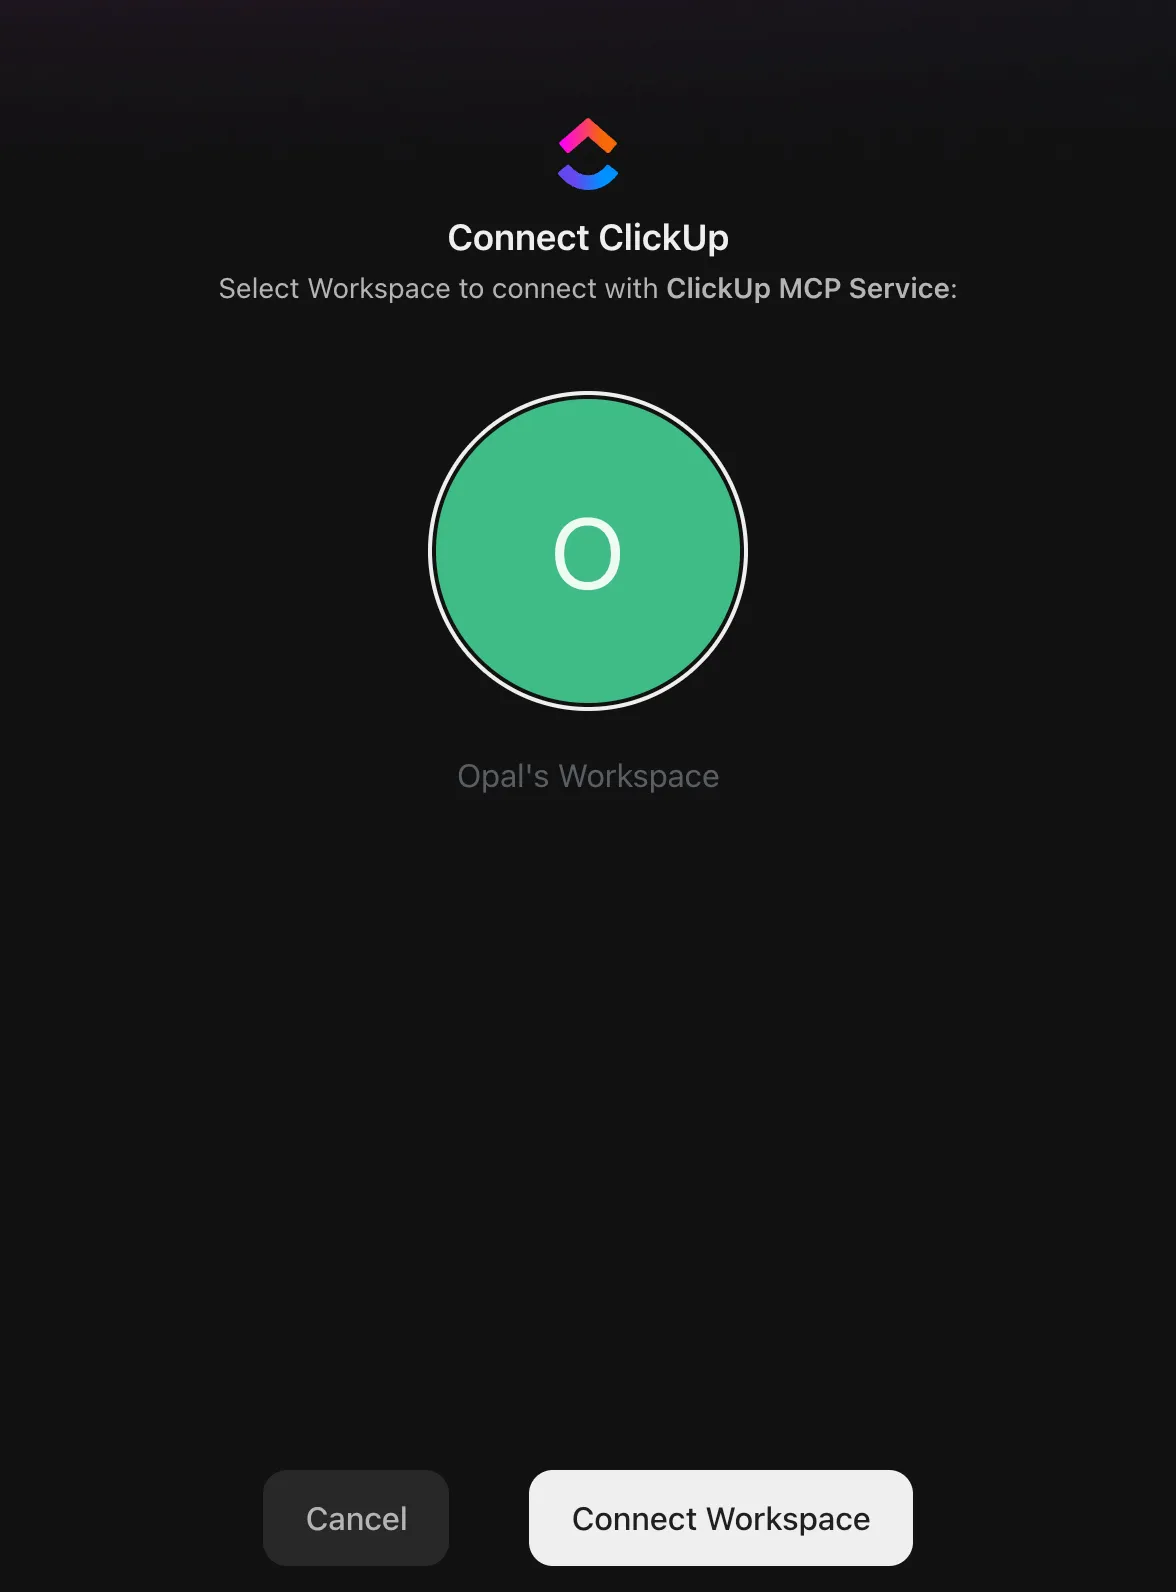
- Click Connect Workspace.
A confirmation message displays and you can close the pop-up window.
Configure Mark tools
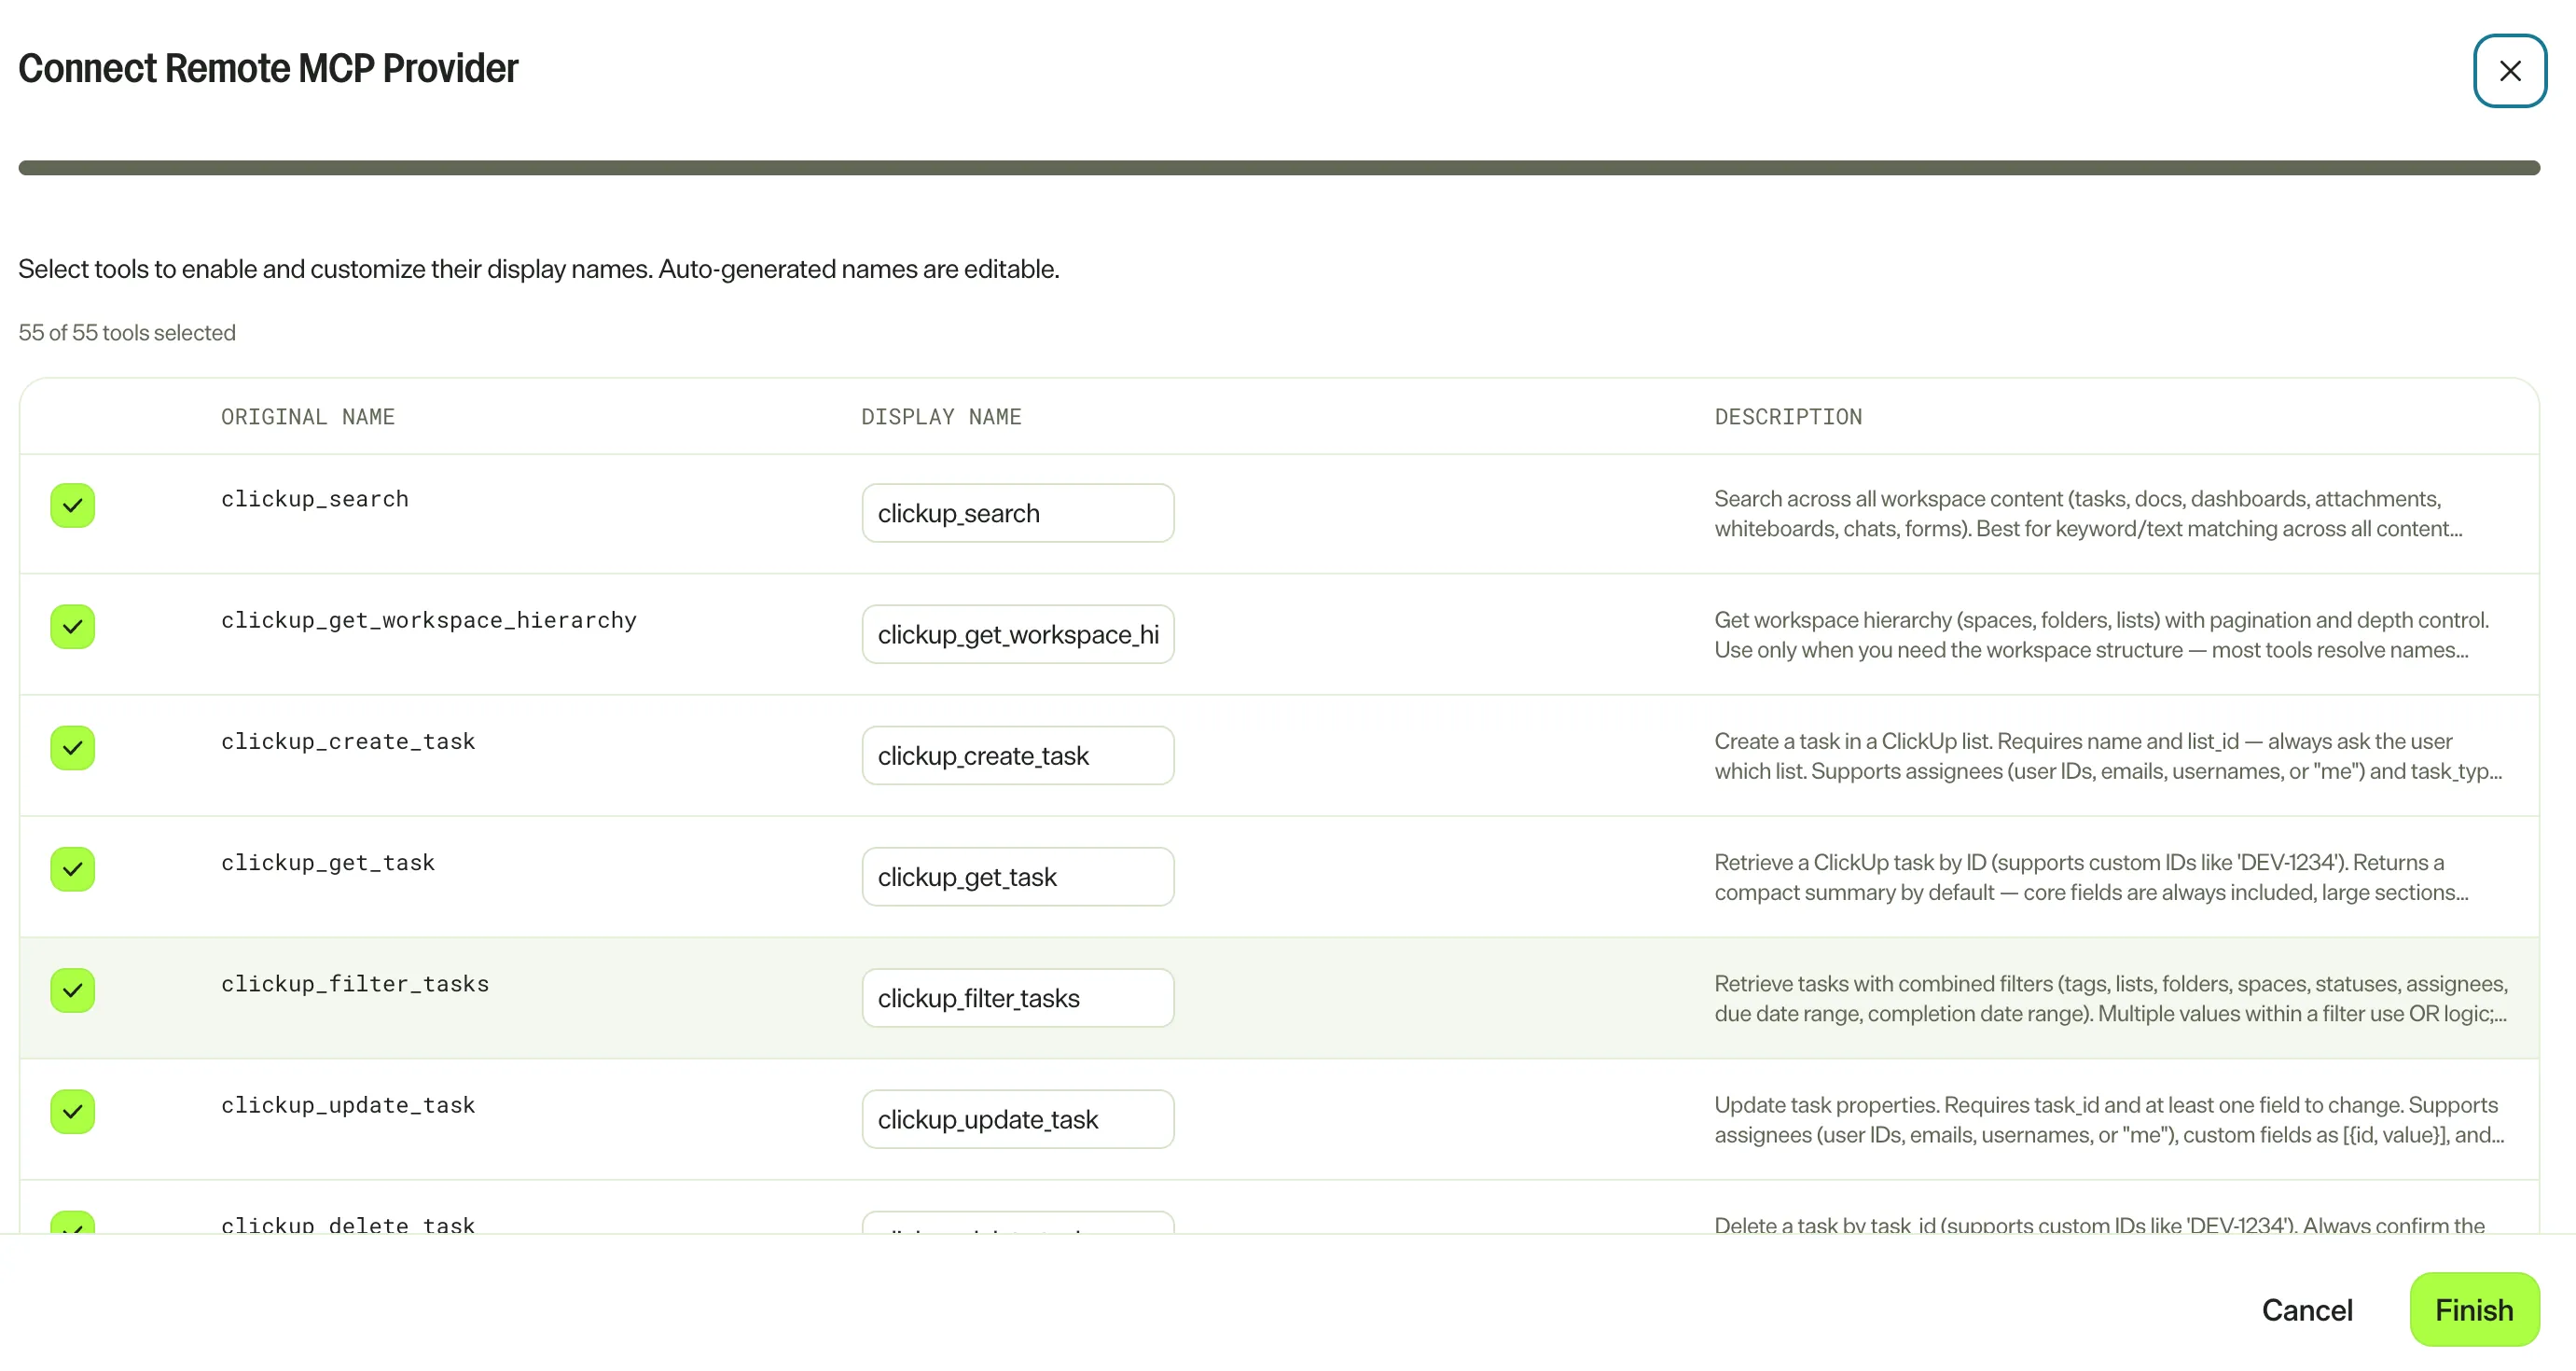
After adding the ClickUp connection, Mark prompts you to select which tools to enable and optionally customize their display names.
As a Mark administrator, complete the following steps:
- Deselect any tools you do not want to add to Mark.
- (Optional) Update any tool's display name.
- Click Finish.
The ClickUp tile displays Connect on the Connectors tab for Mark users to authenticate with their personal accounts.
To update the available tools or names, see Update tools.
Authenticate with ClickUp
Each Mark user and agent builder logs in to ClickUp individually to access their ClickUp data from Mark. User-level authentication ensures you access only the data your ClickUp account is authorized to view.
Note
Before you begin, confirm that a Mark administrator has connected the ClickUp remote MCP. Until an administrator connects it, the ClickUp tile displays Contact admin instead of Connect and you cannot select it.
To authenticate, complete the following steps in Mark:
- Go to Connectors.
- (Optional) Enter ClickUp in the search bar to filter the connectors list.
- Click Connect on the ClickUp tile.
- Log in to ClickUp.
After you connect to ClickUp, the ClickUp connector tools your administrator added become available in Mark chat, specialized agents, and workflows.
ClickUp connector tools
The ClickUp connector tools are available in Mark after an administrator connects the remote MCP and you log in with ClickUp. The available tools depend on which tools your administrator enabled. For a full list of available tools and actions, see ClickUp's MCP Server in the ClickUp documentation.
Update tools
To rename, add, or remove tools, a Mark administrator must delete the ClickUp tools registry and re-add it. To do so, complete the following steps:
- Follow the steps in Delete a tool registry.
Note
If you use Opti ID, administrators can turn off generative AI in the Opti ID Admin Center. See Turn generative AI off across Optimizely applications.