Optimizely Mark Desktop app
Mark (Optimizely Agent Platform) is available as a desktop app for Windows, macOS, and Linux.
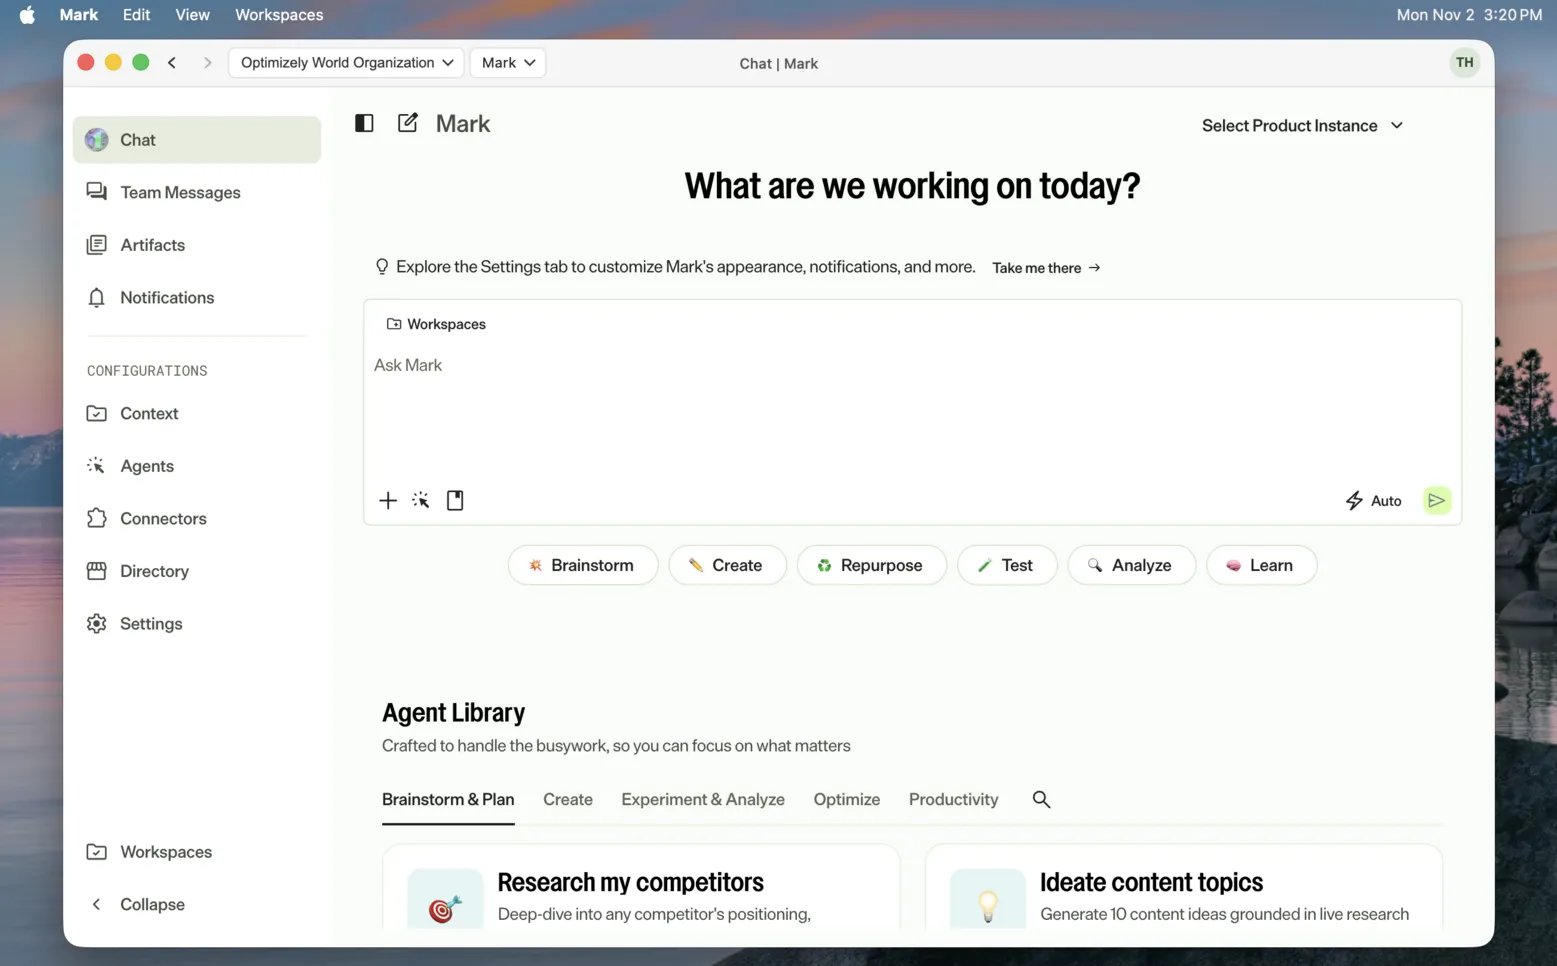
Install Mark Desktop
To install, complete the following steps:
- Go to the Optimizely downloads page and download the installer for your operating system.
- Run the installer and follow the on-screen prompts to complete the installation.
Note
Mark Desktop checks for updates automatically and installs them the next time you restart the app.
Log in and select a product instance
- Launch Mark Desktop.
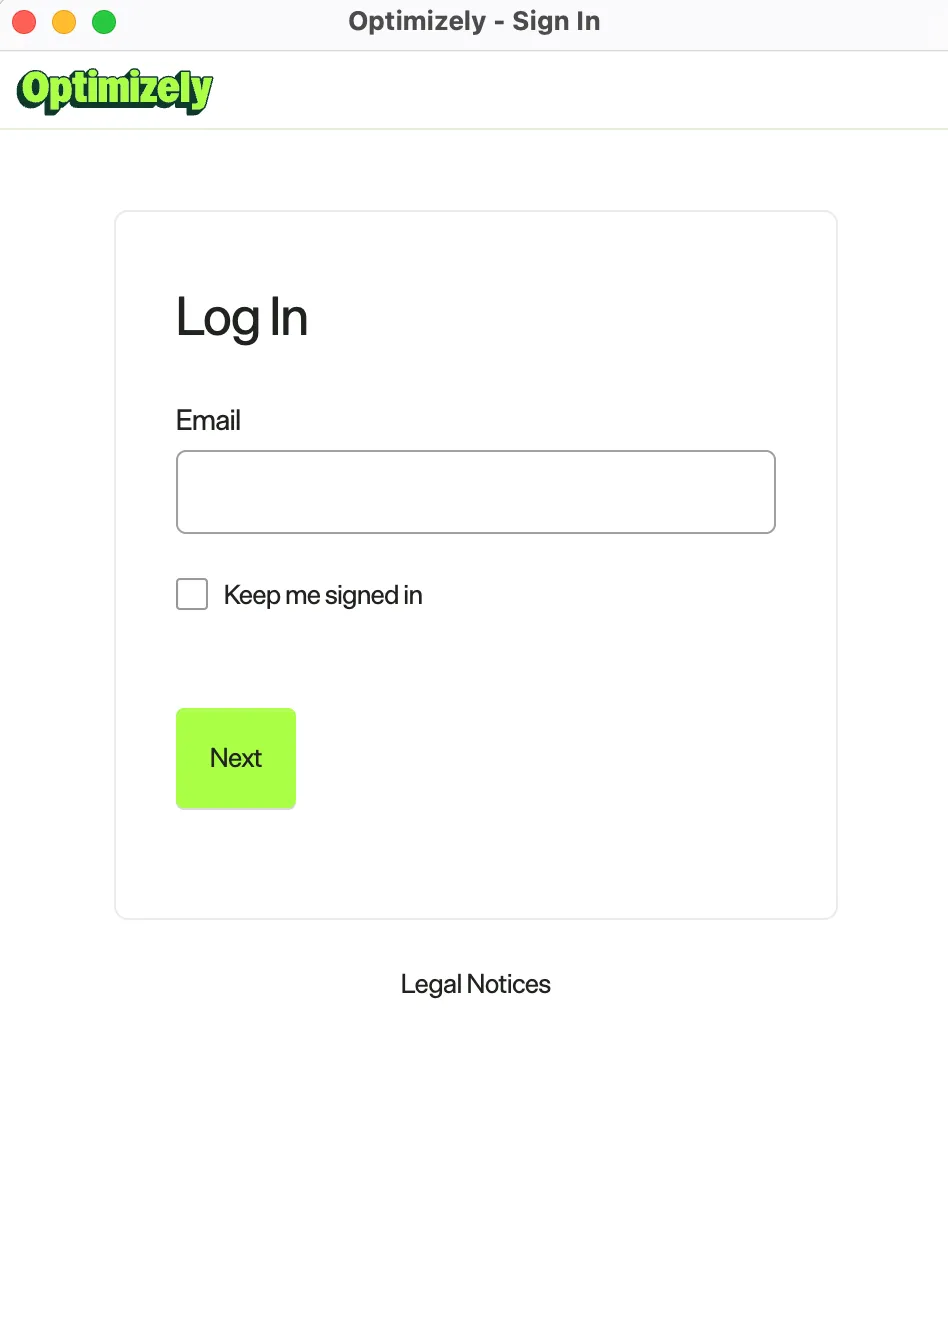
- Click Log in.

- Log in with your Opti ID credentials.
- Select your Organization and product Instance from the corresponding drop-down lists. Switch between organizations and Mark instances from the navigation bar after logging in.
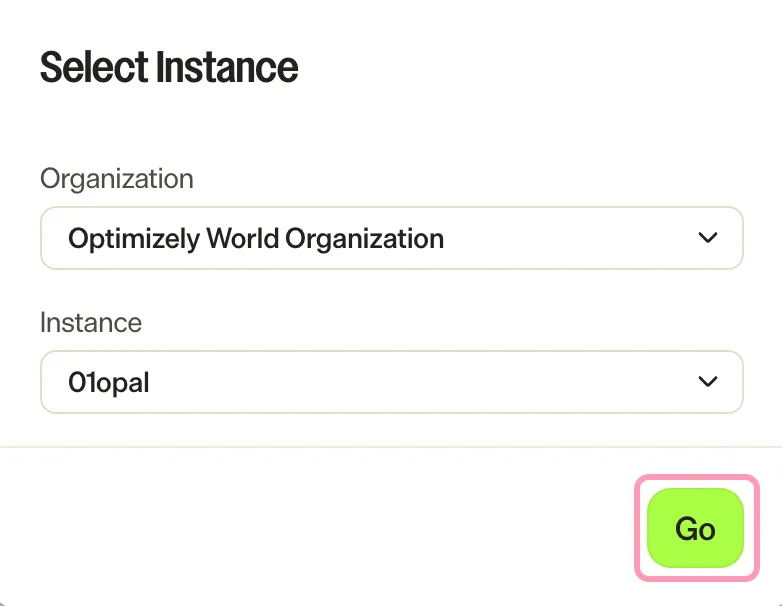
- Click Go.
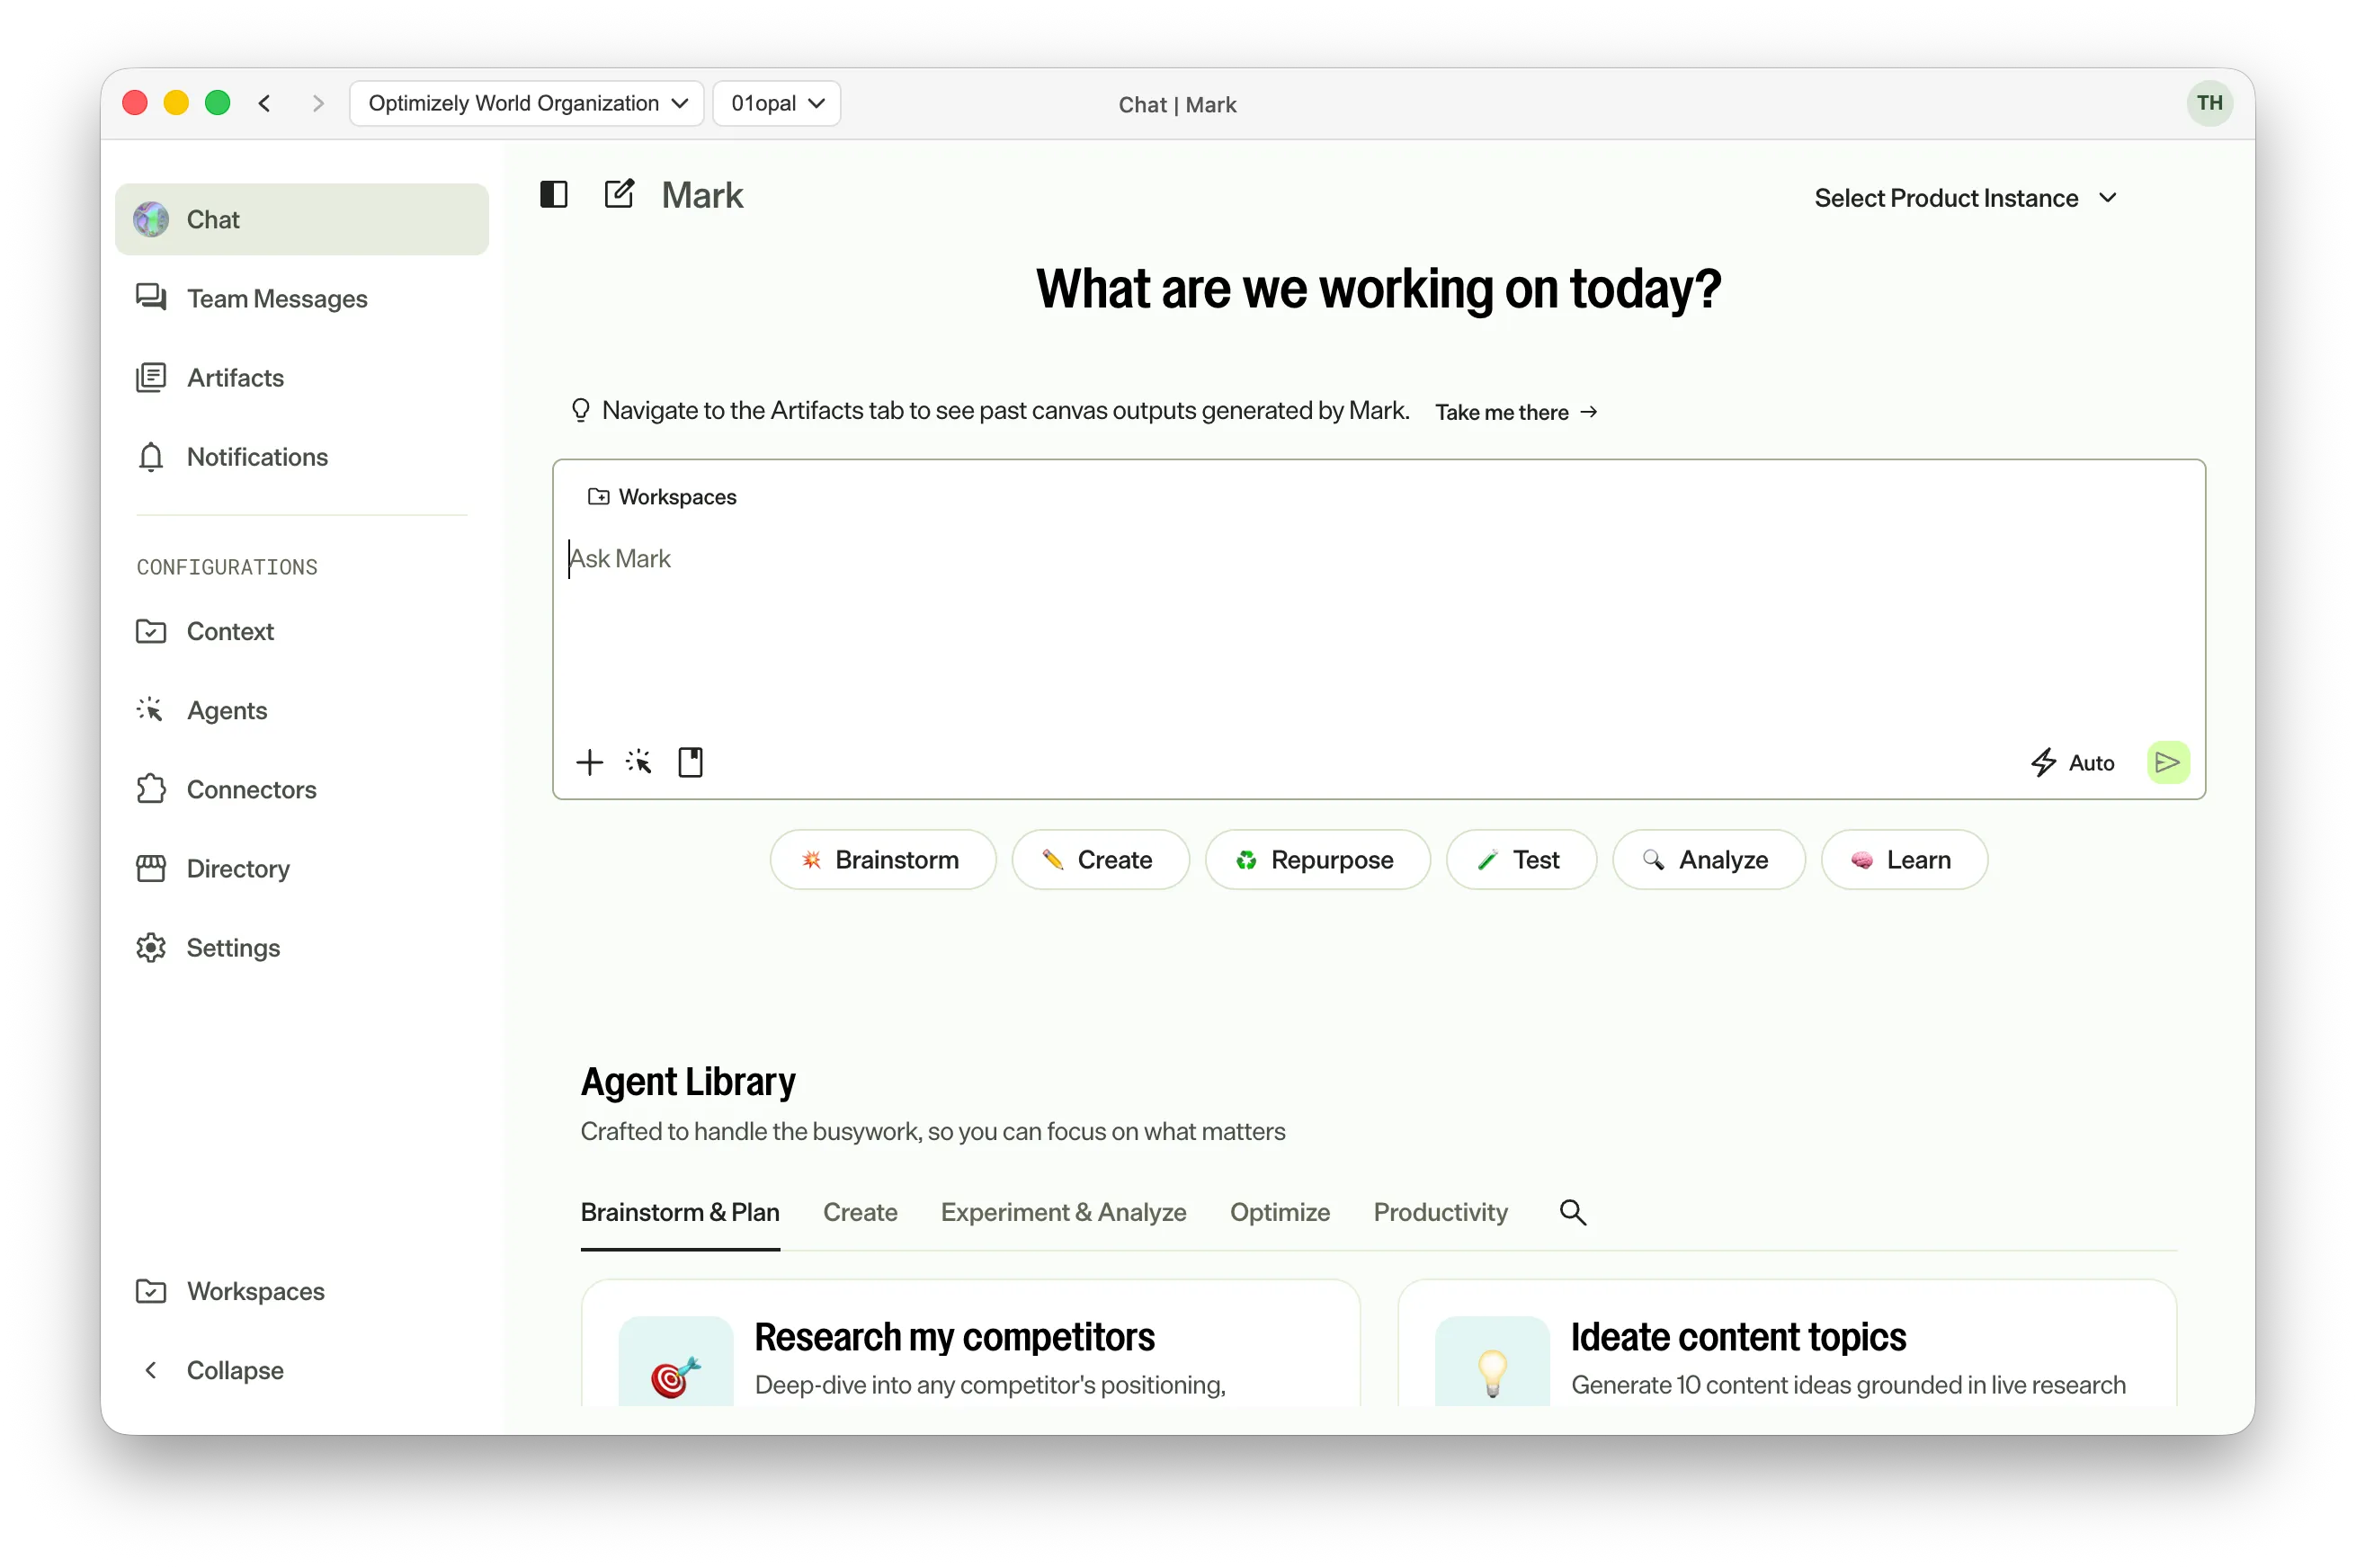
- Work with Mark chat the same way you do in the browser:
- Choose between Chat modes in Mark chat.
Important
Logging out of Mark Desktop clears your local session only. It does not end your logged-in session with your identity provider. To fully end your session on a shared computer, log out of your identity provider or restart your computer.
Mark Desktop capabilities
Mark Desktop is a native application that runs Mark on your computer instead of in a browser tab. Mark Desktop lets you do the following:
- Keep Mark open alongside your other applications.
- Receive a desktop notification when a response finishes.
- Give agents access to files and folders on your own computer through local tools.
Important Mark Administrators must grant users access to Mark.
Mark is enabled by default for eligible customers. Users do not have access until an administrator enables it for each individual using Opti ID. For steps, see Get started with Mark for administrators.
You must enable third-party cookies in your browser to use Mark. Mark fails to load if you disable third-party cookies. Incognito and private browsing modes disable third-party cookies by default. Do not use incognito mode to access Mark or manually enable third-party cookies. To enable cookies in your browser, see the following documentation:
Local file and folder tools
Mark Desktop gives agents access to files and folders on your computer through local tools. These tools are not available in Mark chat in a browser.
Agents use the following local tools when a conversation references a local path, project, or file:
- List directory – Browses files and subdirectories in a local folder. Returns file names, types, sizes, and modification dates.
- Read local file – Reads the contents of a file on your computer.
- Write local file – Creates a file or overwrites an existing file on your computer. Creates parent directories if needed.
- Search local files – Searches for text content in files using plain text or regular expressions (regex). Returns matching lines with file paths and line numbers.
- File info – Gets metadata about a file or directory, including size, type, permissions, modification date, and Multipurpose Internet Mail Extension (MIME) type.
- Delete local file – Deletes a file or empty directory. Moves the file to your operating system trash by default.
- Upload file – Uploads a file from your computer to Mark storage so agents can reference it in the conversation. The agent asks for your permission before uploading.
- Shell – Run a shell command on your computer and returns the output. Commands time out after 60 seconds by default.
Agents ask for your confirmation before performing destructive actions, such as writing files, deleting files, or running commands that modify your system. Read-only operations, such as reading files and running inspection commands, do not require confirmation.
Workspaces
You must grant Mark Desktop access to specific folders on your computer to let agents use the local tools. These folders are called Workspaces. Agents can only read, write, search, and run commands inside Workspaces you give access to.
To grant access to a folder, complete the following steps:
- Log in to Mark Desktop and click Workspaces from the left navigation bar.
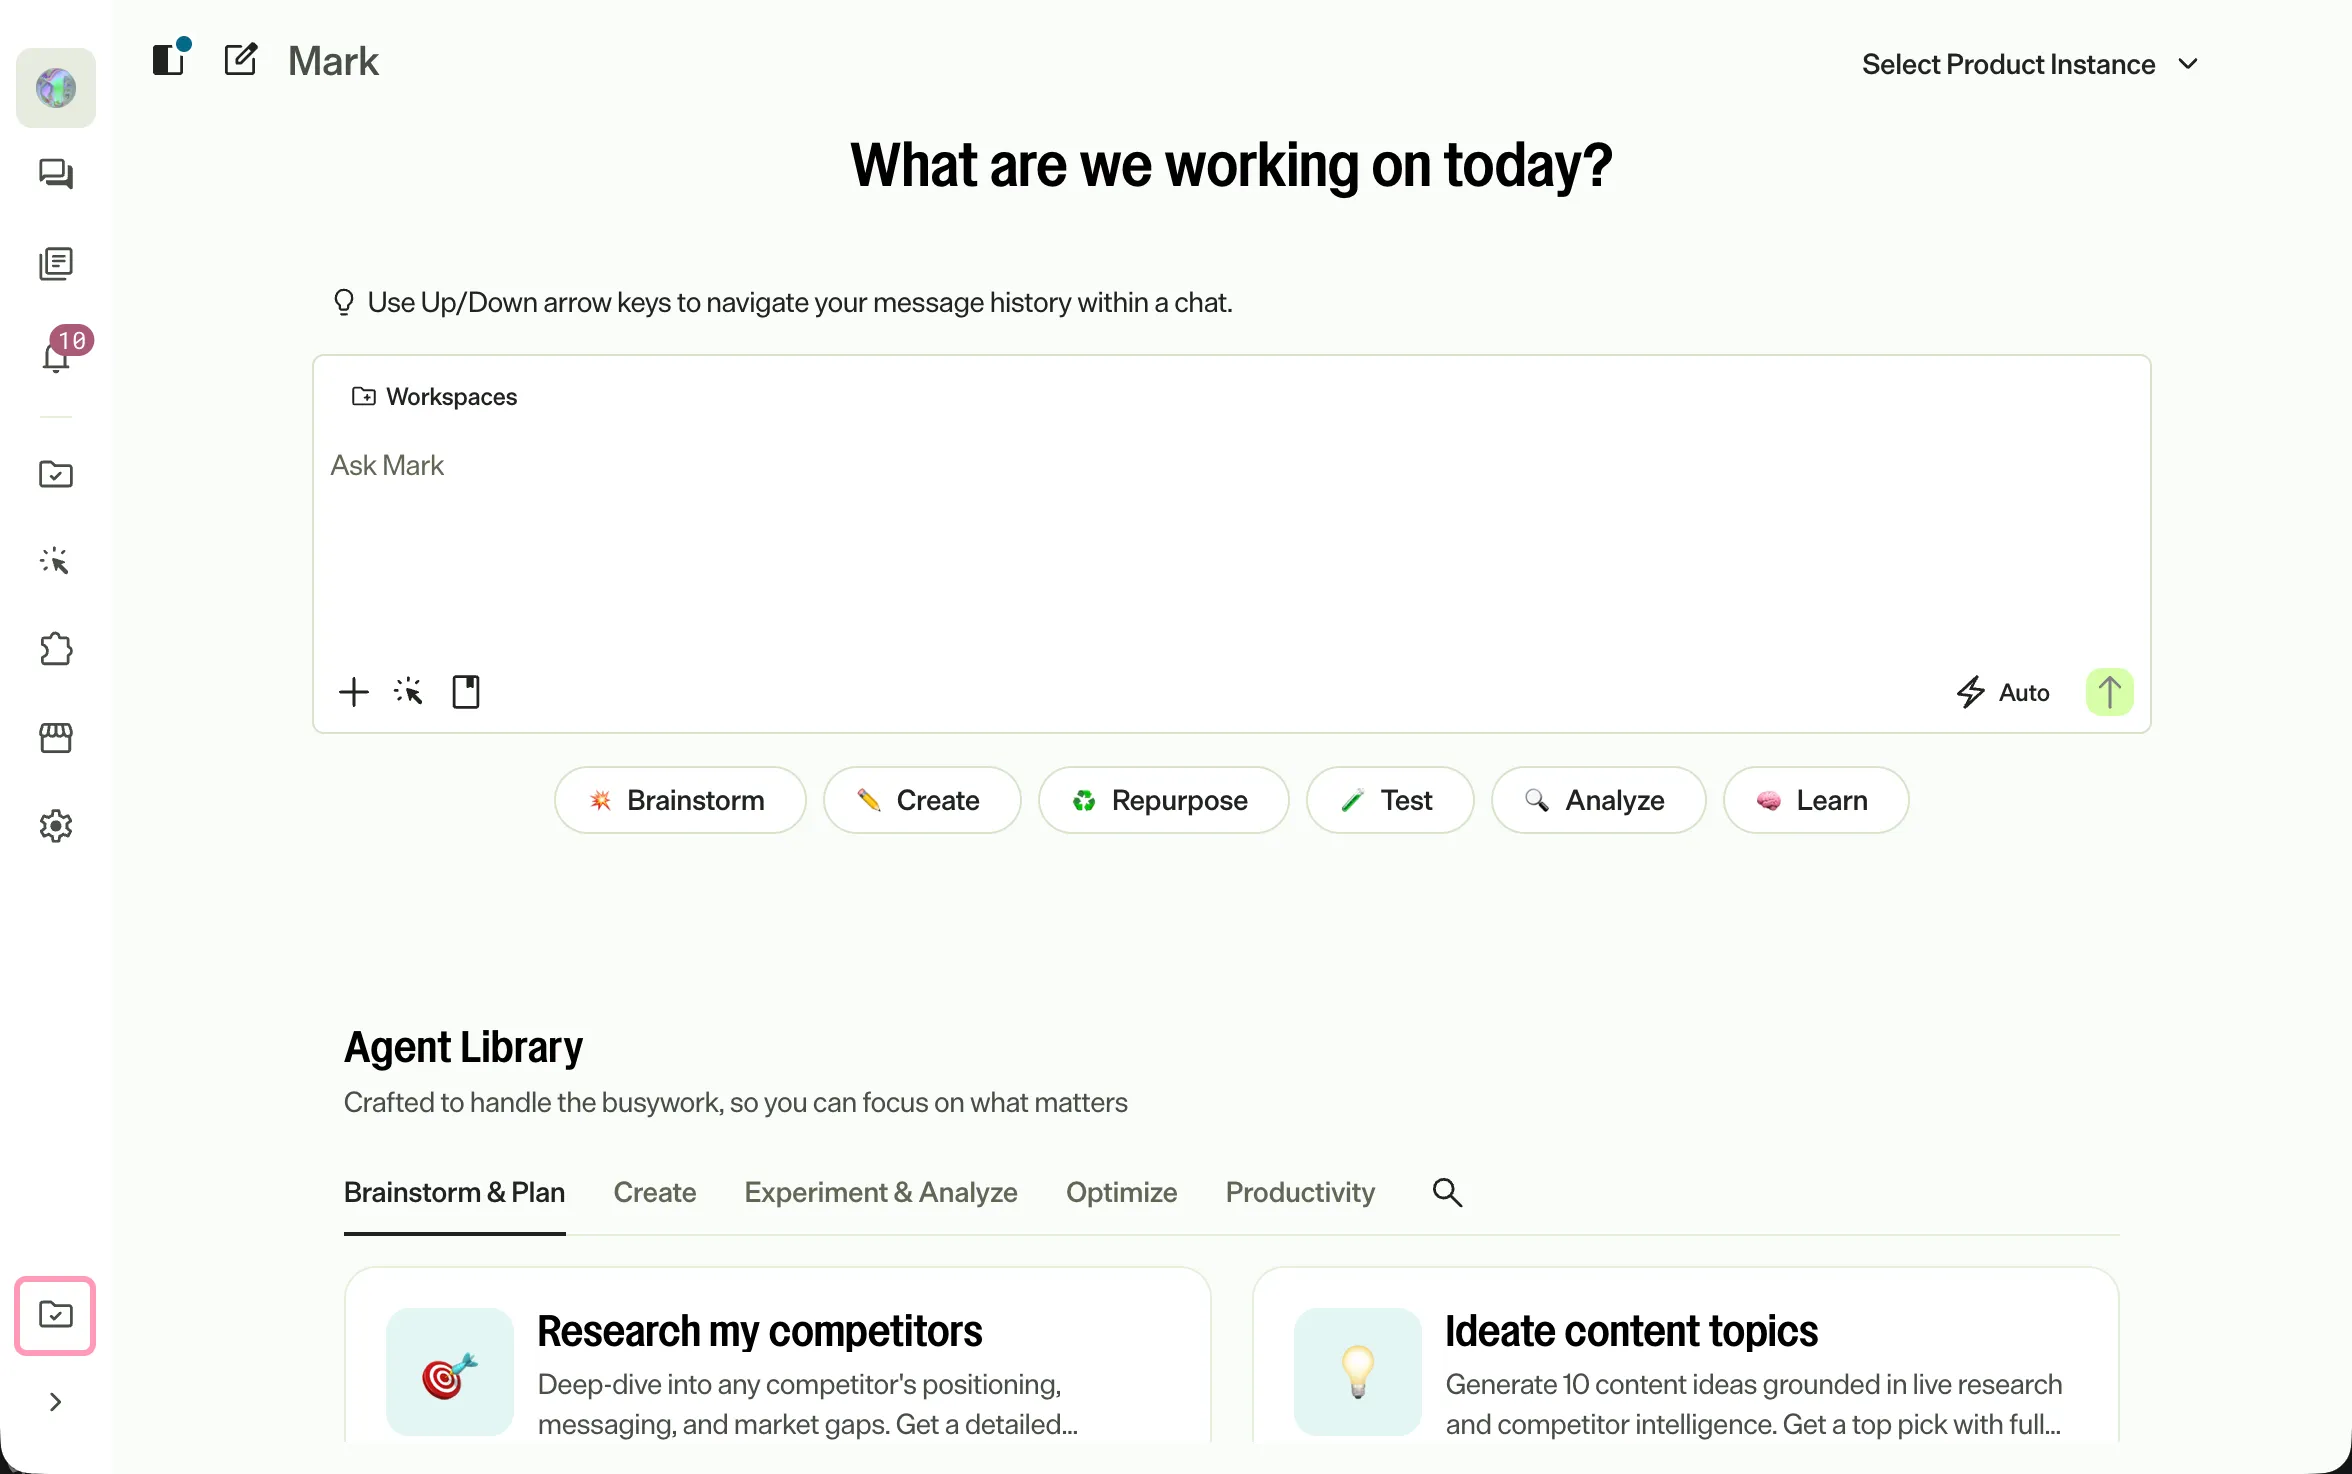
- Click + Add Workspace. Select one or more folders you want to give Mark Desktop access to. You can select multiple folders at once and create folders from the dialog. If you ask an agent to work with a file or folder it does not have access to, Mark Desktop grants access to the containing directory automatically. If the directory is too broad, like your home folder or file system root, Mark Desktop asks you to select a more specific folder from Workspaces instead.
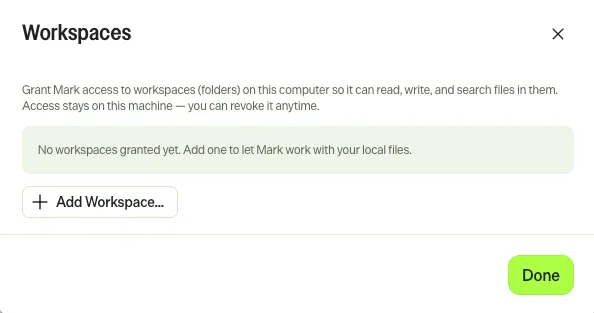
- Click Done. The added folders display.
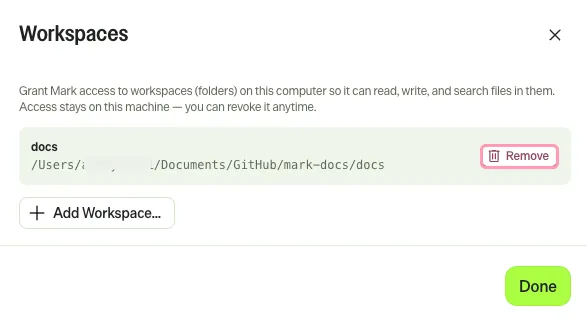
- Click Remove to revoke access to a folder. If a granted folder is moved, deleted or unmounted from your computer, Mark Desktop removes it from the list immediately.
Add a workspace inside a conversation
To add a workspace in a conversation, click Workspaces > Add a workspace and grant Mark Desktop access to your folders. After adding them, you can view them in a drop-down list. Click a folder to add it to the top of the chat. You can only remove folders if you click Workspaces from the navigation bar.
Note
If you use Opti ID, administrators can turn off generative AI in the Opti ID Admin Center. See Turn generative AI off across Optimizely applications.