Collections
Collections in Optimizely Content Marketing Platform (CMP) let you select one or more pieces of content (such as existing brand assets available from across your library folders) and compile them in a single, brandable webpage. You can generate a public URL unique to that collection and share it with teams or external stakeholders to access those materials.
Go to Library > Collections to see the list of collections.
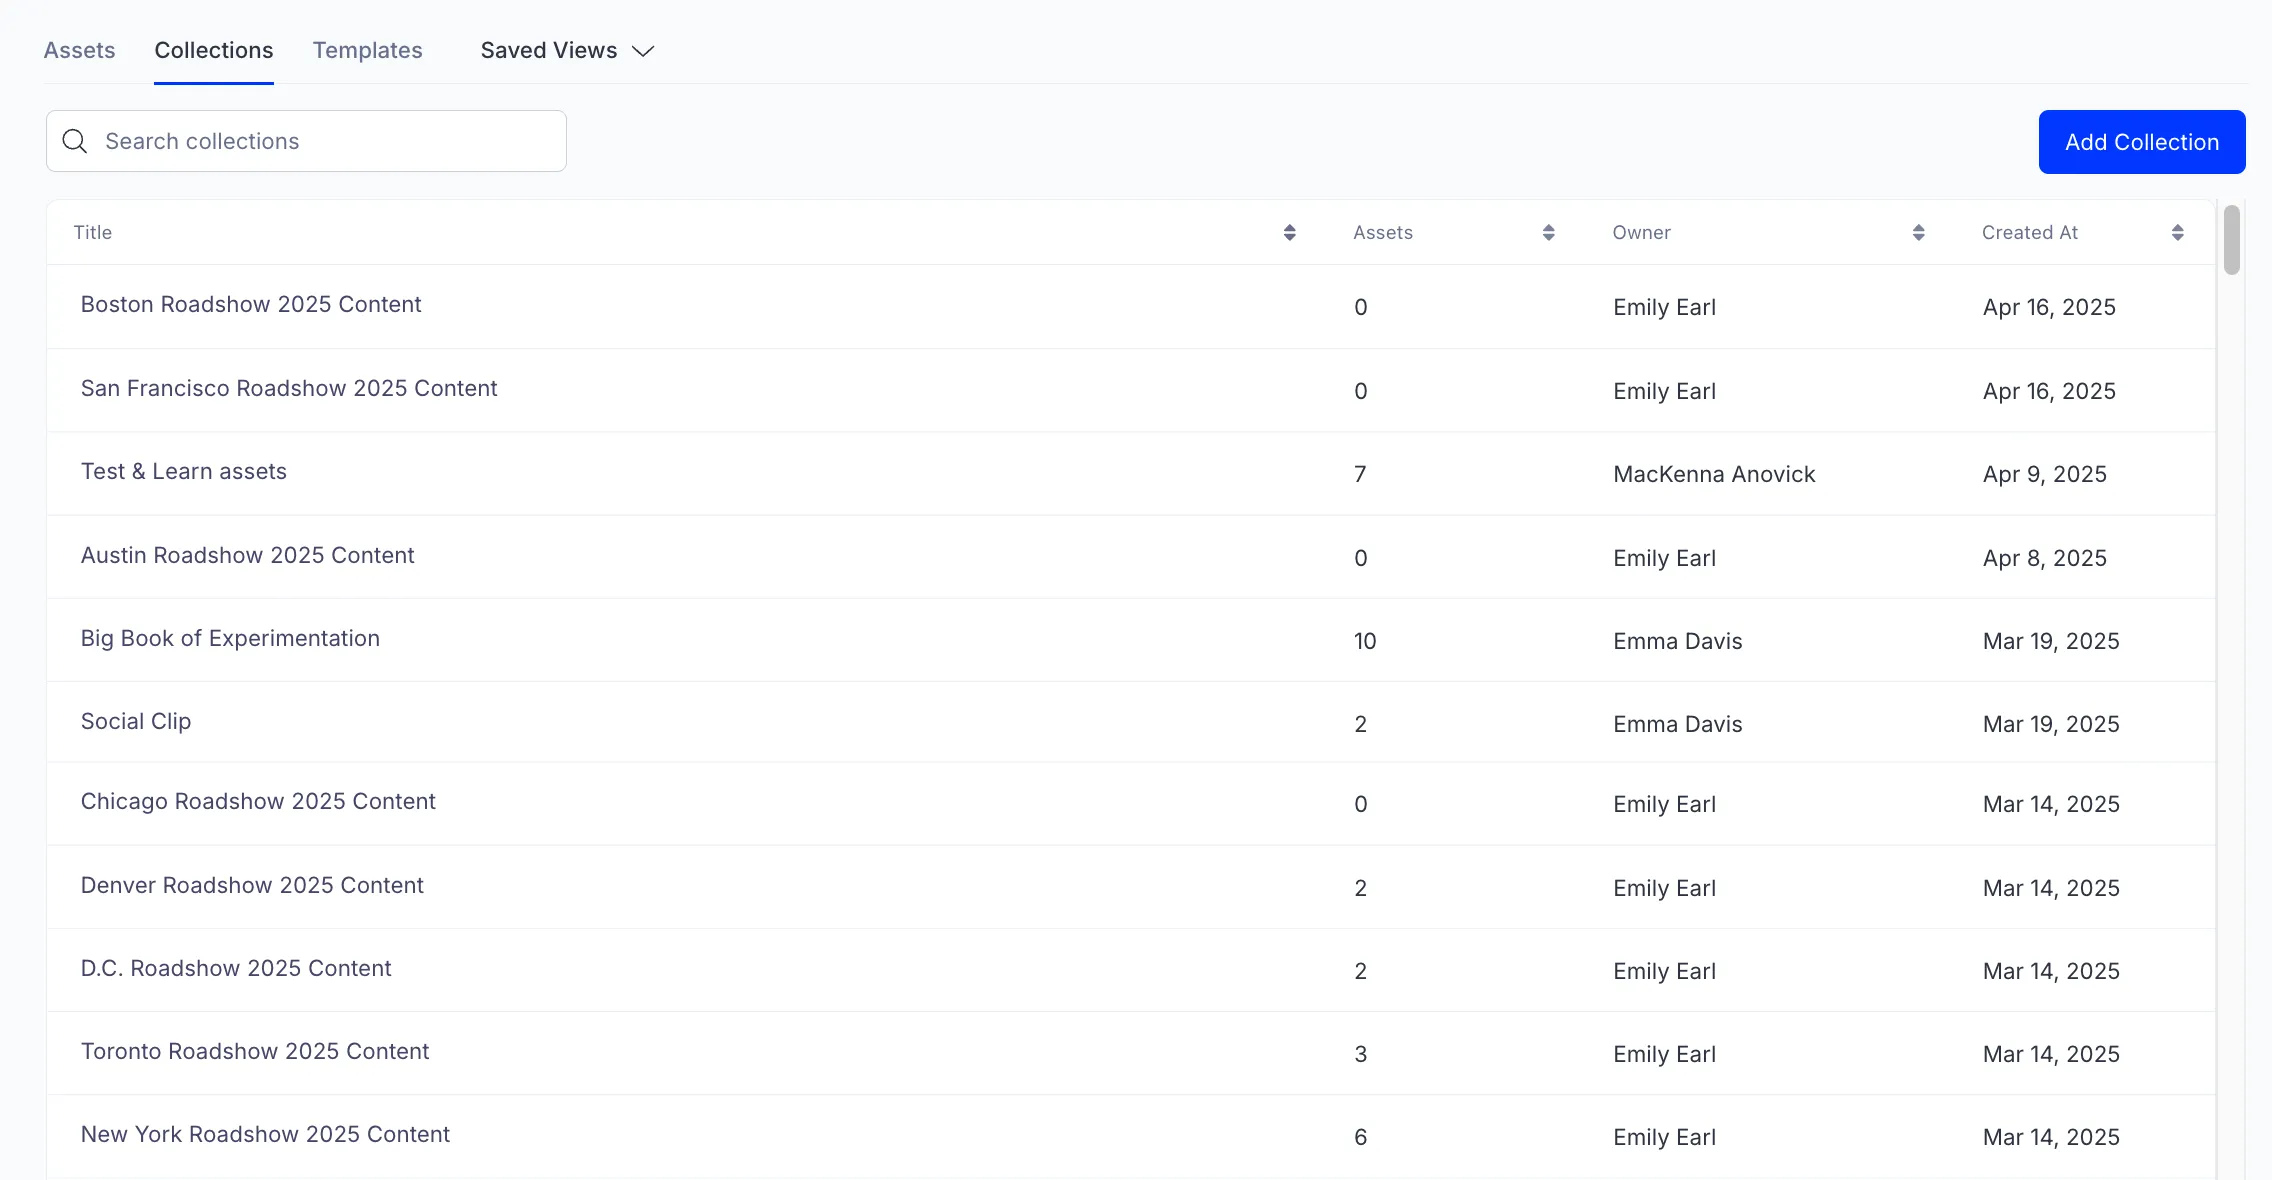
Select a collection from the list to view its assets.
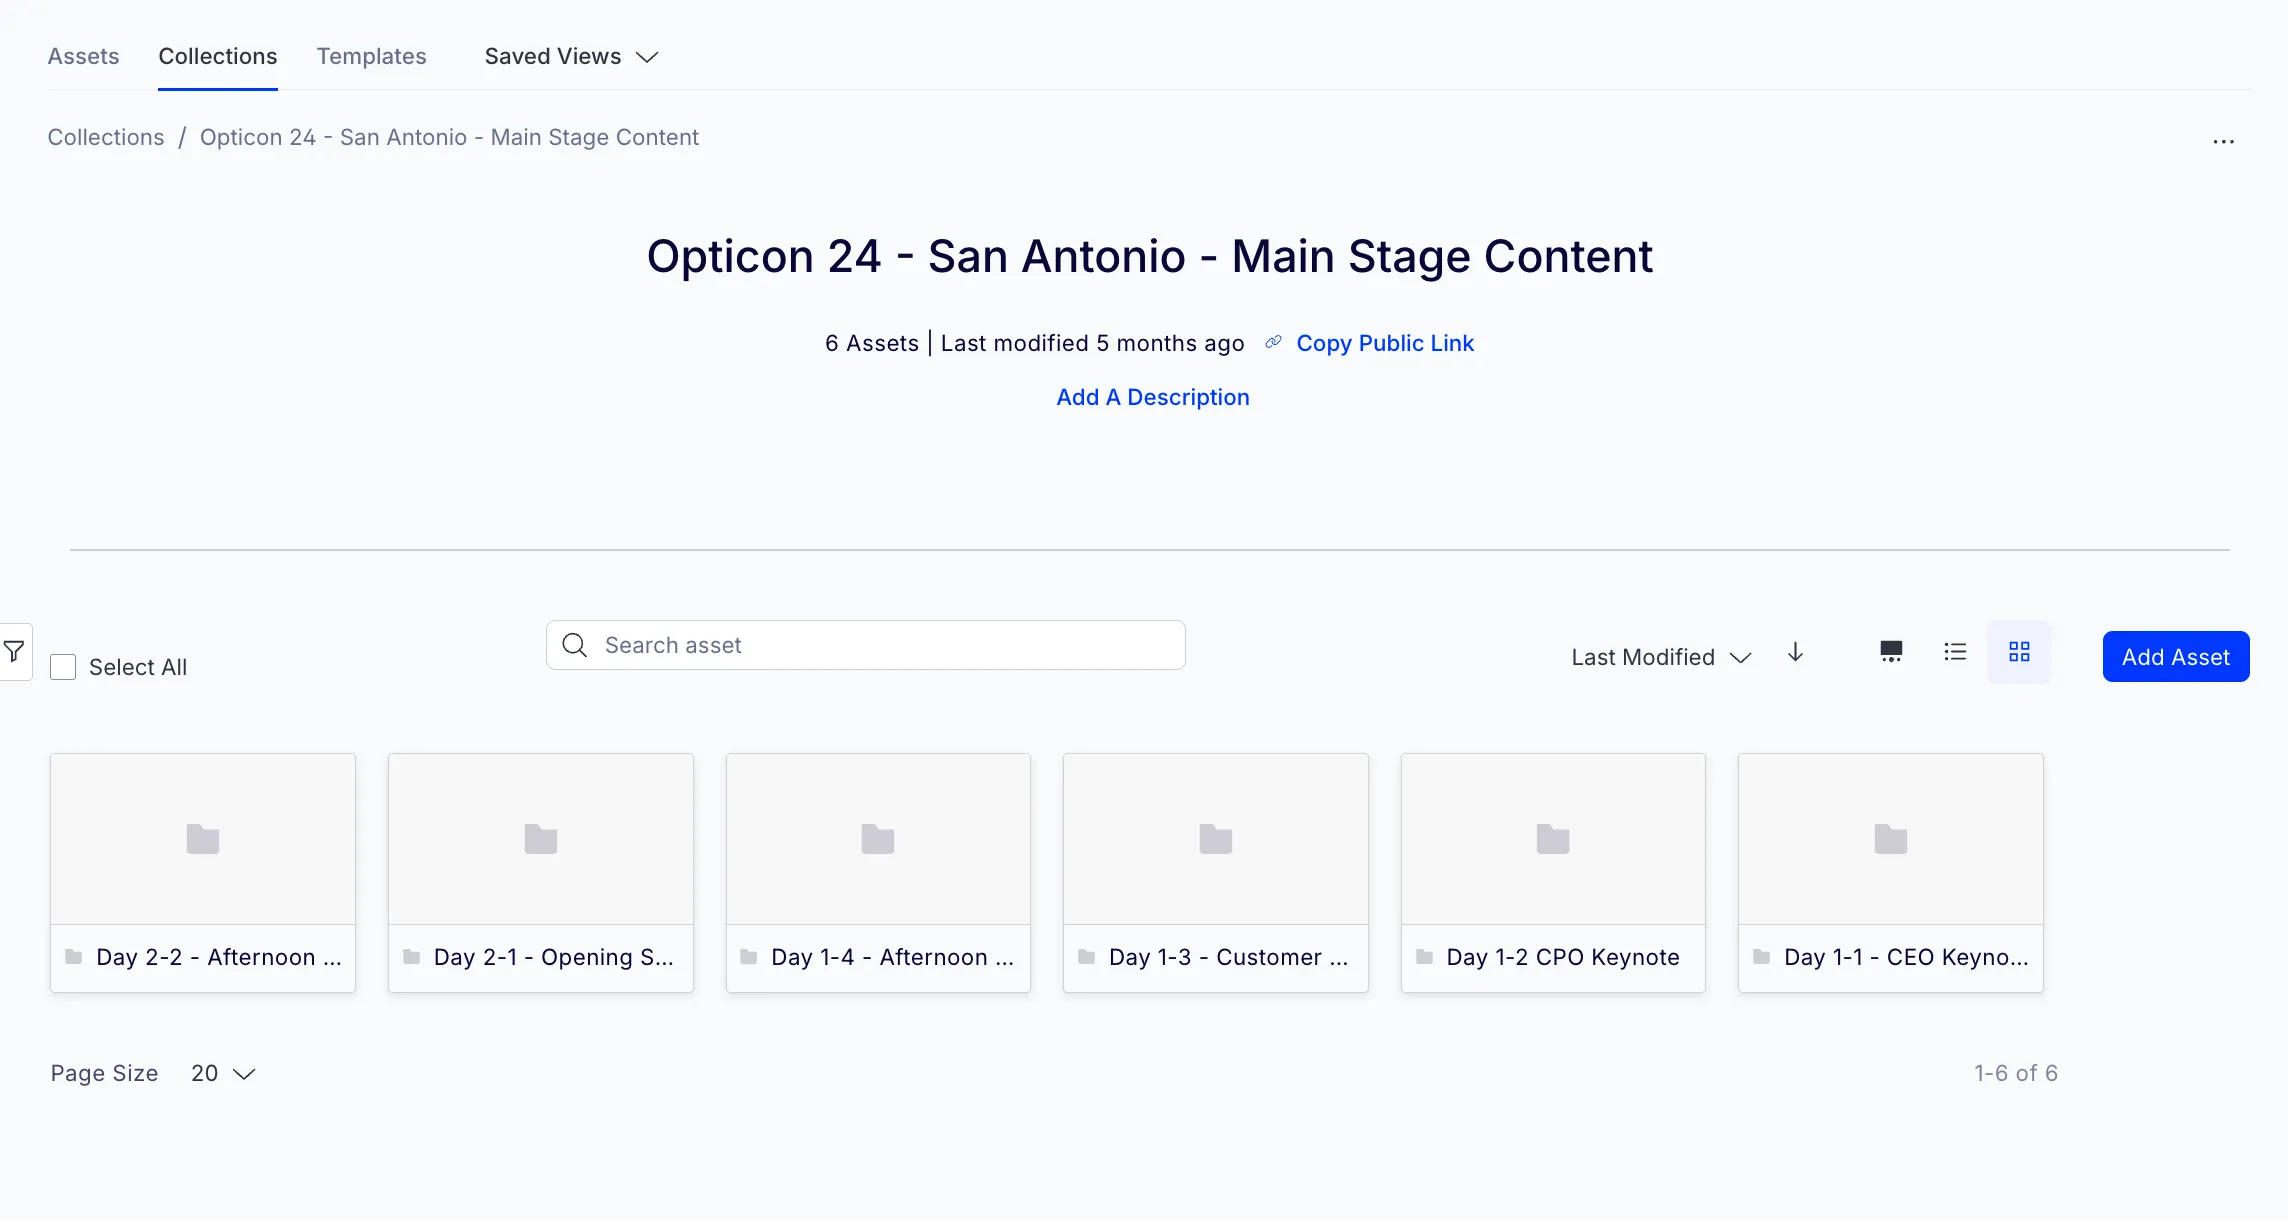
You can view assets in a collection in Carousel, List, and Grid views.

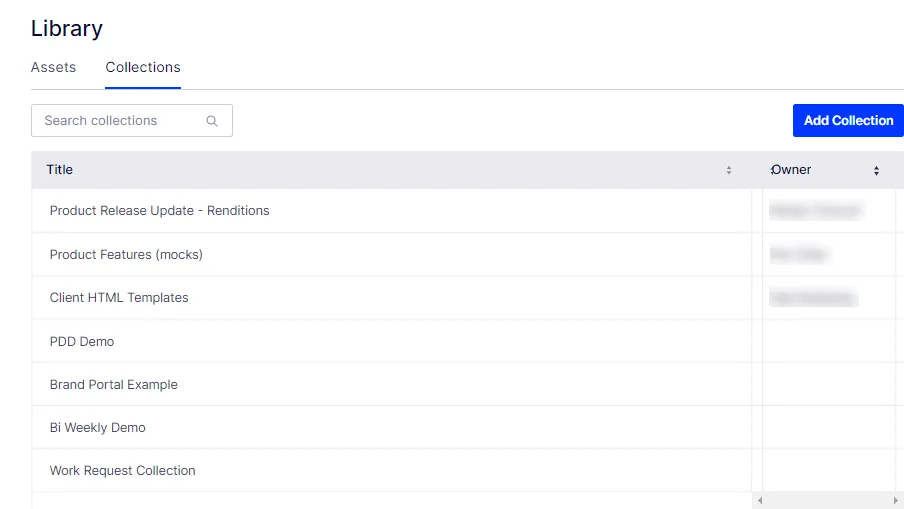
Create a collection
- Click Add Collection.
- Enter the title of your collection and an optional description.
- Click Save.
Duplicate a collection
Duplicate a collection to reuse its assets and settings instead of building a new collection from the start. CMP copies the description, assets, filters, and other settings to the duplicate.
To duplicate a collection:
- Go to Library > Collections.
- Click More (...) beside the collection name.
- Click Duplicate.
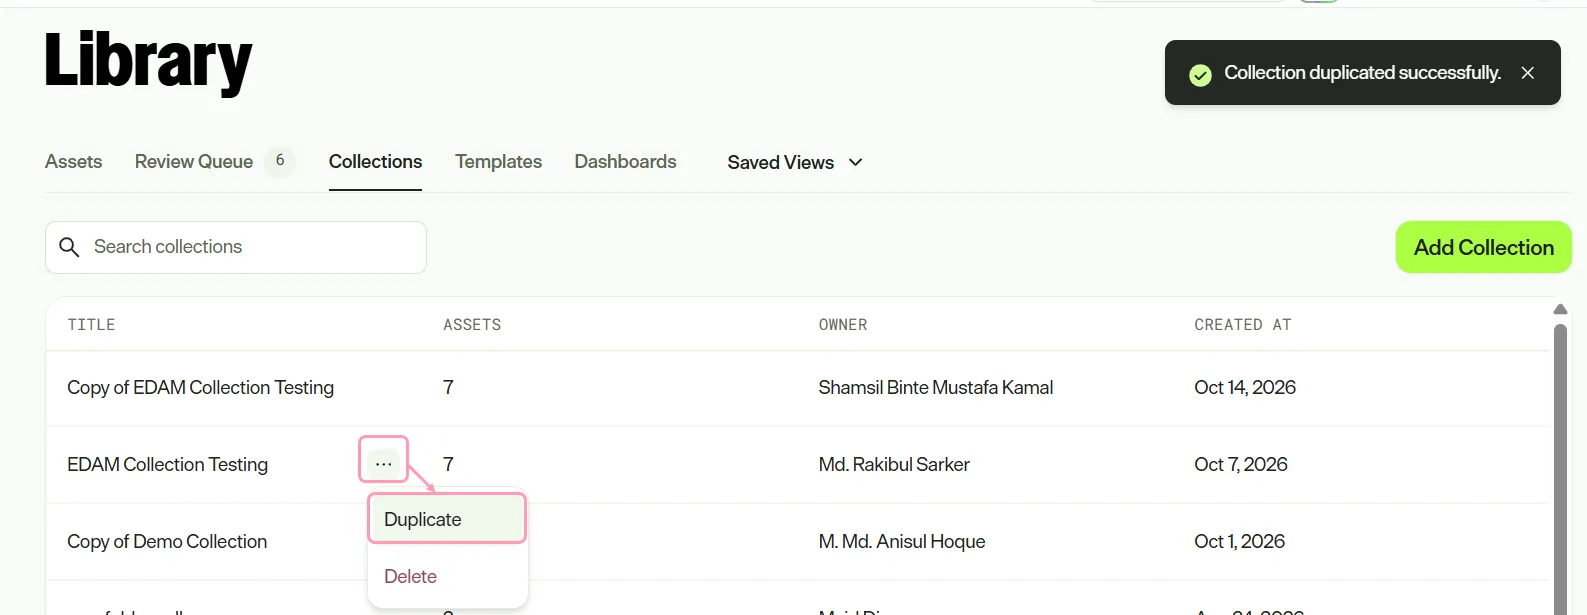
CMP adds the duplicate to the top of the list with the title Copy of followed by the original title. You become the owner of the duplicate, regardless of who owns the original.
Note
CMP does not create a public link for the duplicate, and the public link settings are turned off. To share the duplicate, turn on the public link manually.
Edit a collection title or description
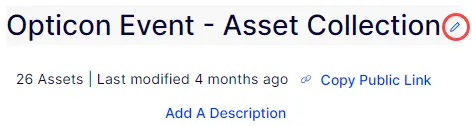
You can edit a collection by opening the collection and clicking the Edit icon beside the title.
Delete a collection
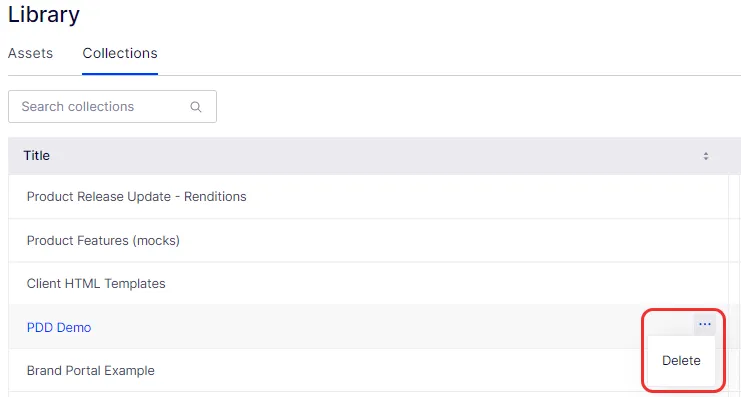
To delete a collection, click More (...) beside a collection name and click Delete.
Add assets to a collection
- Select a list.
- Click Add Asset.
- Select the assets you want to include in the collection. The ones you select display in the right panel.
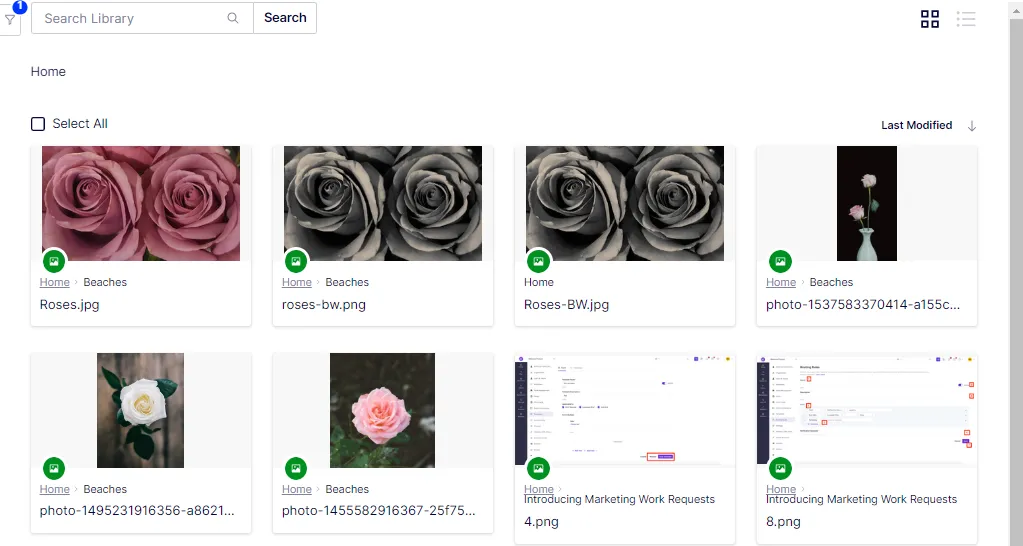
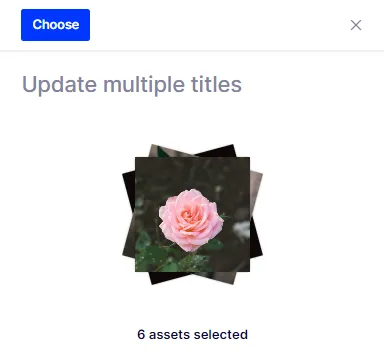
- Click Choose to add the assets to the collection.
Add folders to a collection
You can add folders (with everything contained in the folder) from the library to a collection. You can add these the same way you would add an asset to a collection.
A folder in a collection stays connected to the folder in the library as a reference. If you add an asset to the library folder, it is also automatically referenced in that folder in the collection.
Note
You cannot separate assets in a collection from their folder. If you do not want an asset from the folder to display in the collection, you must add the asset separately.
Add a cover photo to the collection
- Select a collection from the list.
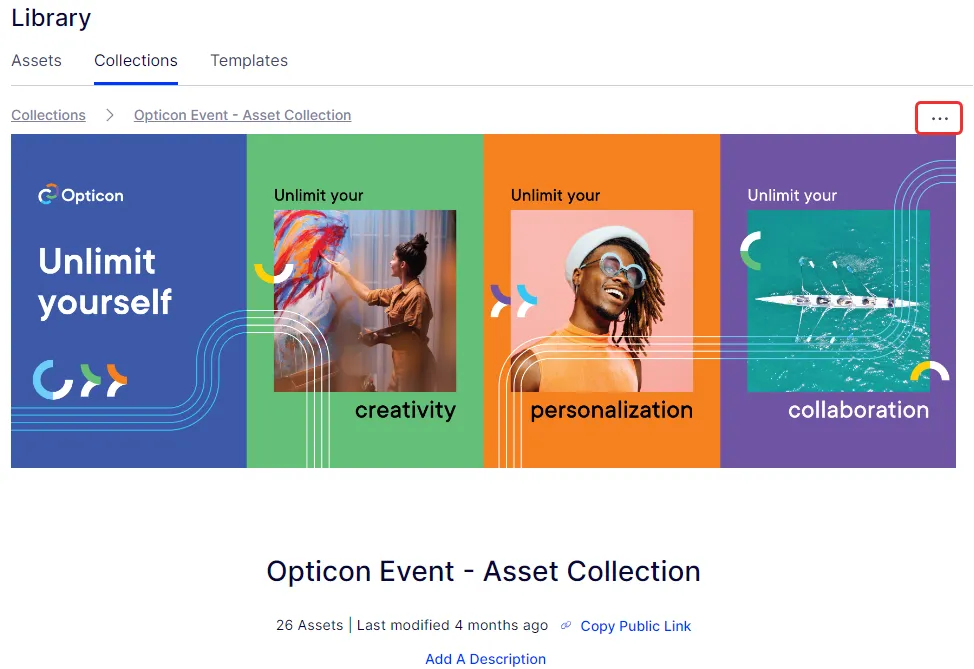
- Click More (...) > Add cover photo on the collection detail page.
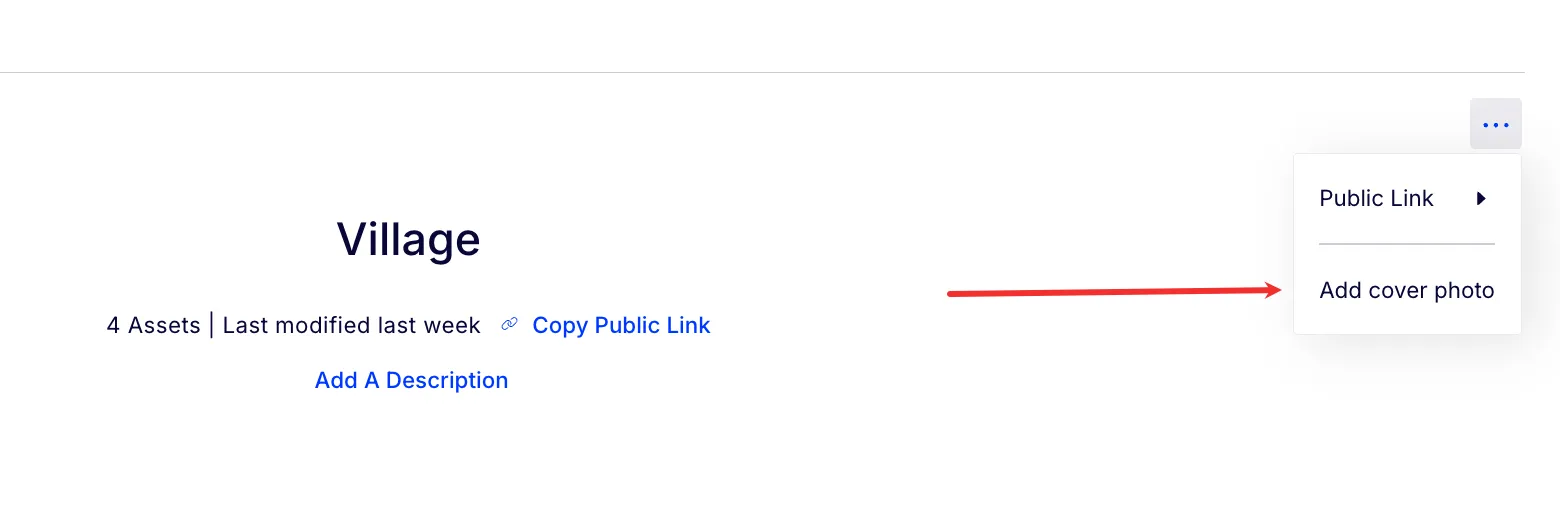
- Select a photo from the library and click Choose. The photo is applied to your collection view. You can click More (...) to Change the cover photo or Remove it.
Download and remove assets from a collection
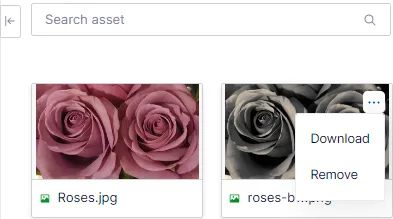
- Hover over an asset in a collection and click More (...).
- Select Download or Remove.
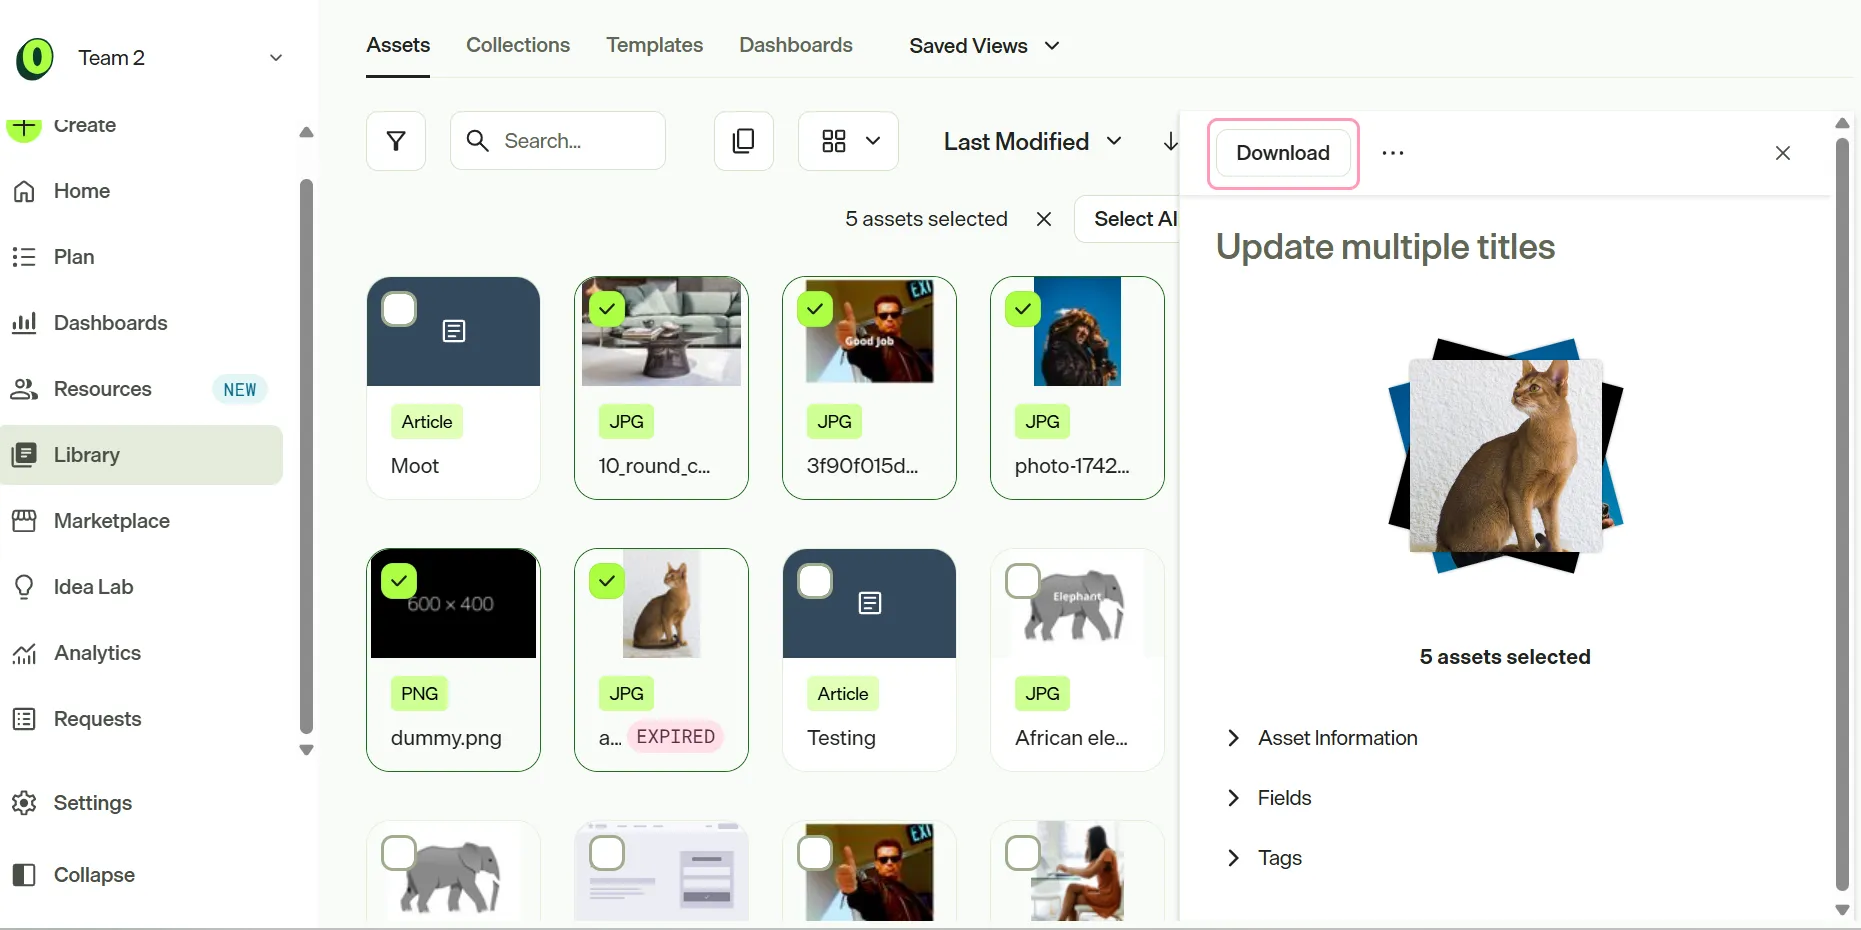
- Select multiple assets and/or folders at once and click Download to download them together as a single ZIP file, preserving the folder structure.
Sort assets in a collection
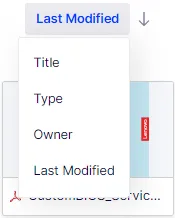
You can sort the assets in ascending or descending order according to their Last Modified time, Title, Type, or Owner.
Manage public access for a collection
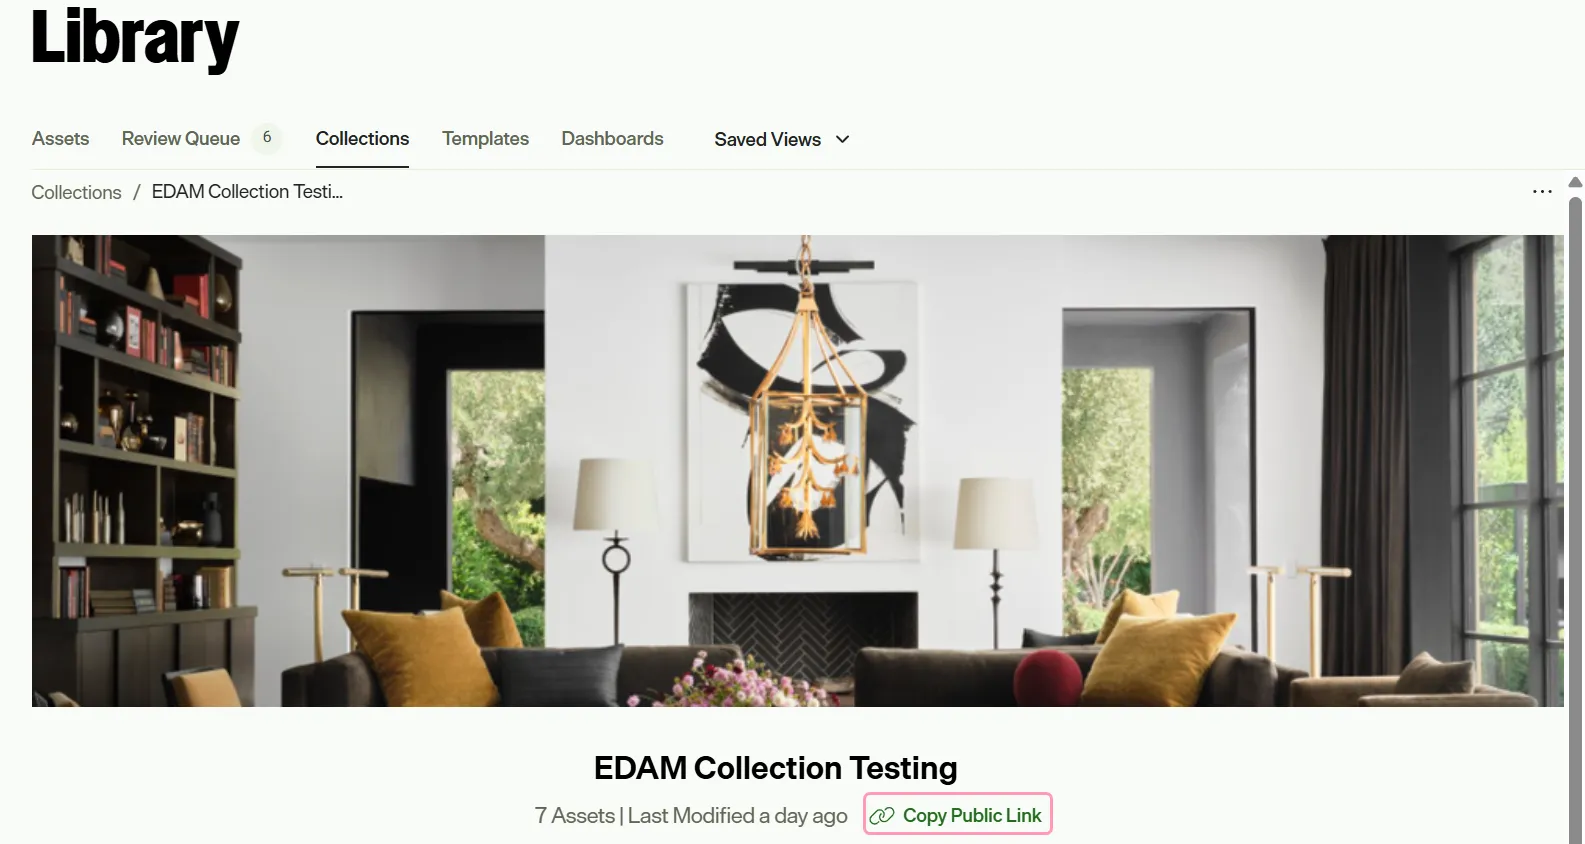
- Click Copy Public Link under the collection title to make a collection publicly accessible.
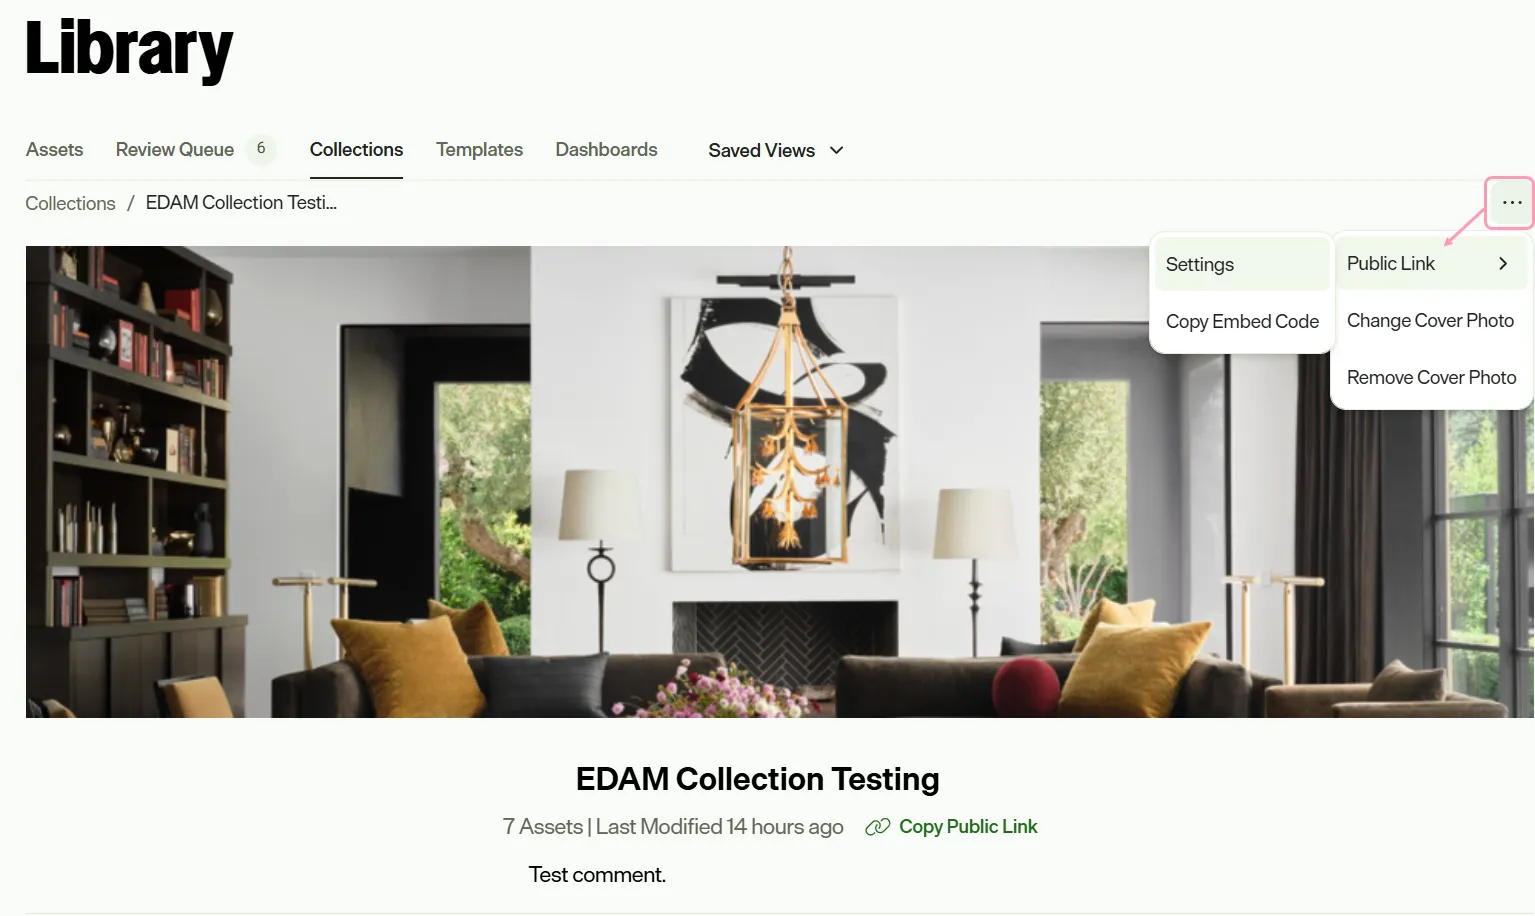
- Click More(...) > Public Link > Settings to manage link sharing.
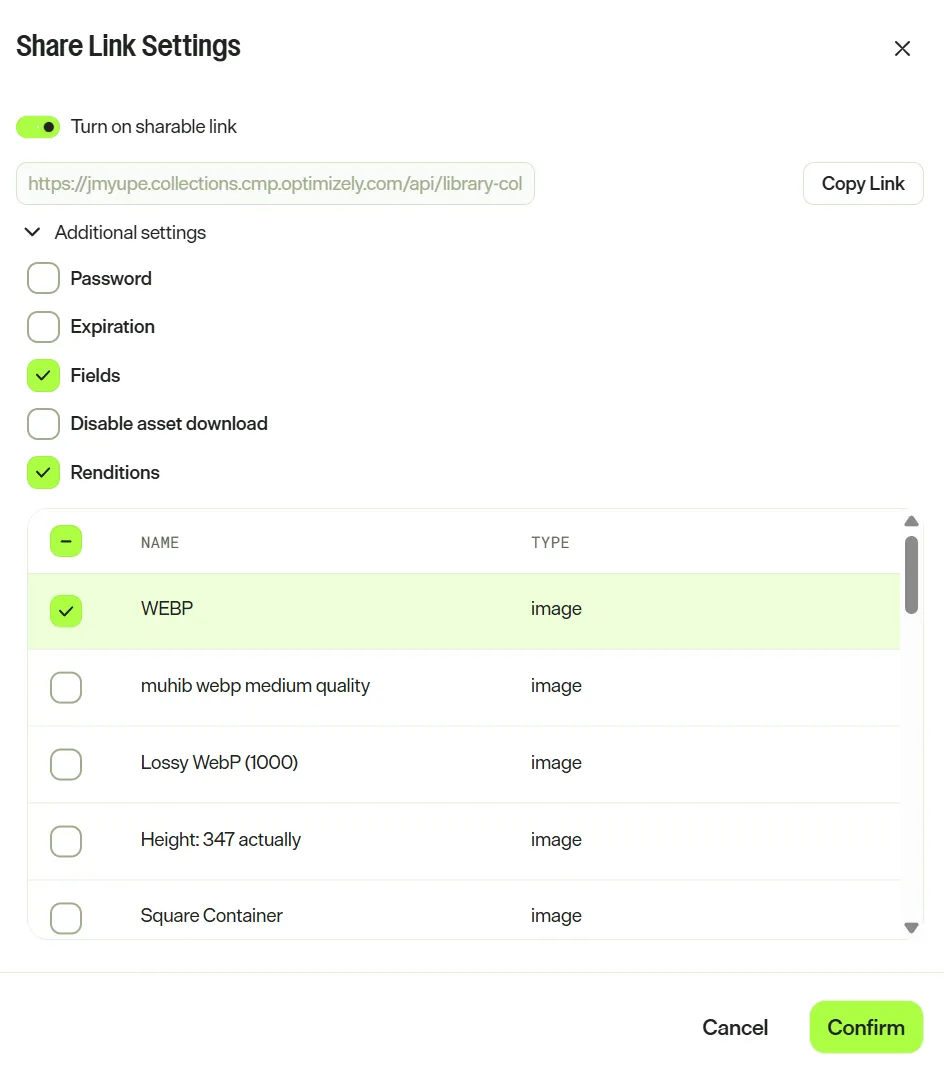
- Select from the following options:
- Turn on sharable link – Lets you share the link with others. Click Copy Link to copy the link.
- Additional settings – Lets you restrict the shareable link further.
- Password – Select this option to set a password for the link. When a user clicks the shareable link, they must enter the password to see the content.
- Expiration – Select this option to set a start date (Valid from) and end date (Valid until).
- Fields – Select this option to display asset fields.
- Disable asset download – Select this to make the collection view-only. Users who open the public link can view the assets but cannot download them. When you select this option, Renditions is not available.
- Renditions – Select this to let users download asset renditions (such as different formats or sizes) from public links. Select specific assets to limit which rendition types are available.
- Click Confirm when you are done editing the settings.
Configure filters
To configure what filters are available in the public collection, click Edit in Filters to open the Public Collection Filters page.
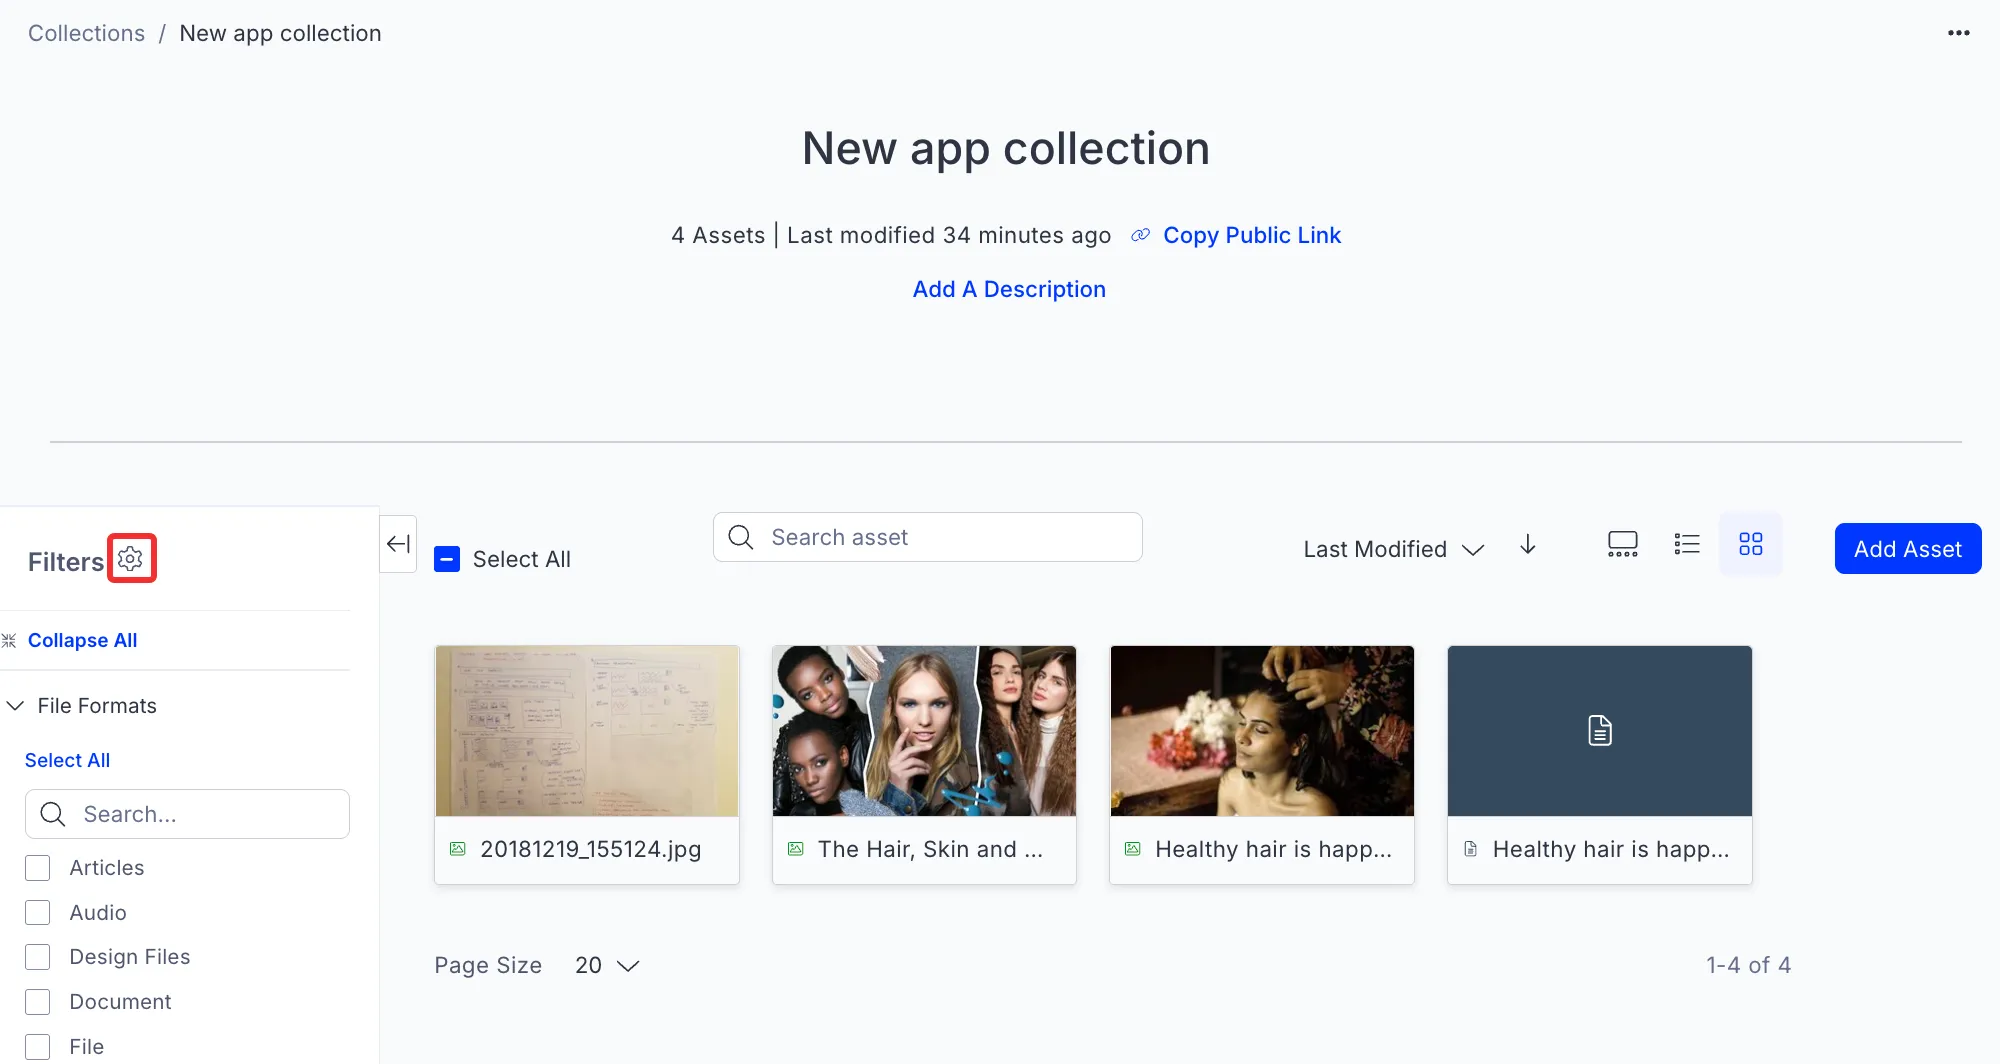
Select the filters you want to display in the public collection.
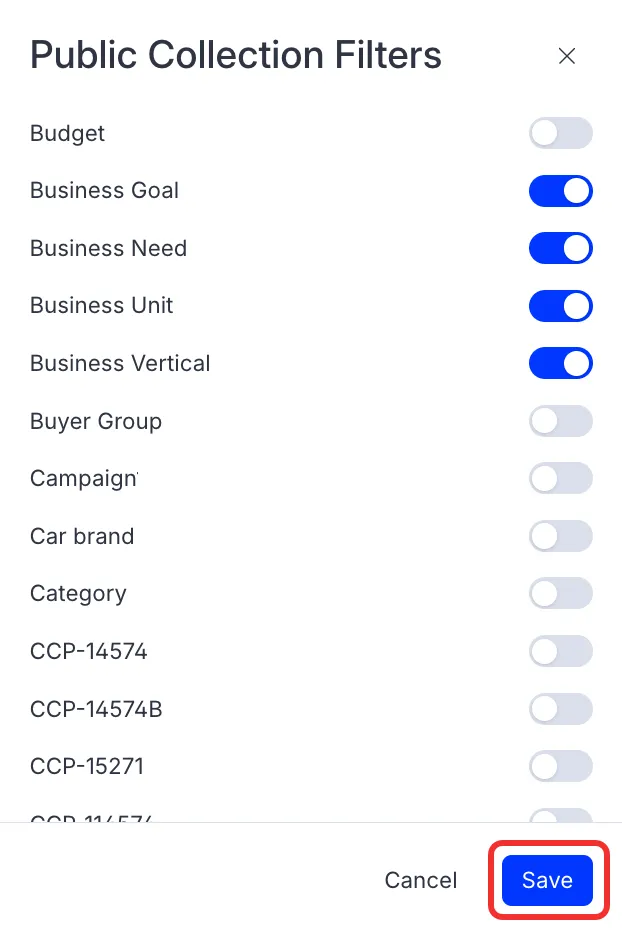
Click Save.
Share link
After CMP generates a link, you can share it so others can view the collection. Click Copy Public Link under the title, or go to More (...) and select Public Link > Settings > Copy link.
Embed link
To embed the public collection, go to More (...) and select Public Link > Copy embed code.
You can embed the code in the following places:
- A published article.
- An intranet site.
- In Salesforce.
- In your website.
To remove the public link, go to More (...) and select Public Link > Settings. Turn off the shareable link.
Public collection view
When you view the collection from the public link, your experience and available actions depend on how the collection owner configured the Share Link Settings and Public Collection Filters pages for the collection.
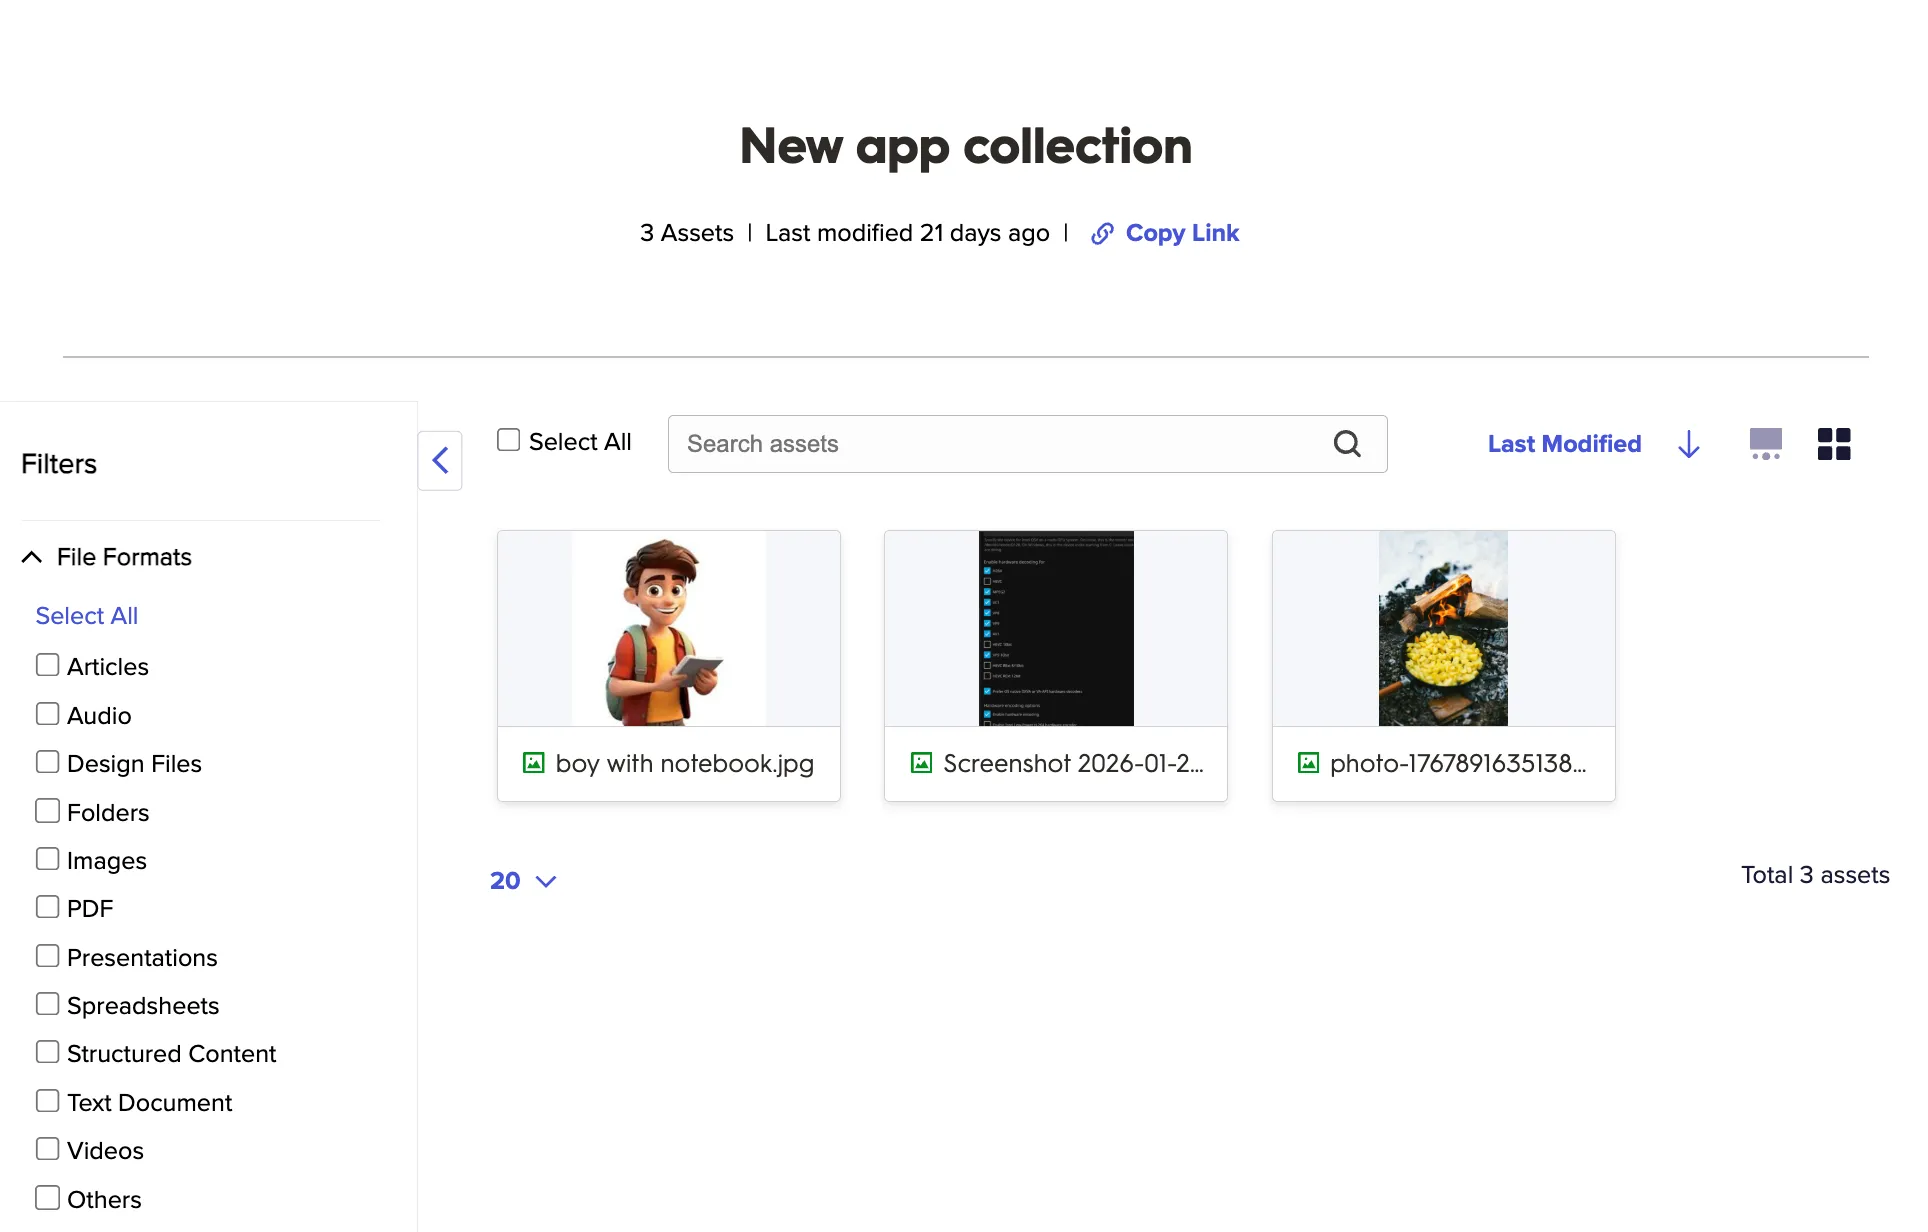
The following explains what you can typically do:
View and organize assets
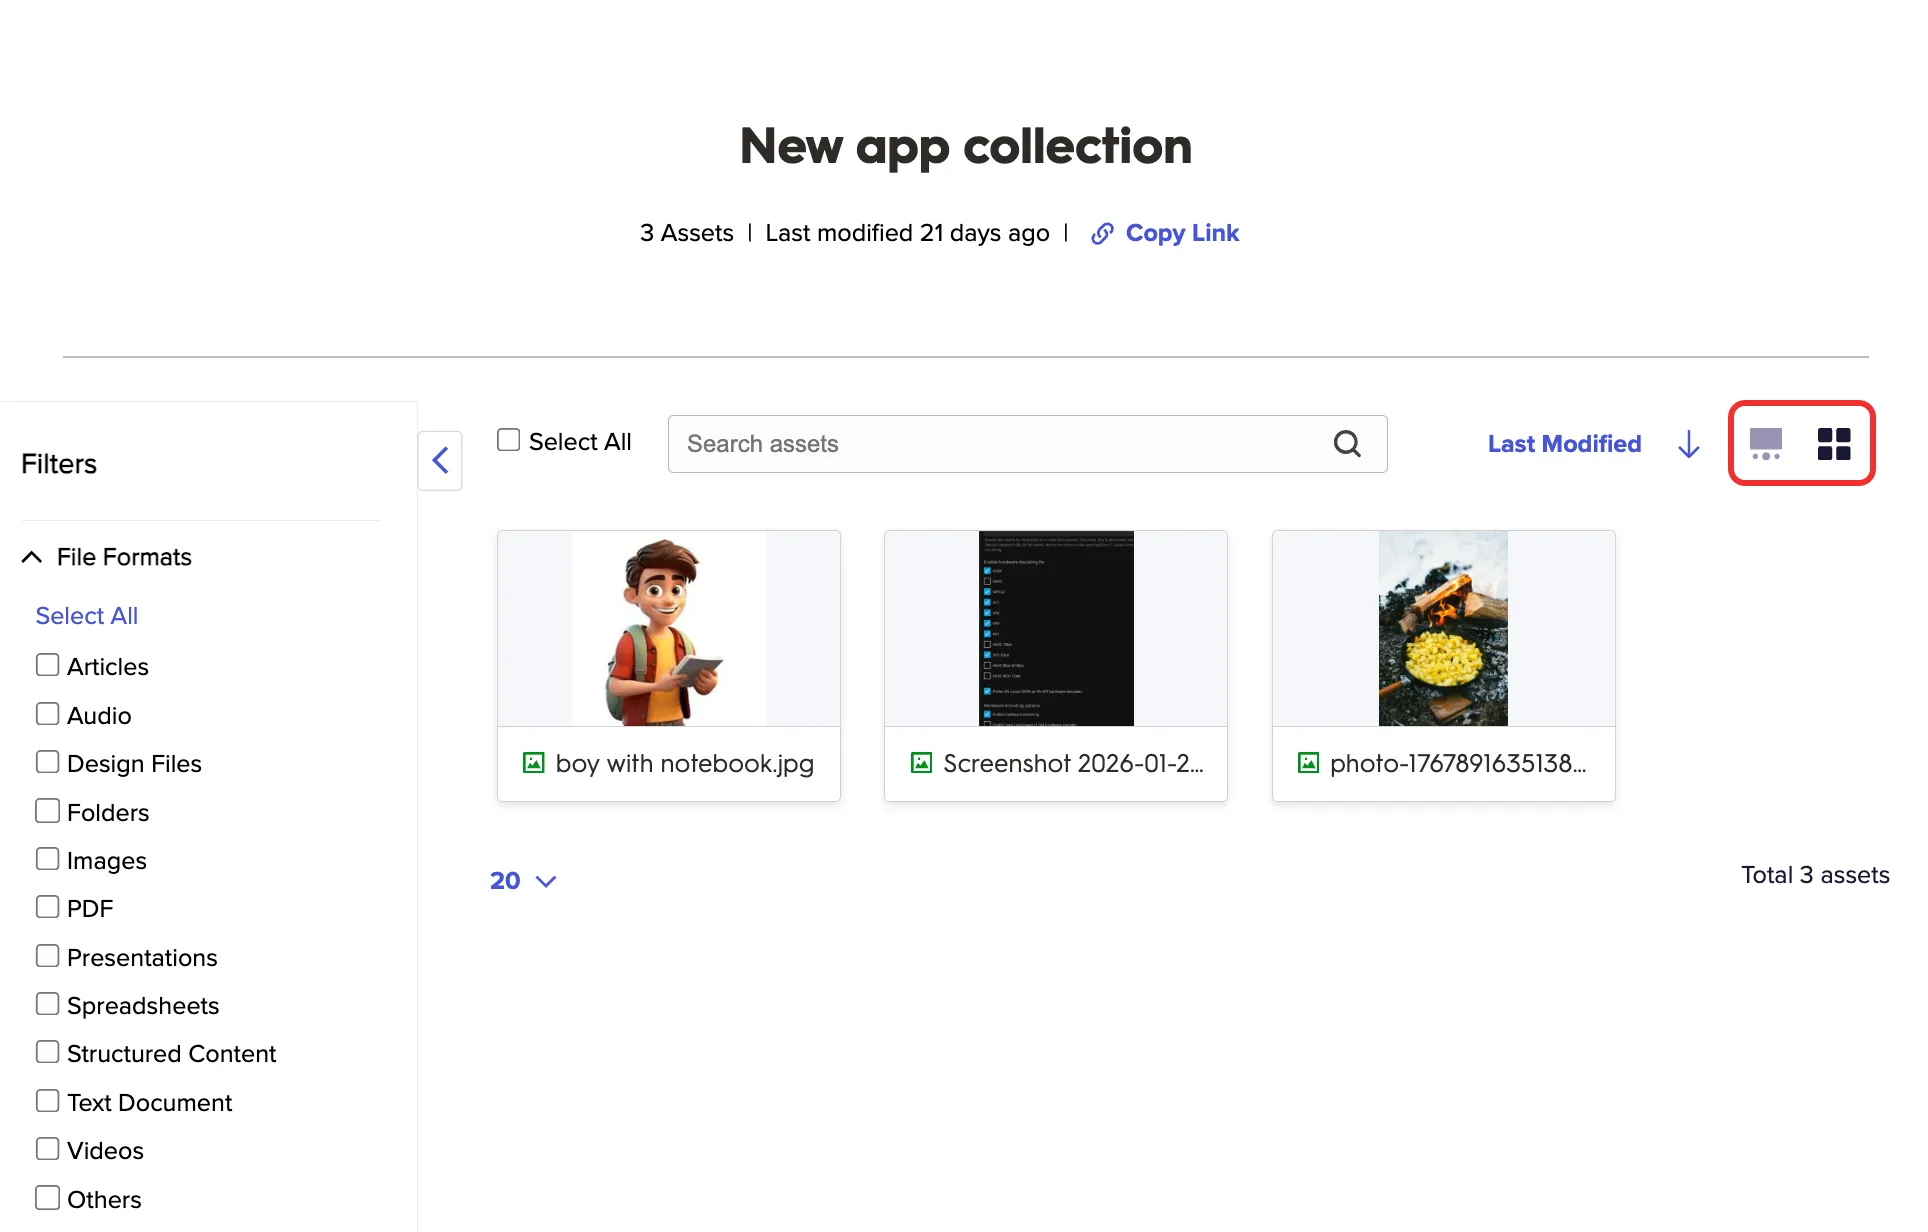
Switch views – You can toggle between carousel and grid views to browse the assets in the way that suits you best.
Filter – You can filter the assets by file formats. What options display depends on how the Public Collection Filters page is configured for the collection.
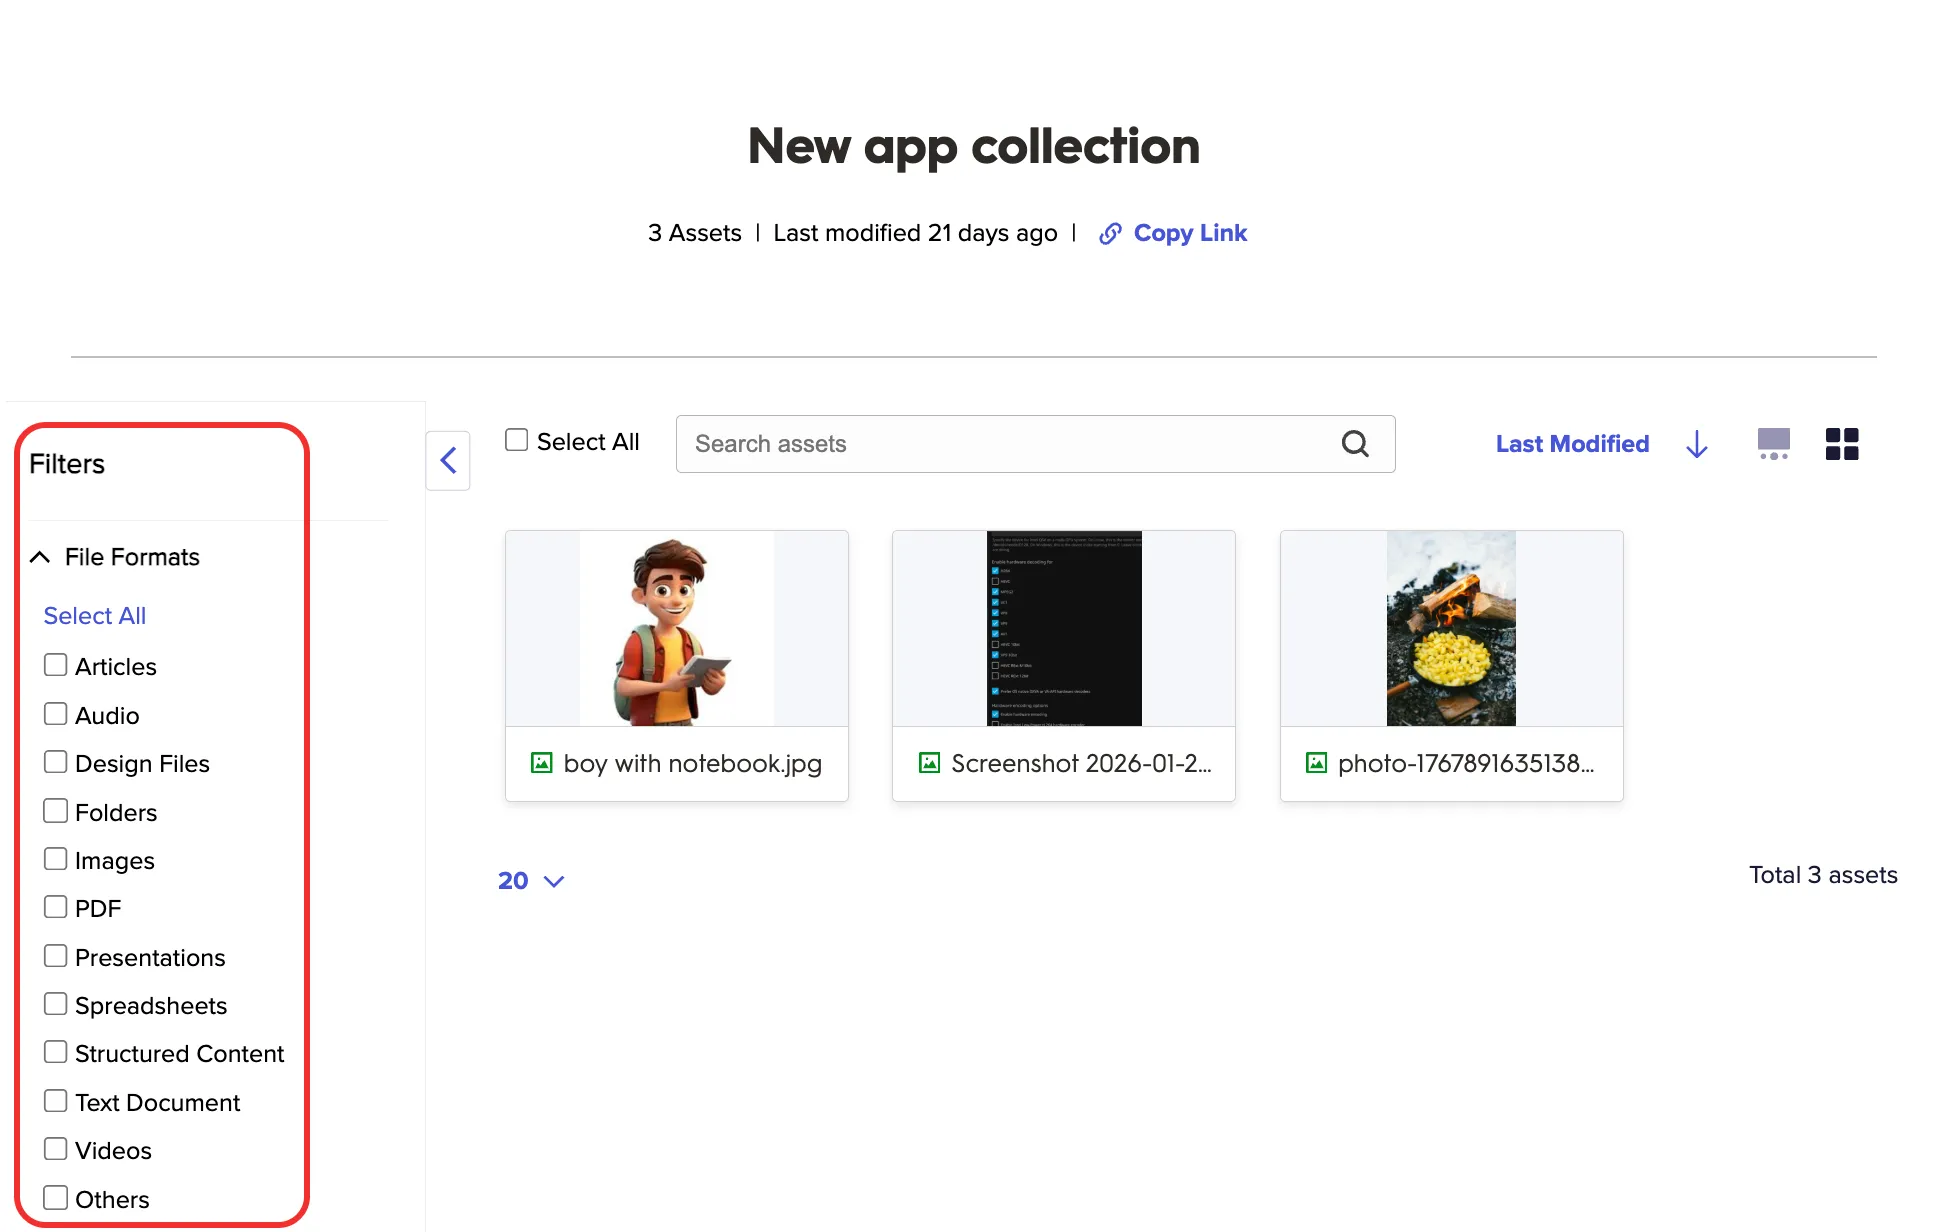
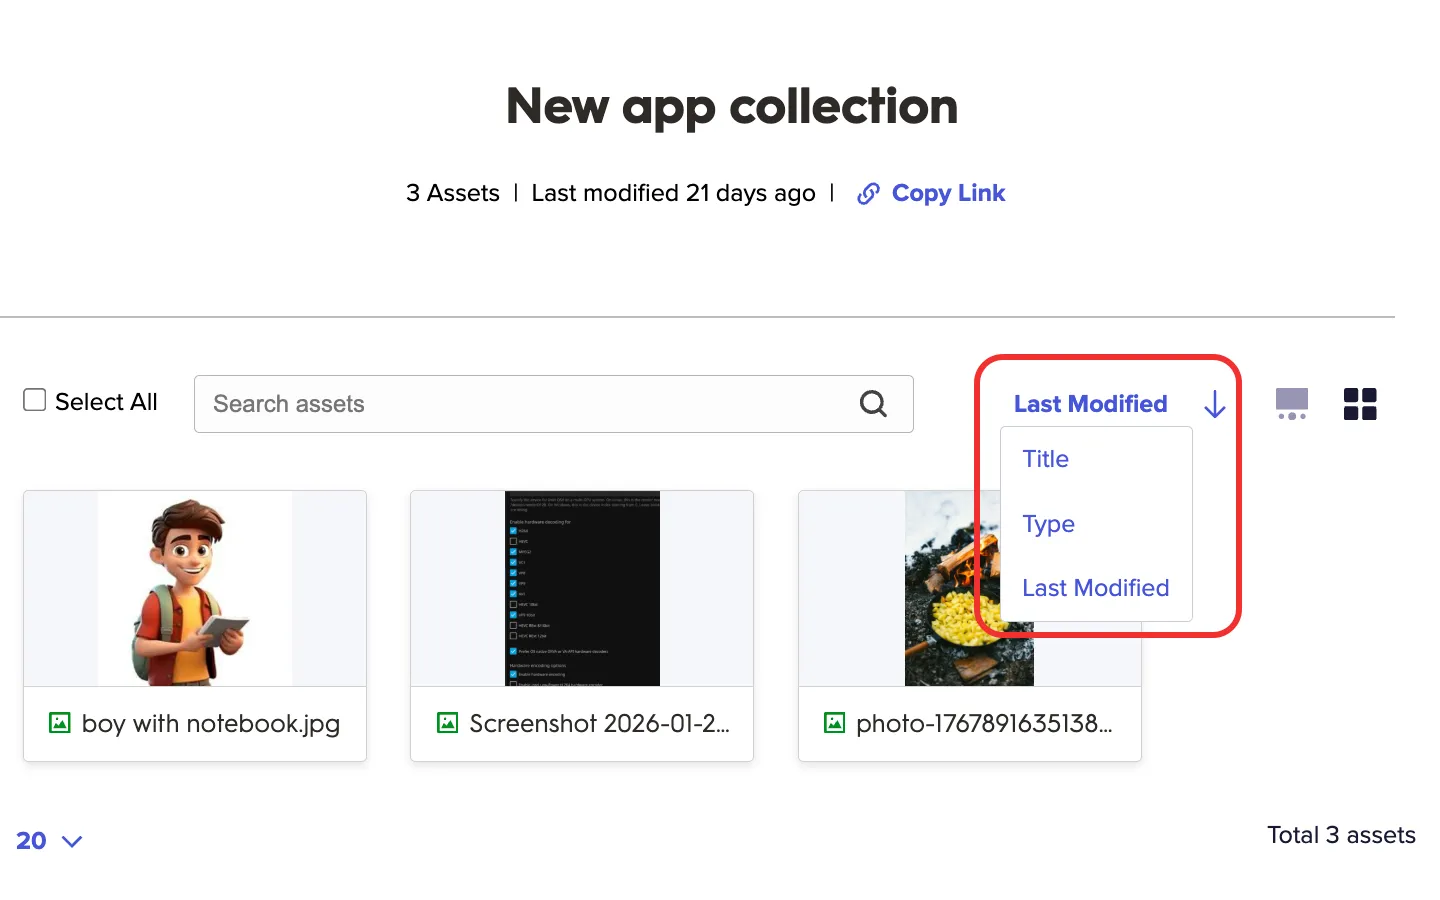
Sort – You can sort the assets by Title, Type, and Last Modified.
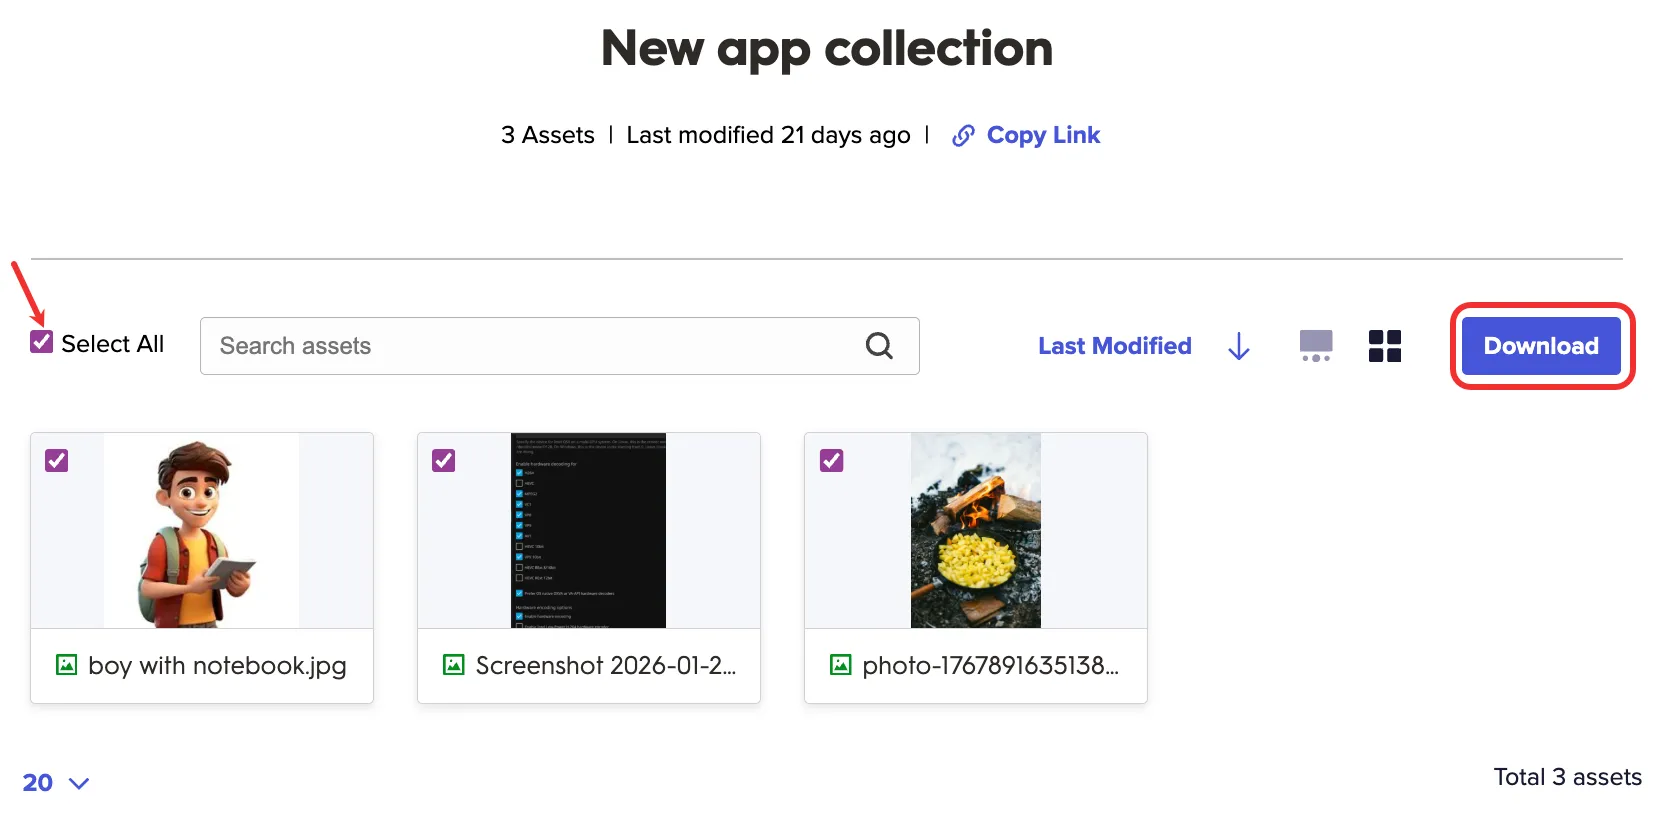
Download content – If the owner enabled the Renditions setting, you can download assets directly. Click an individual asset or Select All, and then click Download. If the owner selected Disable asset download, the Download option is not displayed, and you cannot download assets.
Asset details
You can click on an individual asset to see its details, Asset Fields, and Related Assets if they have been shared.
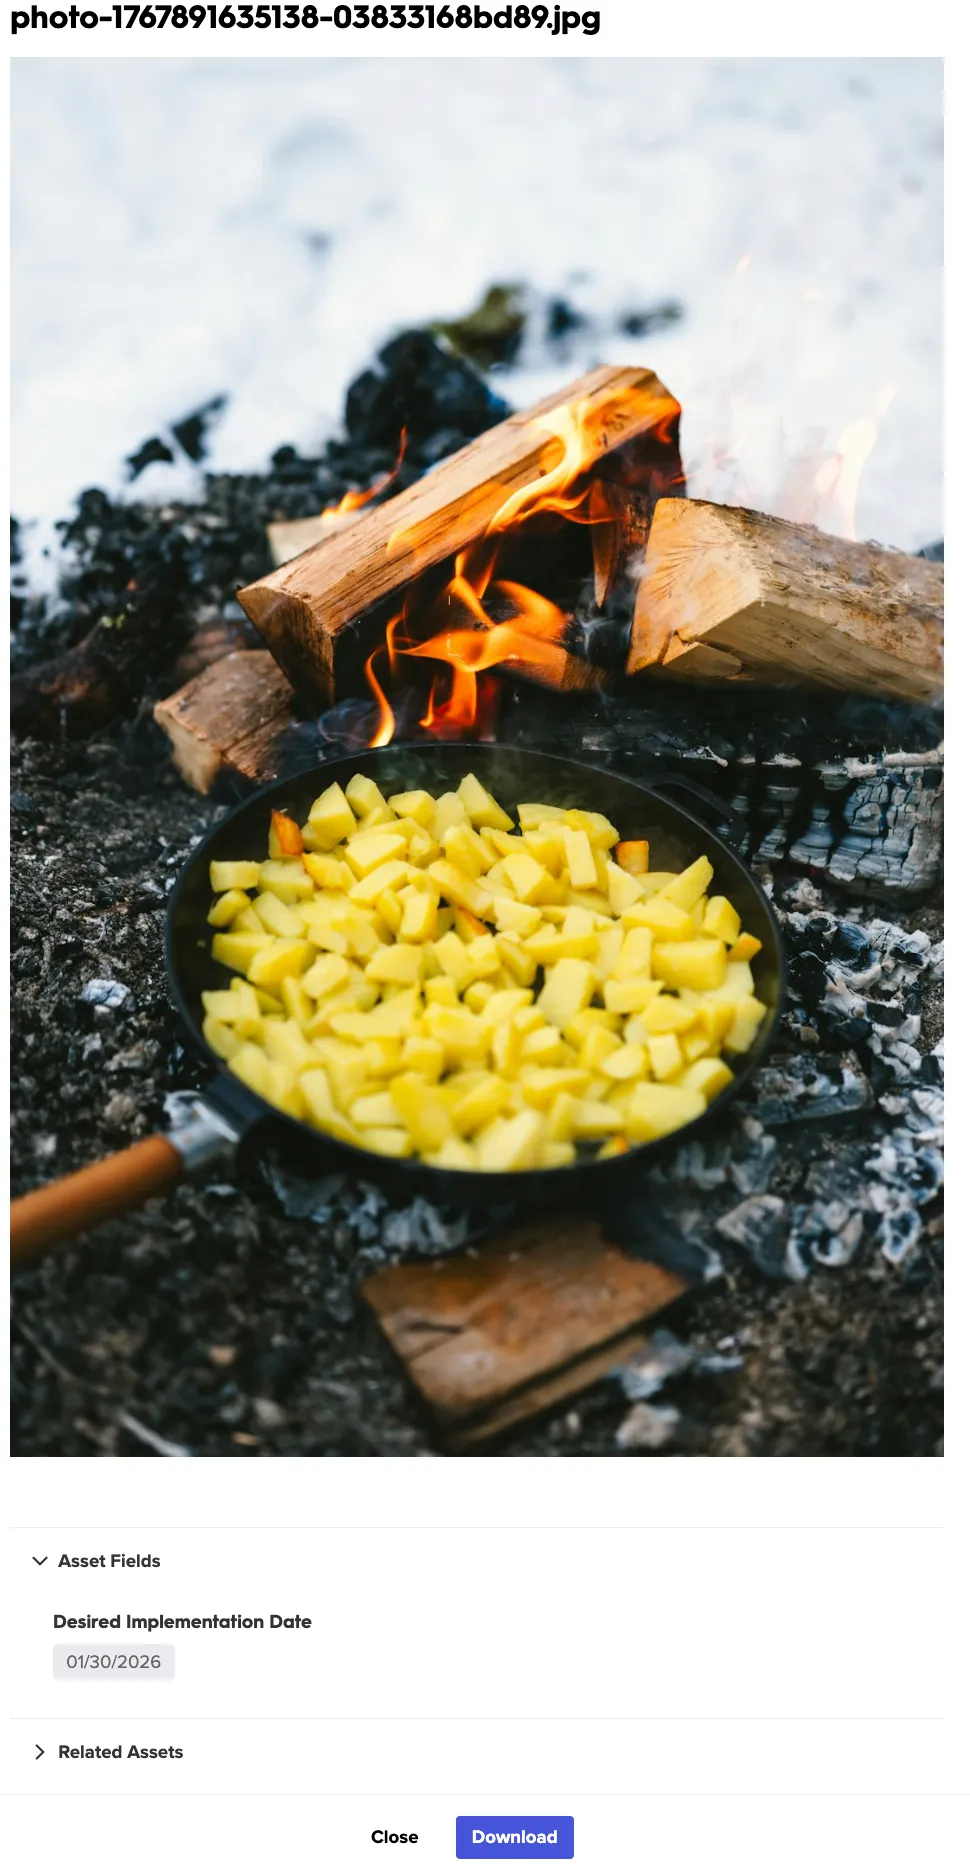
If the owner enabled the Renditions setting, click Download to download this asset. If the owner selected Disable asset download, the Download option is not displayed.
Security and access
Depending on how the owner set the Additional settings, the following safeguards are available:
- Password protection – If the link is secured, you are prompted to enter a password before you can see any content.
- Expiration – If the Valid from and Valid until dates were set, the link automatically stops working on the Valid until date.