Connect your Snowflake warehouse with OAuth
Connect Optimizely Analytics to Snowflake through each user's own Snowflake account instead of one shared Snowflake user. The OAuth (User-to-Machine) authentication mode uses Open Authorization (OAuth) to run each query with the requesting user's Snowflake role. Your Snowflake access controls apply in Optimizely Analytics. Nobody has to manage a shared password or key pair.
Choose OAuth (User-to-Machine) when each person should see only the data that their own Snowflake role can read. Choose Key-Pair Authentication when every query runs as one Snowflake user. For key-pair setup, see Connect your Snowflake warehouse to Optimizely Analytics.
This article covers the Internal IdP option, which uses Snowflake's own OAuth server. For logins through your company's identity provider, see Connect your Snowflake warehouse with an external identity provider.
The configuration consists of the following three parts:
- A Snowflake administrator creates a security integration in Snowflake.
- You add its client ID and client secret to a Snowflake connection in Optimizely Analytics.
- You log in to Snowflake from the Snowflake connection, and every other user logs in the same way.
Prerequisites
Confirm the following before you start so that each user logs in on the first attempt:
- A Snowflake administrator who can create a security integration. Snowflake requires the ACCOUNTADMIN role or a role with the CREATE INTEGRATION privilege.
- The URL of your Snowflake account, such as jdbc:snowflake://ACCOUNT_IDENTIFIER.snowflakecomputing.com. See Account identifiers in the Snowflake documentation.
- A Snowflake warehouse and a writable schema for Optimizely Analytics. To create them, see Configure your Snowflake warehouse. OAuth replaces the shared user and password from that article, so skip them.
- A Snowflake user for each person who queries Snowflake in Optimizely Analytics. Each user's default role needs access to the warehouse and the data. To grant that access, see Configure your Snowflake warehouse.
- Permission to create or edit connections in Optimizely Analytics. For how Optimizely Analytics grants permissions, see Authorization and access control.
Create a security integration in Snowflake
A security integration lets Optimizely Analytics request Snowflake logins on behalf of your users. It provides a client ID and client secret, the credentials that identify Optimizely Analytics to Snowflake.
Ask a Snowflake administrator to create a Snowflake OAuth security integration for a custom client. For the steps, see Configure Snowflake OAuth for custom clients in the Snowflake documentation. The security integration requires the following settings:
- OAUTH_CLIENT – CUSTOM.
- OAUTH_CLIENT_TYPE – CONFIDENTIAL. Optimizely Analytics authenticates to Snowflake with the client secret.
- OAUTH_REDIRECT_URI – https://ANALYTICS_DOMAIN/oauth/callback, where ANALYTICS_DOMAIN is the domain you use to open Optimizely Analytics. Example values include https://analytics.optimizely.com/oauth/callback and https://app.netspring.io/oauth/callback. Snowflake returns users to this address after they log in.
- OAUTH_ISSUE_REFRESH_TOKENS – TRUE. A scope sets what a Snowflake login grants access to. Optimizely Analytics requests the refresh_token scope, which keeps each user logged in without repeated prompts.
Optimizely Analytics does not request a specific role, so Snowflake uses each user's default role. By default, Snowflake blocks the ACCOUNTADMIN, SECURITYADMIN, ORGADMIN, and GLOBALORGADMIN roles from OAuth logins. Give each user a default role that the security integration allows.
Get the client ID and client secret from your Snowflake administrator. The administrator retrieves them with the SYSTEM$SHOW_OAUTH_CLIENT_SECRETS function.
Configure the Snowflake connection and log in
Add the security integration's credentials to a Snowflake connection in Optimizely Analytics, and then log in to Snowflake. Your queries then run with your own Snowflake role. The following steps apply whether you create a Snowflake connection or edit an existing one.
- Go to Data > Connections.
- Create a Snowflake connection, or open an existing Snowflake connection.
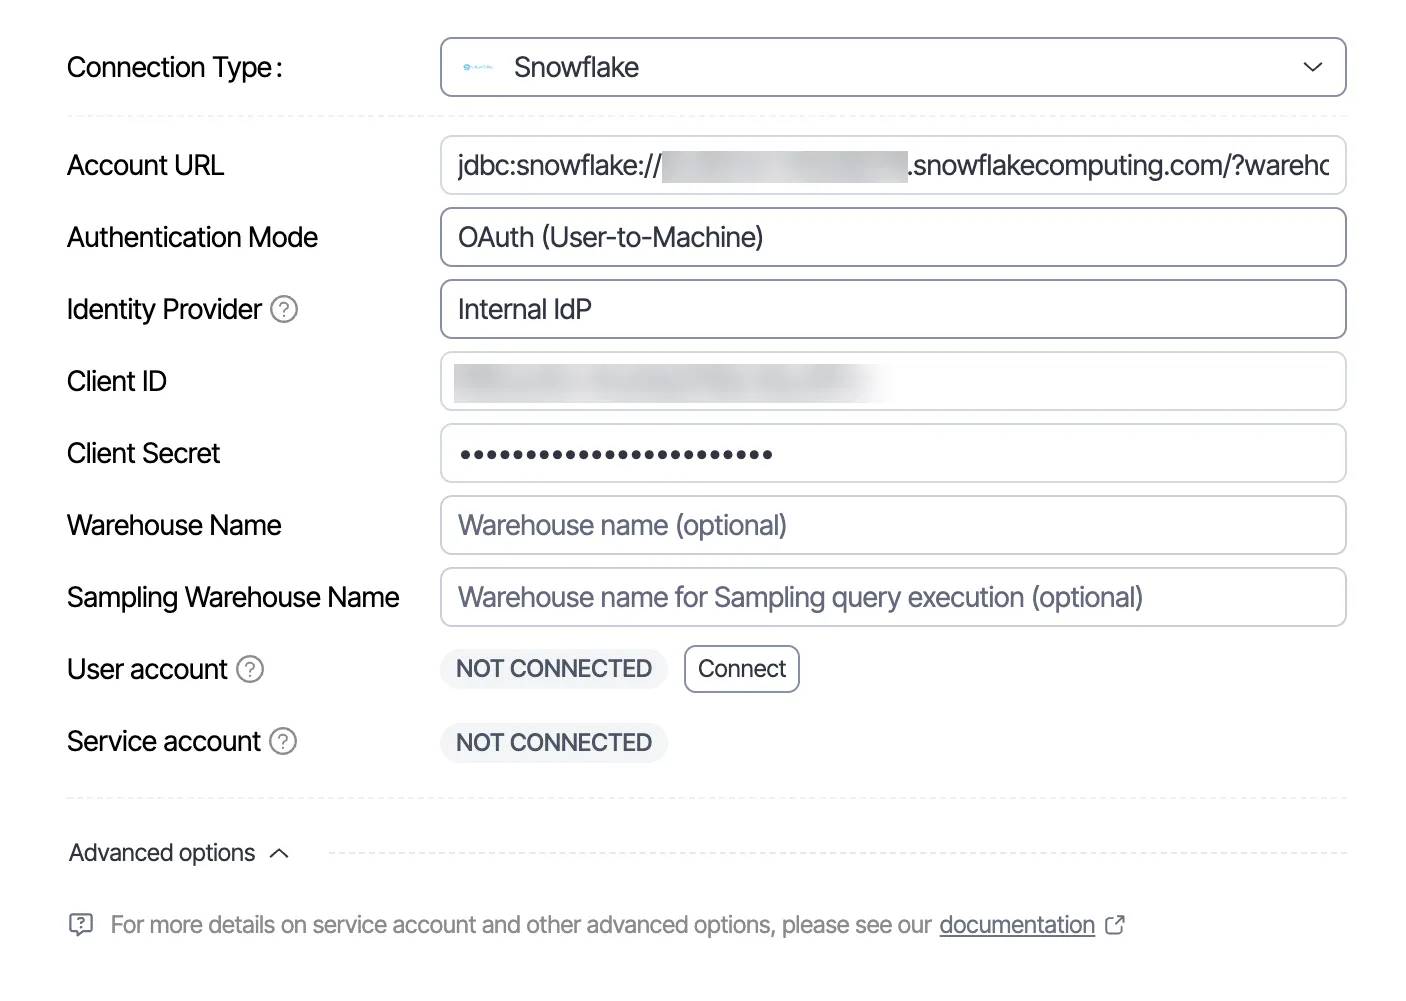
- Enter the URL of your Snowflake account in Account URL. Include the host name, such as ACCOUNT_IDENTIFIER.snowflakecomputing.com, and leave out OAuth parameters. Optimizely Analytics sets the OAuth authenticator and access token itself. It builds the Snowflake login addresses from the account identifier in the host name.
- Select OAuth (User-to-Machine) from the Authentication Mode drop-down list. The form hides Username, because each user logs in as their own Snowflake user.
- Select Internal IdP from the Identity Provider drop-down list.
- Enter the client ID in Client ID.
- Enter the client secret in Client Secret.
- (Optional) Enter warehouse names in Warehouse Name and Sampling Warehouse Name.
- Click Save.
- Click Connect.
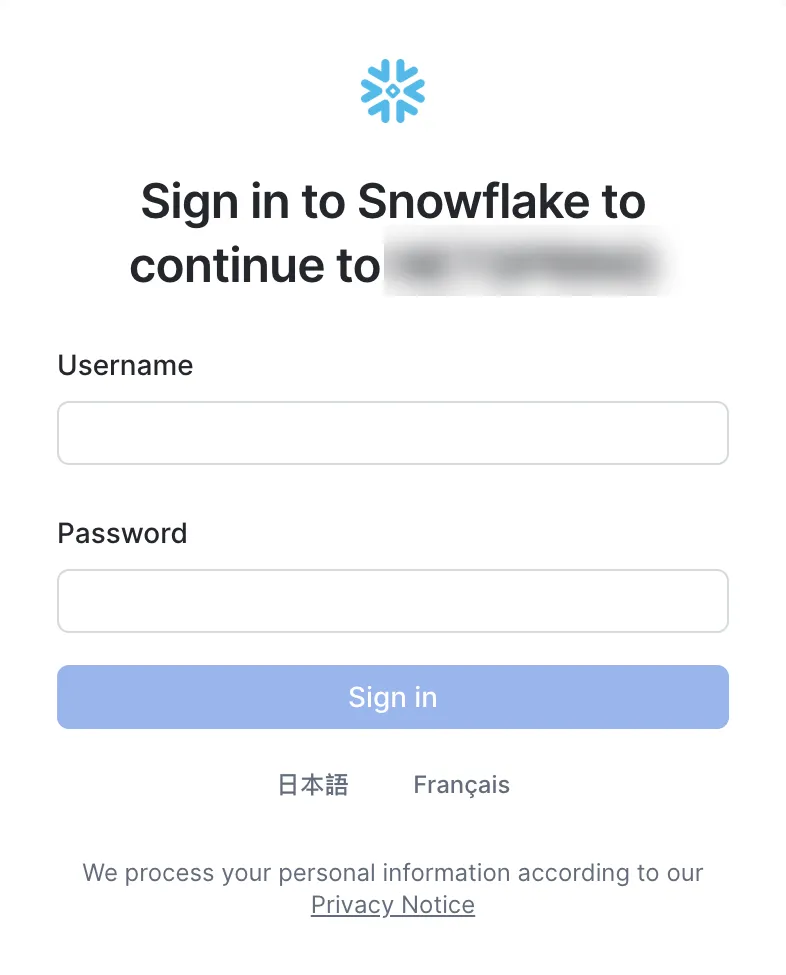
- Complete the Snowflake login and consent in the pop-up window.
When the login completes, the User account status changes to CONNECTED. To test the connection, click Click to test connection health.
Changing the client ID, client secret, or account URL later logs out every user on the Snowflake connection. Switching the connection to another authentication mode also removes every login. Each user then logs in to Snowflake again.
Each user logs in once for each Snowflake connection. Until a user logs in, a Data source disconnected message displays when they create a dataset or load an exploration. Click Connect in the message to start the same Snowflake login process.
Keep the following in mind when you log in:
- Unsaved changes – The login status and Connect do not display while the Snowflake connection has unsaved changes. Save or discard your changes first.
- Blocked pop-up windows – When your browser blocks pop-up windows, the Snowflake login opens in another browser tab instead. Complete the login in that tab.
- Time limit – Complete the login within 10 minutes. When the request expires, click Connect again.
Set a service account for scheduled jobs
Set a service account so that scheduled reports and background jobs keep running while users are offline. On a Snowflake connection that uses OAuth, a service account is one user's Snowflake login. Every scheduled report and background job on the Snowflake connection runs with it.
Choose a user whose Snowflake default role has access to every table that your scheduled reports and background jobs use. That user must have a CONNECTED status on the Snowflake connection.
To set the service account, complete the following steps:
- Open the Snowflake connection as the user you choose.
- Select Use as service account.
- Click Confirm.
The Service account status changes to CONNECTED. Scheduled reports and background jobs then run with that user's Snowflake credentials.
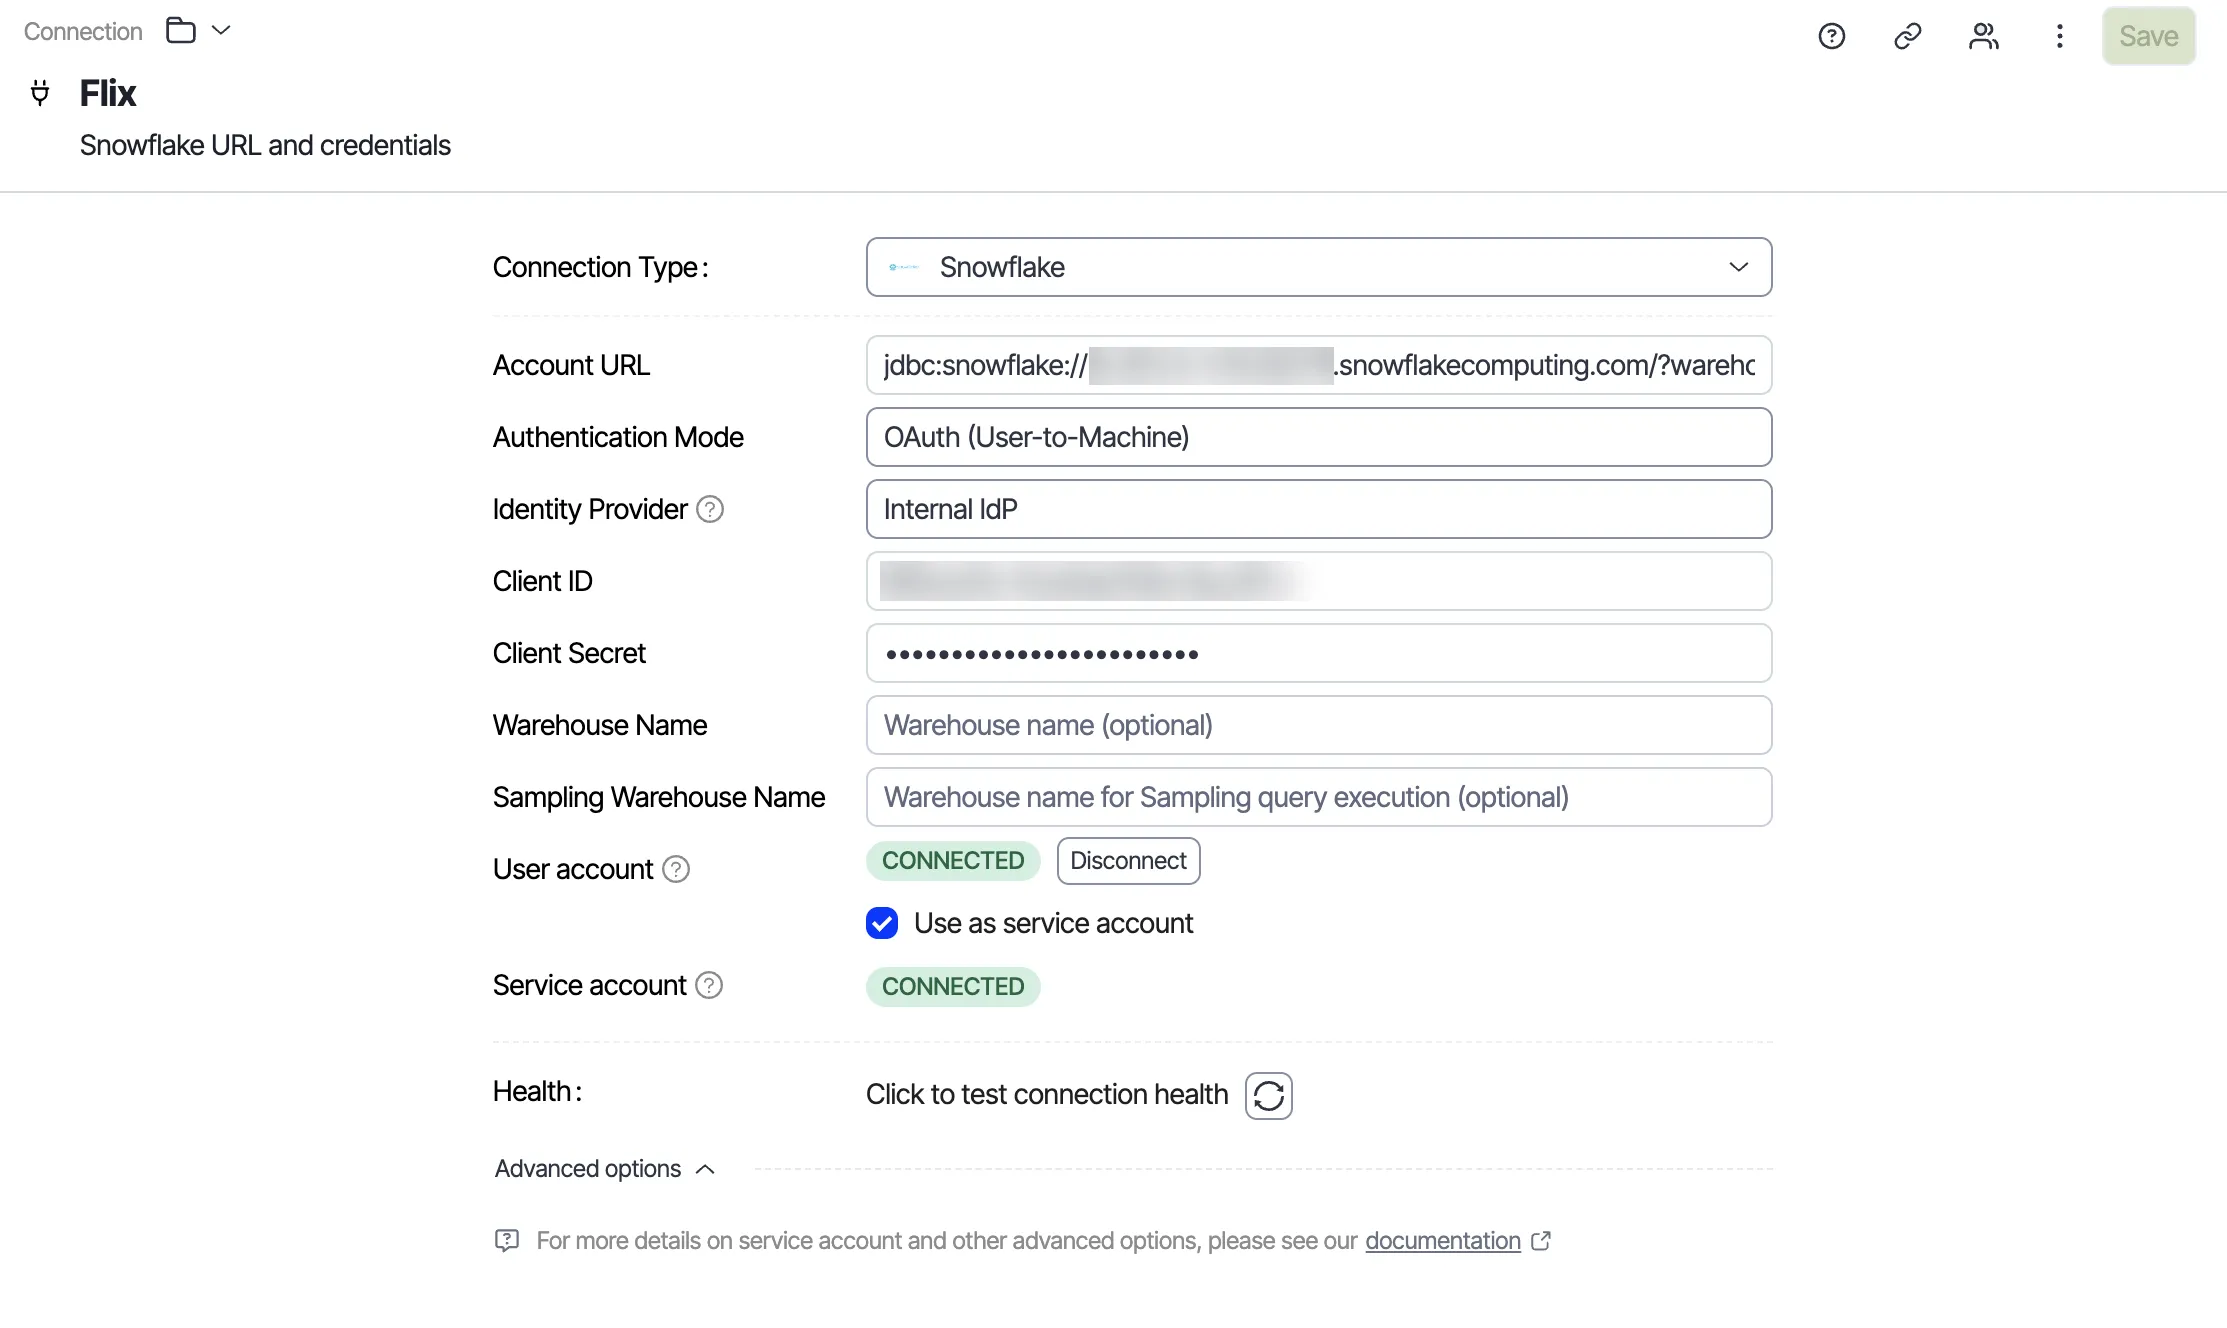
Each Snowflake connection has only one service account. When another user is already the service account, your login replaces theirs.
The Service account status shows whether the Snowflake connection has an active service account. When another user is the service account, the status shows CONNECTED even when your User account status shows NOT CONNECTED.
When you are the service account, disconnecting your own login also removes the service account. The Service account status changes to NOT CONNECTED. Scheduled reports and background jobs stop until a user sets a new service account.
To remove yourself as the service account, complete the following steps:
- Open the Snowflake connection.
- Clear Use as service account.
- Click Remove.
Check your login status
The User account status on the Snowflake connection shows whether your own Snowflake login is active. Check it when queries fail or when you want to confirm which credentials your queries use. The following list describes each status and the action to take:
- NOT CONNECTED – You have not logged in to Snowflake on this Snowflake connection. Click Connect.
- CONNECTED – Your login is active, and your queries run with your Snowflake role. To remove your login, click Disconnect.
- Auth failed – Optimizely Analytics could not renew your login. Click Re-authenticate.
- Status unavailable – Optimizely Analytics could not read your login status. Click Disconnect, and then click Connect.
After your login expires, the Data source disconnected message displays when you create a dataset or load an exploration. Click Connect or Re-authenticate in the message to log in again without leaving the page.
Disconnect your Snowflake login
Disconnect to remove your own Snowflake login from the Snowflake connection, so that no query runs with your Snowflake credentials. The Snowflake connection and other users' logins stay in place. When you are the service account, disconnecting also removes the service account, and scheduled reports and background jobs stop.
To disconnect, complete the following steps:
- Open the Snowflake connection.
- Click Disconnect.
The User account status changes to NOT CONNECTED. Click Connect to log in again.
Snowflake role-based data access
OAuth (User-to-Machine) lets you manage data access only in Snowflake, instead of repeating role rules in Optimizely Analytics. Each user sees only the data that their own Snowflake default role can read. Two users who open the same dashboard see different results when their Snowflake roles differ. Optimizely Analytics caches query results separately for each user, so one user's results never display for another user.
Troubleshoot OAuth connection errors
Use the following entries to resolve the most common errors during setup and login:
- OAUTH_AUTHORIZE_INVALID_REDIRECT_URI (error code 390307) – The Snowflake login rejects the redirect address. The security integration does not list the callback address for your Optimizely Analytics domain. Ask your Snowflake administrator to set OAUTH_REDIRECT_URI to https://ANALYTICS_DOMAIN/oauth/callback. See Configure Snowflake OAuth for custom clients.
- Could not derive accountIdentifier from JDBC URL – The Account URL value has no Snowflake host name. Enter the full account URL, such as jdbc:snowflake://ACCOUNT_IDENTIFIER.snowflakecomputing.com.
- Invalid callback URL — missing state or code. – The Snowflake login did not return to Optimizely Analytics correctly. Click Connect and complete the login again.
- OAuth state is invalid – The login request expired or started in another browser session. Click Connect and complete the login within 10 minutes.
- OAuth username mismatch (error code 390309) – The Snowflake user who logged in differs from the user tied to the access token. Click Disconnect, click Connect, and log in as your own Snowflake user.
- OAuth role not authorized (error code 391919) – The access token does not grant the role that the query requires. Ask your Snowflake administrator to confirm that your default role has access and that the security integration allows that role.
- OAuth/SSO authenticator rejected by Snowflake account configuration (error code 200039) – The Snowflake account does not accept OAuth logins for your user. Ask your Snowflake administrator to check the account's authentication settings.
- Data source disconnected – You have no active Snowflake login on the Snowflake connection. You have not logged in, your login expired, or someone removed it. Click Connect or Re-authenticate in the message.