Project examples
These examples illustrate how projects coordinate publishing across common scenarios. Apply these patterns to organize multi-item campaigns, scheduled releases, and multi-language content.
Publish a customer event
Publish an invitation to a customer event. The project includes a registration form (using a block), a thank you page, and a teaser block for the start page. All content items for the event publish simultaneously on a schedule.
- Create a project for the event from the project bar and name it Customer event.
- Prepare a page with information about the event. The page is automatically added to the project. Set the page to Ready to publish or do that later.
- Prepare a thank you page.
- Create a registration form using the built-in form feature or the Optimizely Forms add-on. Configure the form to direct visitors who register to the thank you page.
- Create a teaser block to promote the customer event on the start page and drag it to the page. The Customer event project now contains the related items.
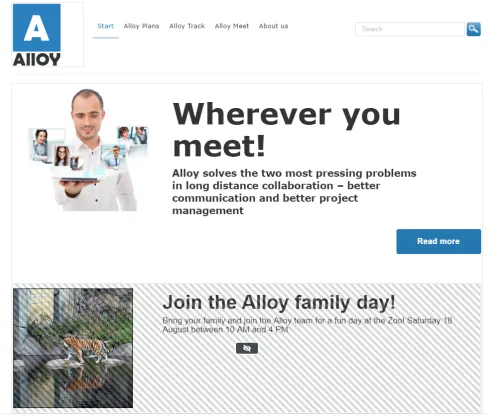
- Click Preview to verify the pages.
- Does the start page show the teaser?
- Does the teaser lead to the customer event detail page?
- Does the form direct you to the thank you page after submission?
- Open the overview and select all items using Shift and clicking the first and last items.
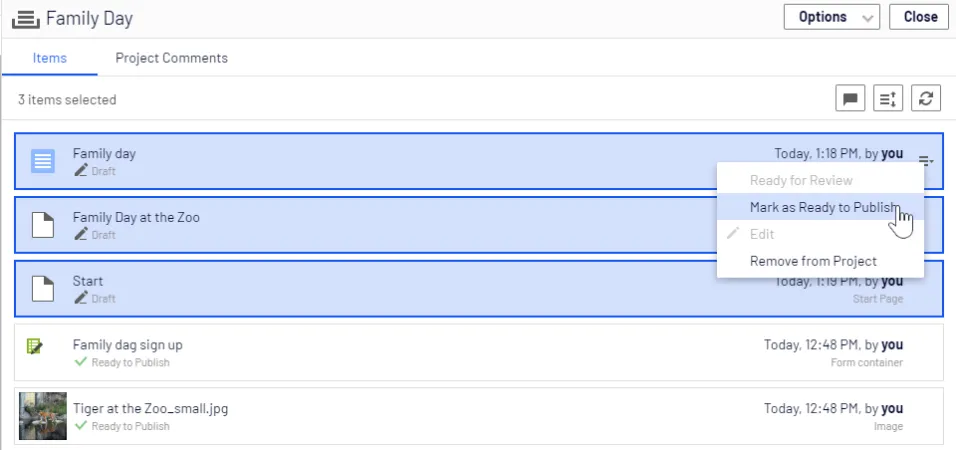
- Choose Ready to publish from the context menu of one of the items to mark all selected items.
- Select Options > Schedule Items for Publish in the overview.
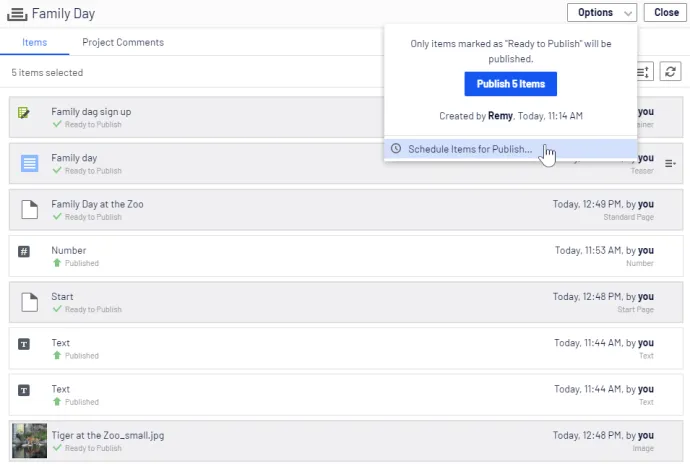
- Select August 1 at 11 AM and click Select.
📘 Note Scheduled item versions in a project cannot be edited. To publish the start page before the scheduled version, create a draft and publish it. To include the same changes in the scheduled project version, remove the scheduling, edit the content, and reschedule.
Publish a campaign
Create a fashion sales campaign with multiple content items on a website running Optimizely Content Management System (CMS) and Optimizely Commerce Connect. The campaign goes live on a specified date. It contains a landing page with a product listing block, two products, and a teaser block for the start page. Create the project first and then add the content items.
- Create a project for the campaign in the Optimizely Commerce Connect catalog treeOptimizely Commerce Connect catalog tree and name it Spring Collection.
- Prepare draft versions of the catalog items in Optimizely Commerce Connect. Create and edit the catalog entriesCreate and edit the catalog entries and add product descriptions and assets.
- Drag the prepared catalog entries from the Catalog gadgetCatalog gadget to the Project gadget. (Optional) Set the products to Ready to Publish before adding them.
- Switch to the CMS edit view and create the landing page for the Spring Collection. Add text and assets, and drag the landing page to the Spring Collection project.
- Create a block listing the products included in the spring collection, and include it in the landing page. Add the product listing block to the project.
- Create a teaser block for the landing page to promote the spring collection, and add it to the project.
- Drag the teaser block to the start page, and add the start page to the project. The Spring Collection project now contains the items for the campaign.
- Preview the content items in the project, edit as needed, and set to Ready to Publish when done.
- Schedule the project for the defined go-live date of the campaign.
📘 Note Versions of content items in a scheduled project cannot be edited. To update the start page before the scheduled project publishes, create a draft and publish it. To include the same changes in the scheduled project version, remove the scheduling and edit the content.
Manage multiple content language versions
Create a page with a registration form block for an event. The items must be available in English (the original website language), French, and German. Use a project to manage the translations.
- Create a project and name it Spring Meeting.
- Create the page and the related forms in English first. CMS automatically associates them with the project.
- Enable and activate the languages (French and German in this example) on your website. An administrator performs this step.
- Switch to the French language branch and create a French version for the page and form block.
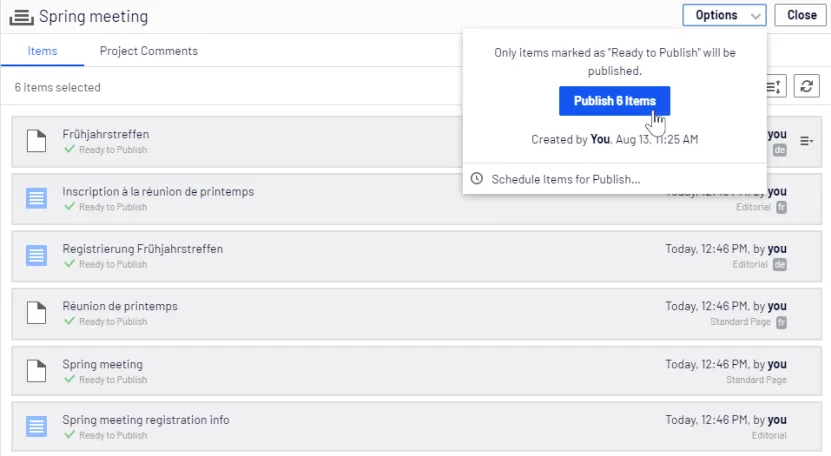
- Repeat the previous actions for the German version. The project now has six content items, two for each language. All six items display in the Project Items navigation panel.
📘 Note A language code displays for items in other languages. In the following image, the English site is selected under Sites. Items in English do not have a language code.
- Translate the content items into French and German. Use Compare to display the original English version during translation. Use Preview to verify the different language versions.
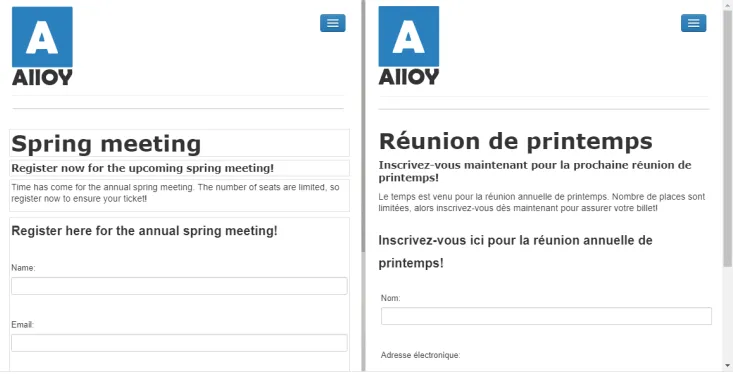
- Set all content items to Ready to Publish when done. Publish the project or schedule it for later from Options in the project overview.