Deploy an existing CMS site
When is this applicable?
This is an onboarding scenario for an existing site which you want to move to a cloud-based environment for the first time, for further development and maintenance there. In this case, you already have a database with content, and you will need to get that restored to the correct application, which will be done by Optimizely.
Before you start
This topic uses Visual Studio with the Optimizely extensions and publish profiles. However, you can also use other deployment methods.
- See DXP requirements for recommended software versions, tools, and services when deploying.
- See Get started with DXP (See also Get started for information needed to deploy.
Create the output files
To deploy from your local development environment, export the database as a .bacpac file and upload it to the DXP integration environment's storage account. Optimizely Support will import it for you.
You can also upload the BLOBs directly (unpacked) to your DXP integration environment's storage account.
Additionally, you can deploy the code using Visual Studio or your preferred deployment tool to the DXP integration environment.
Step 1 – Create a code package
- Add a cloud platform to the website. In the NuGet package manager: a. Select Browse. b. Enter Optimizely Azure in the search field. c. Select the EPiServer.CloudPlatform.Cms package. d. Select your project. e. Click Install and confirm the installation.
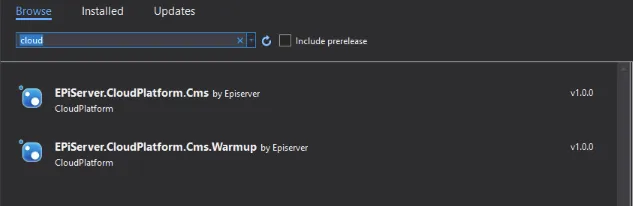
- To configure the EPiServer.CloudPlatform.Cms package, you need to add this code in ConfigureServices method in startup.cs file.
public class Startup
{
    private readonly IWebHostEnvironment _webHostingEnvironment;
    private readonly IConfiguration _configuration;

    public Startup(IWebHostEnvironment webHostingEnvironment, IConfiguration configuration)
    {
        _webHostingEnvironment = webHostingEnvironment;
        _configuration = configuration;
    }

    public void ConfigureServices(IServiceCollection services)
    {
        ...
        services.AddCmsCloudPlatformSupport(_configuration);
    }
}
Note
If you only want to add the EPiServer.CloudPlatform.Cms package to specific environments, you can run something similar to the following code to check the environment.
public class Startup
{
    private readonly IWebHostEnvironment _webHostingEnvironment;
    private readonly IConfiguration _configuration;

    public Startup(IWebHostEnvironment webHostingEnvironment, IConfiguration configuration) {
        _webHostingEnvironment = webHostingEnvironment;
        _configuration = configuration;
    }

    public void ConfigureServices(IServiceCollection services){
       ...
        if (!_webHostingEnvironment.IsDevelopment()) {
            services.AddCmsCloudPlatformSupport(_configuration);
        }
    }
}- Add required header scripts to Razor view before the closing of </head> tag.
@Html.RequiredClientResources("Header")Note
Optimizely recommends this step to make Azure Application Insights works for front-end pages. If you are not using Razor to render views or are unable to add Header required resources, please manually add Application Insights JS SDK initialization script following Microsoft's guide. Retrieve the Application Insights instrumentation key from the APPINSIGHTS_INSTRUMENTATIONKEY environment variable.
- Run the solution.
Step 2 – Publish the website to create a code package
- Right-click the project in Visual Studio's Solution Explorer and select Publish.
- In the Pick a publish target dialog box, select New Folder.
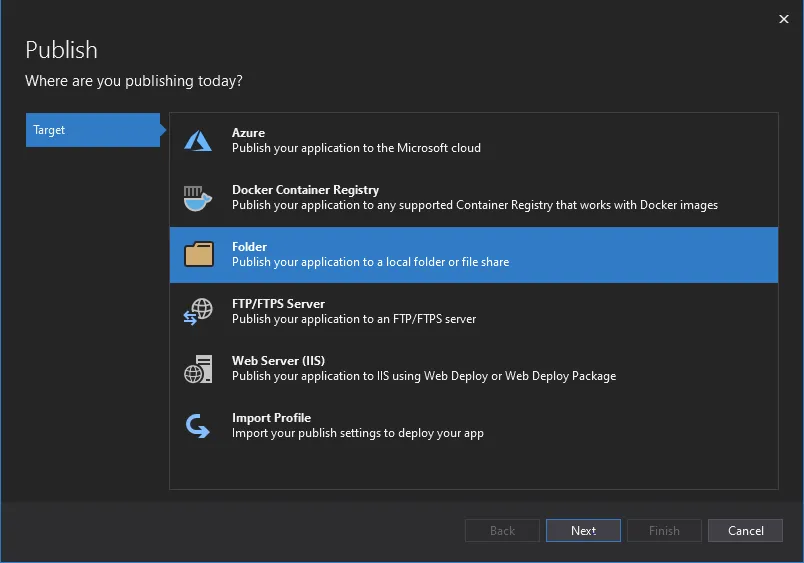
- Click Next.
- Choose a location or keep the default.
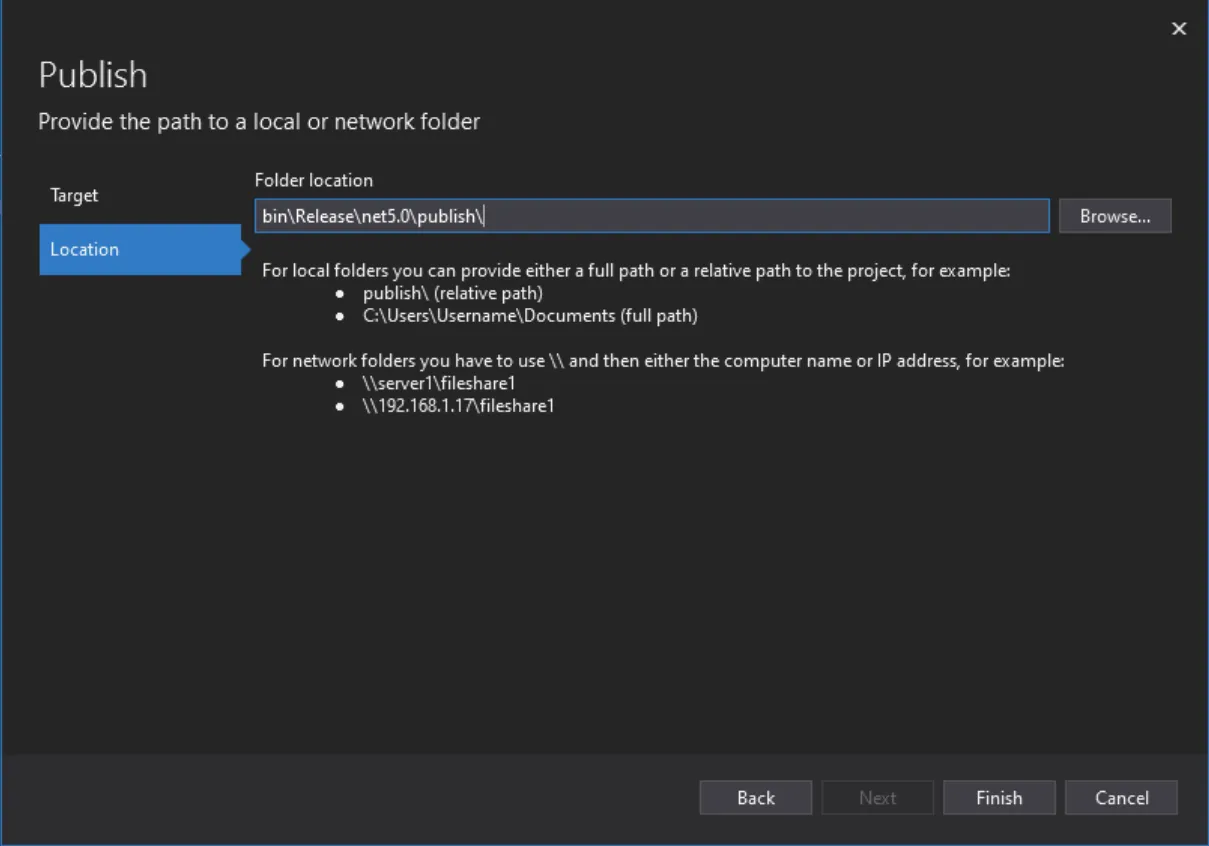
- Click Finish.
- Zip the contents of the publish directory and rename to ProjectName.cms.app.00001.nupkg.
Step 3 – Deploy the package
Get API credentials, if you need to know how to do that, see Deployment API authentication.
The sample to deploy the code is using PowerShell. Any deployment API method will work as long as you deploy a package.
# Connect EpiCloud using credentials from portal
Connect-EpiCloud -ProjectId "projectId" -ClientKey "key" -ClientSecret "secret"

# Upload .NET Core Alloy to blob storage
$sasUrl = Get-EpiDeploymentPackageLocation
Add-EpiDeploymentPackage -SasUrl $sasUrl -Path .\AlloyNetCore.cms.app.0.1.0.nupkg

# Deploy package to environment. This will first build a docker image out of the package and then deploy it to the target environment.
Start-EpiDeployment -DeploymentPackage "AlloyNetCore.cms.app.0.1.0.nupkg" -TargetEnvironment "Integration" -DirectDeploy -Wait
Step 4 – Connect the database
- In Microsoft SQL Server Studio, connect to the database to use.
- Right-click on the database, and select Tasks > Export Data-tier Application...
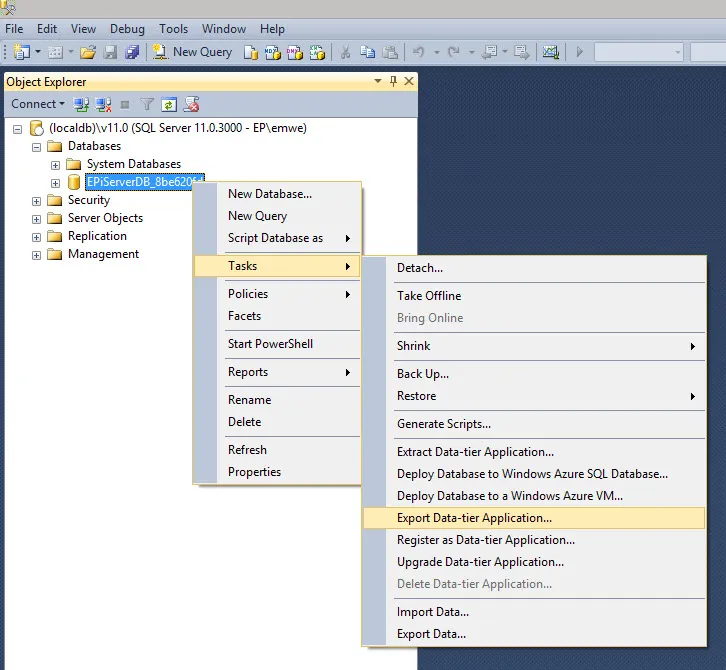
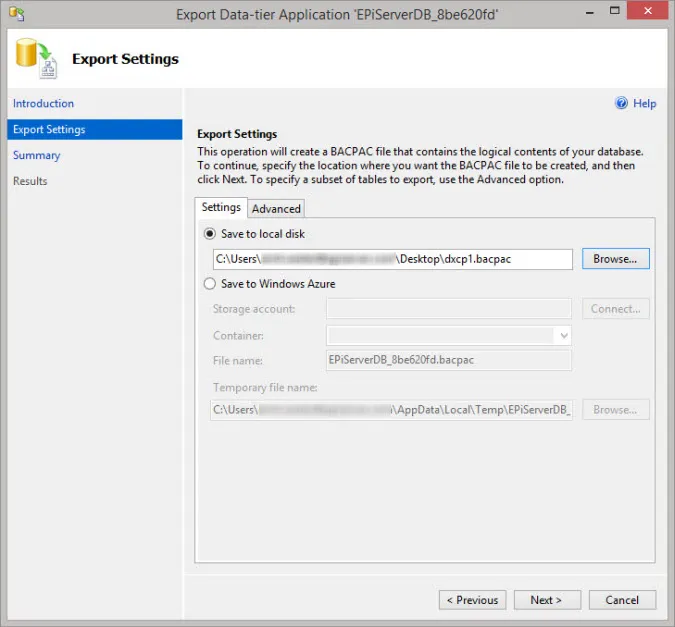
- In the Export Settings tab:
- Select Save to local disk
- Select a target location for the files
- Enter a name for the bacpac file
- Click Next.
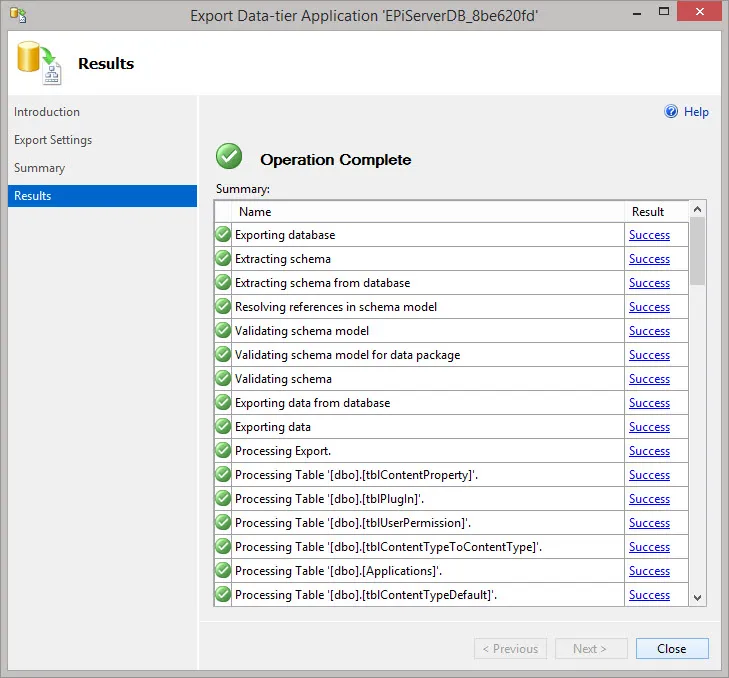
- After the export, verify the results and click Close.
Media/BLOB
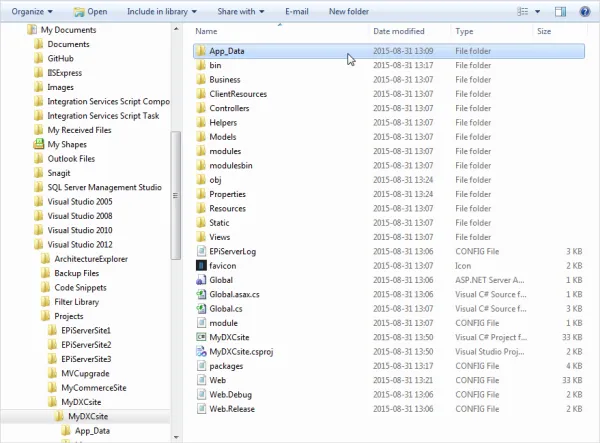
- In Visual Studio, right-click on your project and select Open folder in File Explorer.
- Locate the blobs folder under App_Data, and zip the content of the blobs folder using a zip tool of your choice.
Upload the output files
You can upload the initial BLOB files by generating a writable SAS link to the mysitemedia storage container on the Integration environment. Use AzCopy, Azure Storage Explorer, or a similar tool that can upload your media files to the Azure Storage container.
You can also import the database to the integration environment. See Import database. See also Import Blobs and Databases to Integration Environments – blog post by Elias Lundmark.