Create a custom product widget
5 min
Important
Classic CMS reached end-of-life in January 2025 and is no longer receiving feature updates or bug fixes. You should [migrate to Spire CMS](../../End user docs/spire-cms/get-started-with-spire-cms/migrate-from-classic-cms-to-spire-cms.mdx).
This widget lets marketers and merchandisers add products to the page without requiring any development work.
- Add a new TypeScript controller to the Scripts/Custom folder in the B2B Commerce.Web project. Name: custom.special.controller.ts
- Create the constructor that initializes the controller. Within the initialization use the injected product service to retrieve the product data based on the product id.
module insite.special {
 "use strict";

 export class SpecialController {

     currentSpecial: ProductDto;
     productId: string;

     static $inject = ["$scope", "$window", "productService", "coreService"];

     constructor(protected $scope: ng.IScope,
         protected $window: ng.IWindowService,
         protected productService: IProductService,
         protected coreService: core.ICoreService) {

         this.init();
     }

     init() {

         var expandParameter = ["documents", "specifications", "styledproducts",
					"htmlcontent", "attributes", "crosssells", "pricing"];
         this.productService.getProductData(null, this.productId, expandParameter).then(
             (result: ProductModel) => {
                 this.currentSpecial = result.product;
             },
             (error) => {
             });
     }
 }

 angular
     .module("insite")
     .controller("SpecialController", SpecialController);
}- Add a new TypeScript directive definition to the Scripts/Custom folder in the B2B Commerce.Web project. Name: custom.special.directives.ts
module insite.account {
 "use strict";
 angular
     .module("insite")
     .directive("iscSpecialProduct", ["coreService", function (coreService) {
     return {
         restrict: "E",
         replace: true,
         templateUrl: coreService.getApiUri("/Directives/Special/SpecialSaleView"),
         controller: "SpecialController",
         controllerAs: "vm",
         scope: {
             productId: "@"
         },
         bindToController: true
     };
 }])
}
This will allow you to use the <ISC-special-product> directive within the widget.
- Add a new class to the project called SpecialSaleView and add a property called ProductId with the TextContentField attribute
public class SpecialSaleView : ContentWidget
{
  [TextContentField]
  public virtual string ProductId
  {
    get { return GetValue("ProductId", "", FieldType.General); }
    set { SetValue("ProductId", value, FieldType.General); }
  }
}- If you haven't already created a new theme, create a new theme and add a new MVC View to the Views/Directives/Special folder called SpecialSaleView. This needs to be the same name as defined in the custom.special.directives.ts.
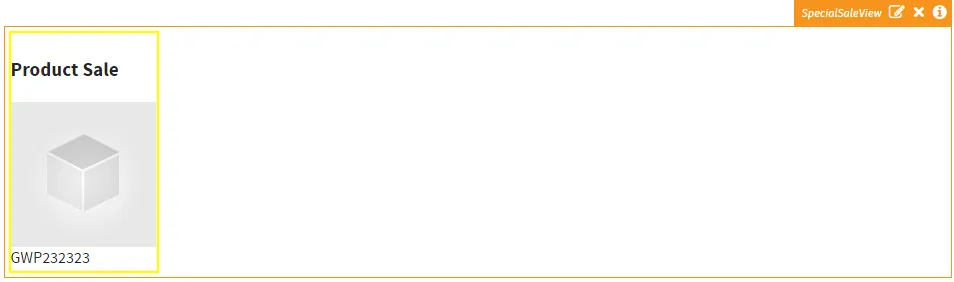
- In the SpecialSaleView.cshtml view add an image and span that will use the Angular model.
<div style="width:150px;">
 <h3>Product Sale</h3>
 <img ng-src="{{vm.currentSpecial.mediumImagePath}}" style="clear:both;" />
 <span ng-bind="vm.currentSpecial.name"></span>
</div>- In the custom theme add a folder for Widgets. In the widget folder add a new sub-folder called SpecialSaleView. This will also use the naming convention of the widget.
- Add a new MVC View called Standard.cshtml. In the new Standard.cshtml file reference the special product and set the product id attribute to the model that will be set in the CMS.
- Add a reference to the AngularJS template for the SpecialSaleView.
@model B2B Commerce.Web.Extensions.Widgets.SpecialSaleView
<ISC-special-product product-id="@Model.ProductId"></ISC-special-product>
<script type="text/ng-template" id="/Directives/Special/SpecialSaleView">
    @Html.ThemedPartial("/Views/Directives/Special/SpecialSaleView.cshtml")
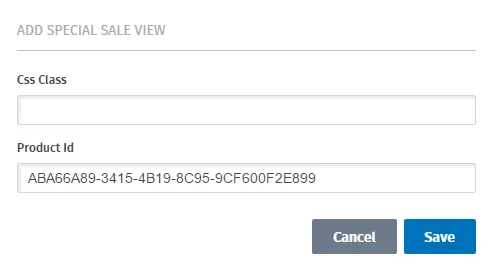
</script>- Rebuild the solution and navigate to the Configured Commerce site with ContentAdmin rights. Add the Special Sale View widget to an existing Content zone.