Add and edit images
A web page does not embed images. Instead, it links to the media library where images are stored. The images must be available in a folder under Media in the assets pane to display images in your content. You can first upload an image to a folder in the assets pane and then add it to your content, or you can drag and drop an image directly from your computer to a content area. In this latter case, the image is automatically uploaded and stored in the For This Page (or For This Block) folder.
You can edit images inside Optimizely Content Management System (CMS) using the Image Editor, providing basic features like cropping, resizing, and transforming.
Add images to content
Note You can also manage images from the Optimizely Digital Asset Management (DAM) asset picker. For information, see DAM assets.
In image link property
Images are often added to content through an image link property. You can drag an image from the assets panel or your computer to the property. If you drag and drop from your computer, the image is automatically uploaded and saved in the For this Page or For this Block folder in the assets panel. See Media for information on manually uploading images to the assets panel. To skip the assets panel, ask Mark (Optimizely Agent Platform) to upload the image for you.
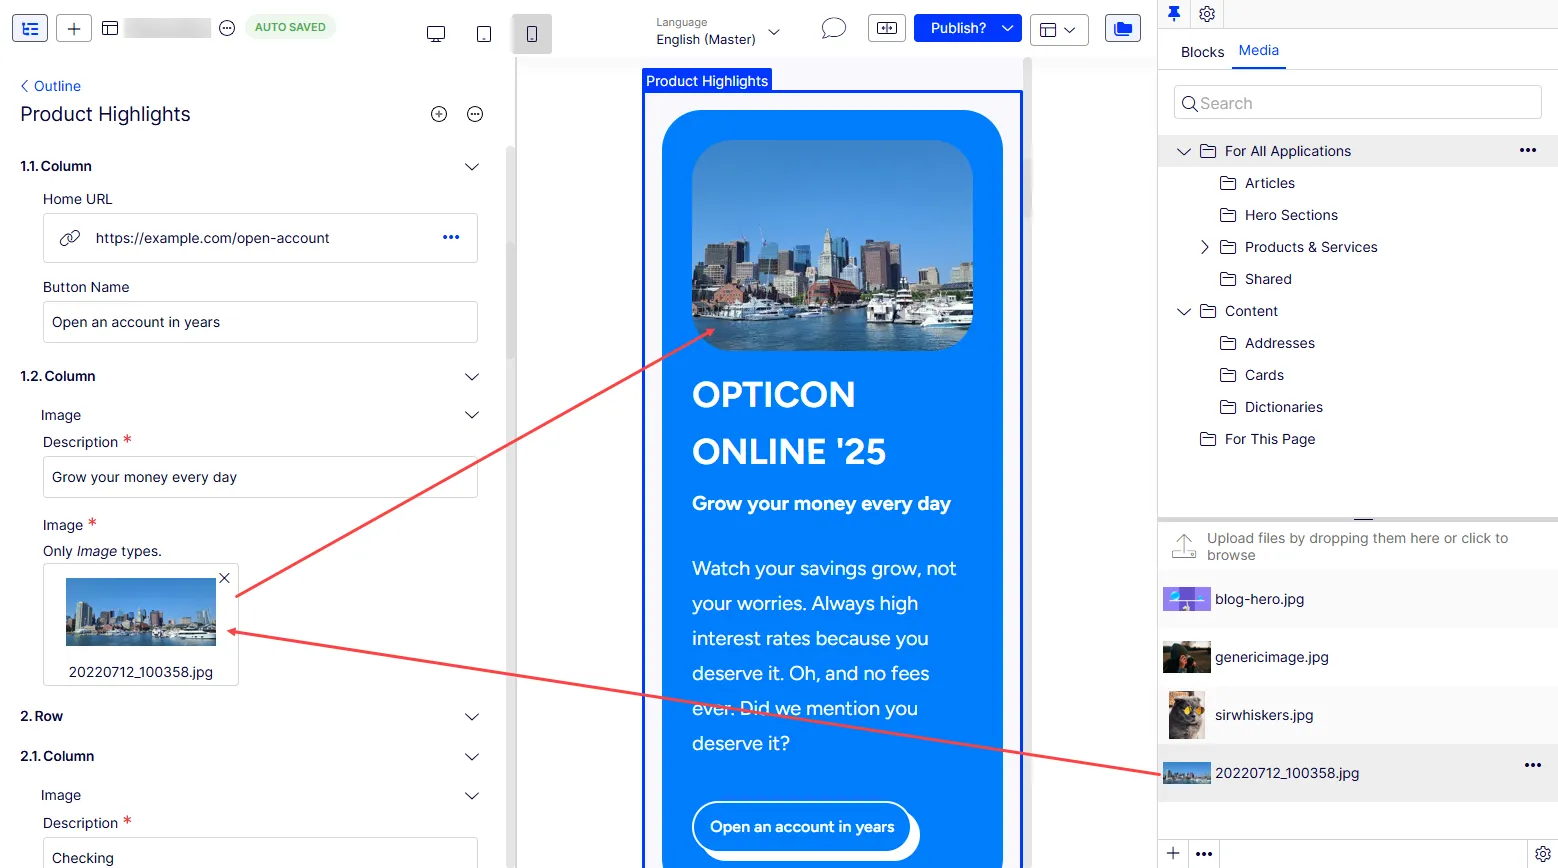
To replace an image, open the menu on the image property and select Browse, then select another image in the Content Manager picker. To upload a new image instead, select Upload to CMS. Alternatively, drag another image onto the property, as shown in the previous image.
In rich-text editor or content areas
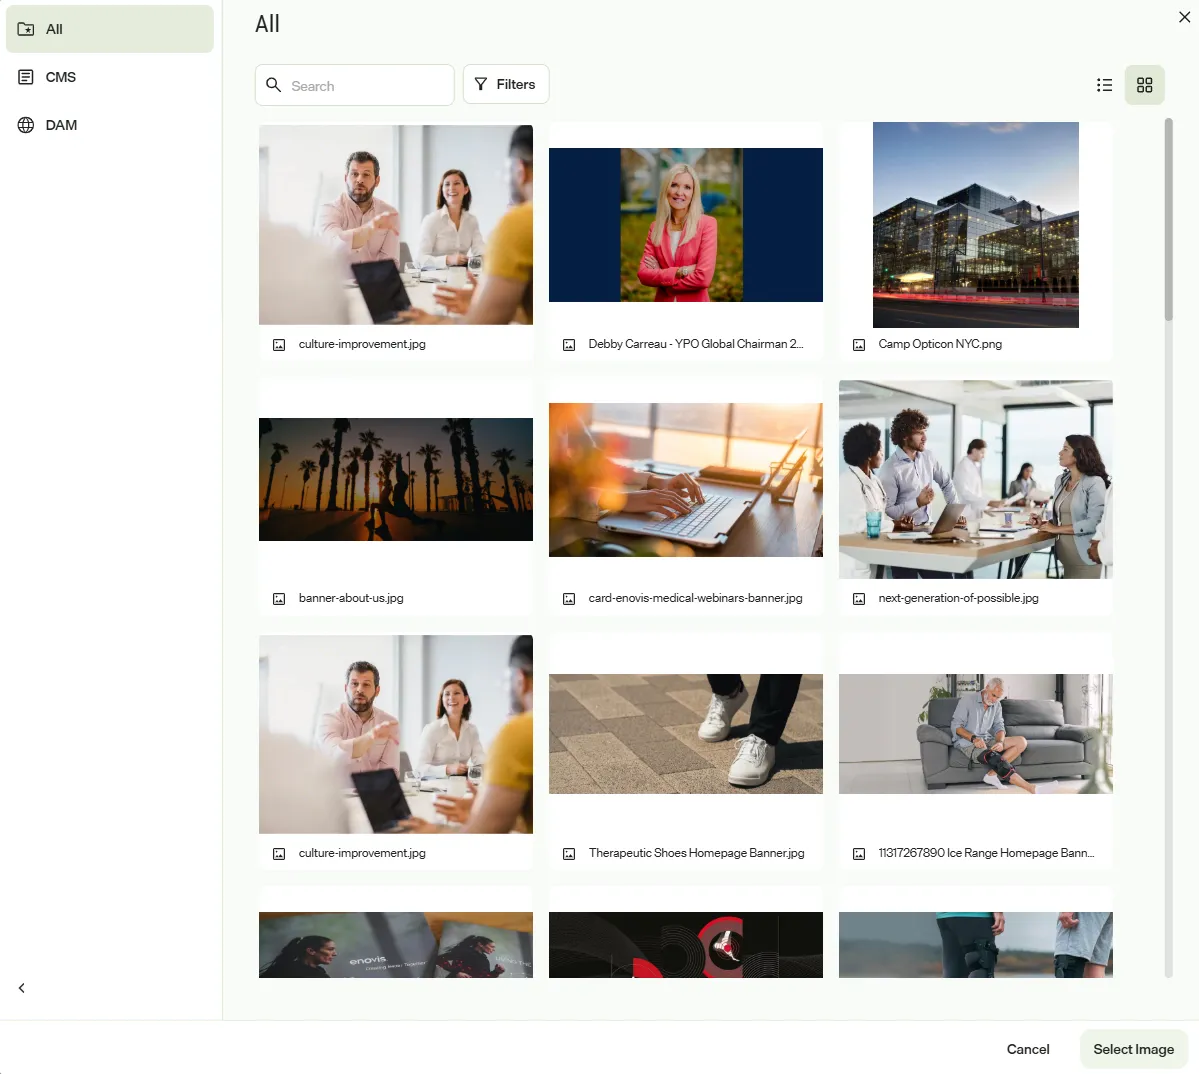
Add images to the rich-text editor or to content areas in pages or blocks. When you drag an image from your computer into the rich-text editor, CMS (SaaS) stores it in the For This Page (or For This Block) folder with its original file name. Alternatively, drag an image from a folder under Media in the assets pane, or use Select Image to insert an image from CMS (SaaS) or DAM.
To insert an image with Select Image:
- Place the cursor in the rich-text editor where you want the image.
- Click Select Image on the editor toolbar and select where the image comes from:
- Browse – Select an image from CMS (SaaS) media in the Content Manager picker.
- Browse DAM – Select an image from Optimizely DAM. This option displays when DAM is configured.
- Upload to CMS – Upload an image from your computer to CMS (SaaS).
When Browse is the only option, Select Image opens the Content Manager picker directly.
- Select the image. The editor inserts the image at its original width and height, with its alt text. If the image has no alt text, the editor uses its name.
To change the alt text, select the image and click Set Alt Text on the image toolbar. The alt text becomes the HTML alt attribute on the image, which screen readers and accessibility tools use when images cannot display.
Rich-text editors with the Expanded toolbar also have Select Video, which inserts a video from CMS (SaaS) or Optimizely DAM the same way. To replace a video, select it and choose another one with Select Video.
CMS (SaaS) stores inserted media, including DAM assets, as permanent links, which point to the asset's ID instead of its location. If an asset is deleted from DAM, the link stays in the content and link validation reports it as broken. The following limitations apply to DAM assets in the rich-text editor:
- Add DAM assets with Select Image or Select Video, not by dragging them into the editor.
- Go to media and Image Editor are disabled for DAM images.
- Only images and video are supported. Add documents as links.
Note The TinyMCE editor supports the following image formats: jpeg, png, gif, and bmp.
Find the image location
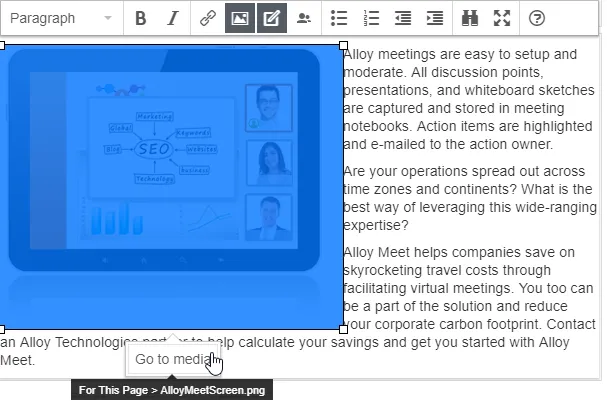
If you have an inserted image in the rich-text editor and want to find out where it is stored, select the image. A Go to media button displays. Click this button to open the image or hover over it to see where the image is stored.
Edit images
Do one of the following to access the Image Editor options:
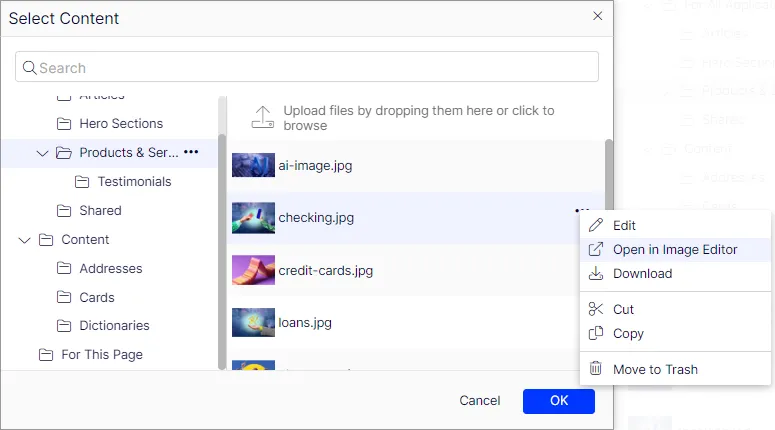
- In an image link property, click in the image property to open the Select Image dialog box, and select Open in Image Editor from the image's context menu:
- In the rich-text editor, select the image and then click Image Editor in the toolbar.

- Locate the image under Media in the assets pane, and select Open in Image Editor from the context menu.
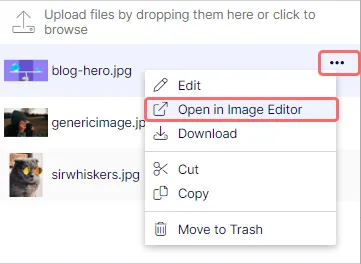
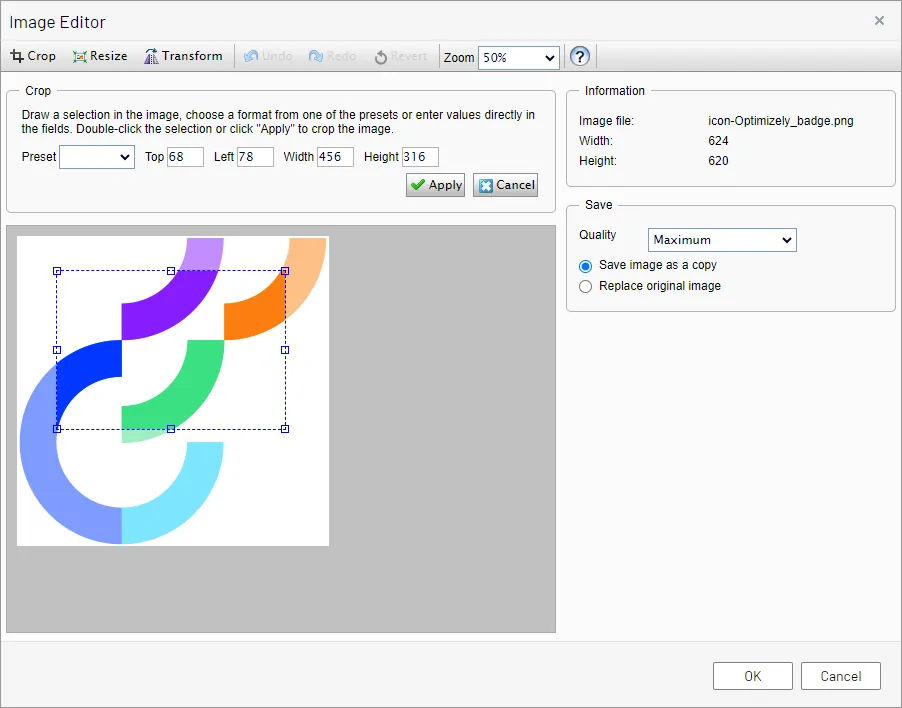
Image editing features include cropping, resizing, and transforming:
Crop
Enter values for Top, Left, Width, and Height, or draw a selection in the image to crop.
Note Remember to click Apply to save the changes before proceeding.
You can apply Preset values if such values are configured for the application.
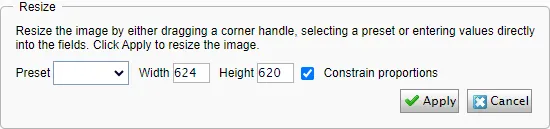
Resize
Enter values for Width and Height, or move a corner handle to resize, and keep Constrain proportions selected to retain the image proportions.
Note Click Apply to save the changes before proceeding.
You can apply Preset values if such values are configured for the application.
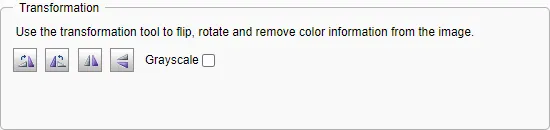
Transform
Flip or rotate the image, or select Grayscale to convert to grayscale.
You can save an edited image file as a copy or replace the original file:
- Save as a copy – If the image was selected on a page or block, the copy is saved in the local folder. If the edited image was selected in the media structure, the (renamed) copy is saved in the same folder as the original.
- Replace original image – This action affects places on the application where the image is used.
Selecting the Edit option in the context menu for an image lets you edit the metadata. For an image, metadata can include the photographer, description, and copyright information. See Media.
Remove images from content
For an image in:
- an image property, click Remove.
- a content area, select Remove in the context menu.
- the rich-text editor, click the image, and delete it.
Removing an image makes it disappear from the content, but it remains in Media.